If you have never booked a dryer vent cleaning before, it helps to know what the visit involves, from the first walkthrough to the final airflow check. Knowing the shape of it makes it easier to tell whether a service covered the whole job or stopped at the part it could reach without moving anything.
Before the technician starts
A visit usually opens with a short walkthrough: where the dryer sits, the general path the run takes to the outside, and any symptoms you have noticed, like longer cycles or a smell while the machine is going. That gives the technician a sense of the length and layout before any equipment comes off the truck, and it is the moment to mention anything you have seen, even something that seems small.
It is also the moment to ask questions. What material is the current vent made from, does the layout have bends that will take extra work, and is there anything about the house, an upper-floor laundry room, a shared vent chase, a roof exit, that changes how the job gets staged. A technician who answers those in plain language before starting is telling you what the visit will involve.
Protecting your home during the visit
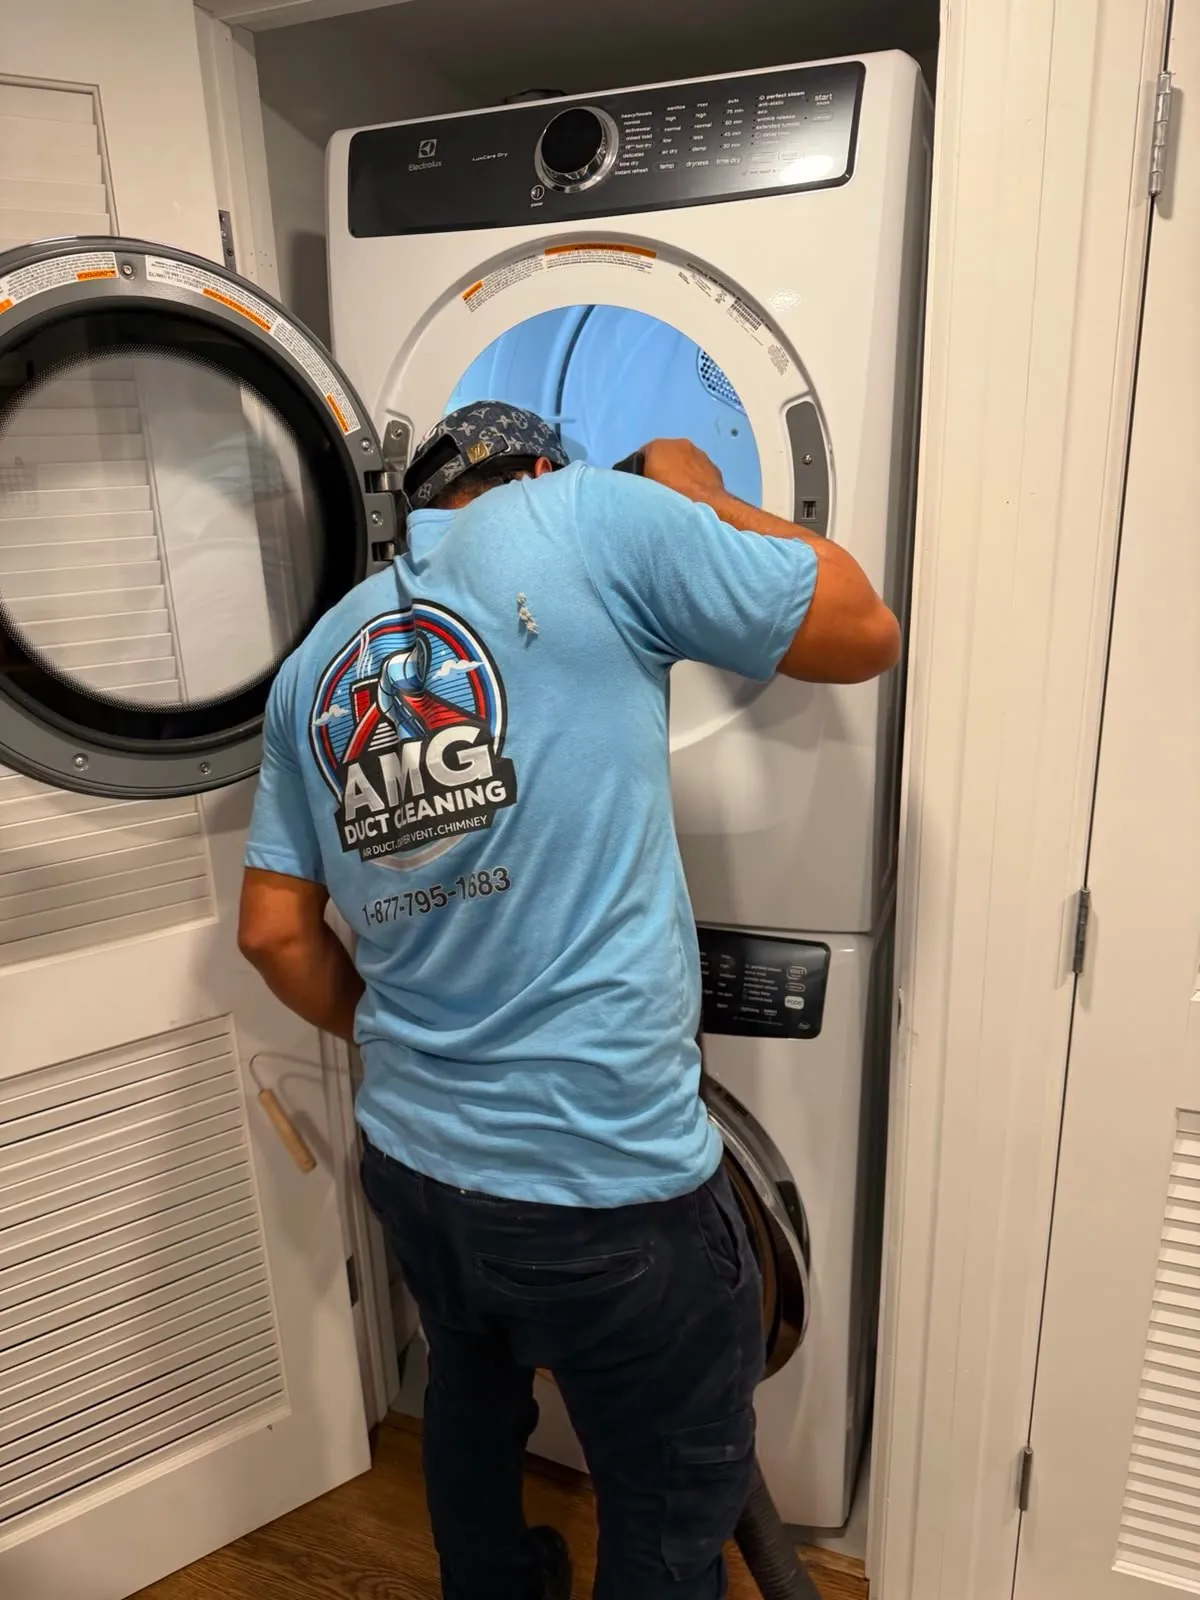
Before equipment goes into the duct, the area around the dryer gets set up so lint and debris stay contained rather than scattered across the floor. That matters more in tight spaces, like the laundry closets common in condos and townhomes across Hudson County, where there is little room to work around stored items. The dryer is pulled out carefully to reach the vent connection, then set back in place once the work is done.
Clearing the full length of the run
The core of the job is clearing lint from the whole run, not only the section nearest the dryer. Equipment is worked in from both the dryer connection and the exterior exit so the tools meet in the middle, including at the bends where lint packs hardest. A vacuum pulls the loosened debris out as it comes free, rather than leaving it to settle somewhere further along the path.
For a run with a roof exit or an upper-floor laundry room, this step also means reaching the termination cap safely from outside, which is why those setups take a different approach than a wall hood at ground level.
Checking the vent itself, not only the lint
While the run is open, the technician is also reading its condition: whether the sections are still connected, whether the material is sound, and whether the exterior hood and damper flap move the way they should. That is where hardware faults surface, a crushed length, a joint that pulled apart, material too far gone to keep. If one of those turns up, it should be explained in plain terms, including why it matters, before any work beyond the cleaning begins. Replacing a failed run falls under dryer vent installation and is a separate decision, not something folded in quietly.
Testing airflow and wrapping up
Once the run is clear, the visit ends with an airflow check, confirming that air moves steadily through the duct and that the exterior flap opens while the dryer runs. That step matters because it shows the cleaning fixed the airflow, rather than only removing a visible pile of lint. A good visit ends with you knowing what was found, what was done, and what, if anything, calls for a follow-up.
Before the technician leaves, ask for a short summary in plain terms: how the run looked end to end, whether the material and connections were sound, and roughly how much lint came out compared with the time since the last cleaning, if you know it. That summary is what you use to set your own interval, because it describes your vent rather than a general guideline.
Keep that summary somewhere you will find it next year. Two visits worth of notes tell you more about how fast your run loads up than any rule of thumb does, and they turn the next dryer vent cleaning into a scheduled item rather than a reaction to a load that will not dry.