Comprehensive Air Duct Installation Checklist for Elizabeth, NJ Homeowners
A well-planned checklist keeps your air duct project organized, code-compliant, and efficient from start to finish. Whether you are renovating a historic home in the Peterstown neighborhood or finishing a basement in the Elmora area, this detailed guide outlines every step you should take before, during, and after installation. Use it to avoid rework, pass inspections, and achieve quiet, even airflow throughout your home.
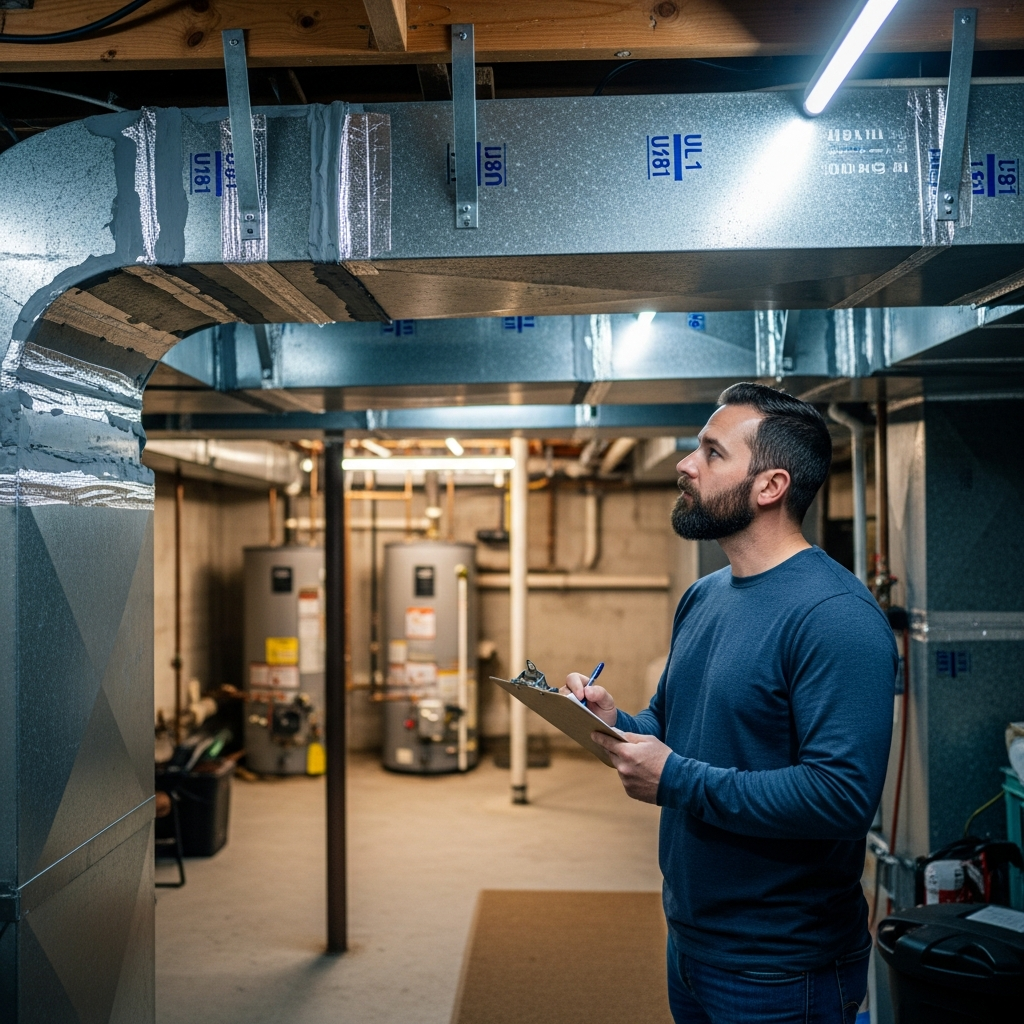
Before starting, decide whether you will DIY the entire project or collaborate with a professional. A hybrid approach is common: you handle demo and access while a contractor sizes ducts and completes critical connections. If you would like a seasoned partner to review your plan or manage the full scope, consider working with a local team experienced in air duct installation. The right support can prevent costly changes once walls and ceilings are closed.
Pre-Planning and Permits Checklist
- Define project goals: comfort improvements, zoning, noise reduction, or energy efficiency.
- Verify local permit requirements with the City of Elizabeth Building Department.
- Schedule inspections to align with rough-in and final stages.
- Gather house plans or sketch a measured floor plan if none exist.
- Identify structural elements, plumbing, and electrical runs that affect routing.
- Confirm combustion safety clearances for gas appliances and flues.
- Plan for condensate routing and equipment access for service.
Design and Sizing Checklist
- Perform or obtain a Manual J load calculation to determine room-by-room airflow needs.
- Use Manual D principles to size trunks and branches to meet CFM targets.
- Choose a layout: trunk-and-branch for flexibility, or radial to simplify balancing.
- Place supply registers on exterior walls or near windows to combat drafts.
- Locate returns centrally; avoid kitchens, baths, and garages.
- Plan transfer grilles or door undercuts to maintain pressure balance between rooms.
- Minimize elbows; use long-radius fittings and turning vanes in square elbows.
- Include balancing dampers in branches for commissioning adjustments.
Materials and Tools Checklist
- Sheet metal trunks, takeoffs, and transitions; duct board if specified for plenums.
- Flexible duct for short, straight final connections only.
- UL 181 foil tape, water-based mastic, and gasket materials for airtight seals.
- Duct insulation for unconditioned spaces; vapor barrier where needed.
- Registers and grilles sized for quiet operation and good throw.
- Support straps, hangers, and hardware for secure mounting.
- Tin snips, aviation snips, crimper, drill/driver, hole saw, stapler, duct knife.
- PPE: gloves, eye protection, and a respirator when cutting fiberglass.
- Manometer, thermometer, and smoke pencil for testing and verification.
Site Preparation Checklist
- Shut off HVAC power and verify with a non-contact tester.
- Clear work zones; protect floors and finishes with drop cloths and cardboard.
- Mark duct routes, register locations, and framing penetrations with painter’s tape.
- Pre-cut access openings and reinforce framing as required.
- Stage materials by zone to reduce walking and mistakes.
- Label all parts: supply, return, trunk size, and destination rooms.
Installation Checklist: Supply Side
- Attach the supply plenum to the air handler with gasket and mastic for an airtight seal.
- Run the main trunk straight and level; support at manufacturer-recommended intervals.
- Install takeoffs at smooth angles and away from immediate elbows.
- Seal all seams with mastic; tape over as needed with UL 181 foil tape.
- Cut openings for boots carefully; align square and level for flush registers.
- Connect short, tight flex sections only where necessary; avoid kinks and sags.
- Support flex every 4 feet or less and limit bends to maintain airflow.
Installation Checklist: Return Side
- Build a generously sized return plenum and trunk to prevent noise and restrictions.
- Route return drops to central locations; avoid kitchens, baths, and garages.
- Line return boxes near living spaces with acoustic liner if noise is a concern.
- Seal all joints with mastic; verify a continuous, airtight path back to the unit.
- Install transfer grilles or undercut doors to facilitate pressure balance.
Insulation, Sealing, and Fire Safety Checklist
- Apply mastic on every joint, takeoff, and seam; never rely on cloth duct tape.
- Wrap ducts in unconditioned spaces with appropriate insulation and vapor barrier.
- Use approved fire-blocking and sealants where ducts penetrate rated assemblies.
- Maintain clearances from flues and combustion appliances per code.
- Label insulation R-values and verify coverage at elbows and transitions.
Balancing and Commissioning Checklist
- Measure total external static pressure; compare with equipment specifications.
- Confirm temperature rise in heat and temperature drop in cooling within rated ranges.
- Adjust branch dampers to even out room-to-room temperatures.
- Check for audible whistling or rumble; correct by resizing grilles or adjusting velocity.
- Use a smoke pencil to find and seal any remaining leaks around boots and seams.
- Document damper positions, filter sizes, and duct routes with photos.
Elizabeth, NJ Considerations
Older Elizabeth homes often have finished basements and complex framing that require creative routing. When headroom is limited, hug trunks to joists and use compact fittings. In humid summers, insulated ducts prevent condensation, particularly on supply runs near exterior walls. If you are working in multi-family buildings, be mindful of sound transmission; line return plenums near shared walls and keep velocities modest for quiet operation.
Timing matters too. Schedule rough-in work before drywall to avoid rework, and coordinate with electricians and plumbers to prevent conflicts in chases. Mid-project plan checks help confirm that your system will balance properly once registers and grilles are installed. A quick review by a professional specializing in air duct installation can catch sizing or placement issues that homeowners commonly miss.
Post-Installation Care Checklist
- Replace or clean HVAC filters on schedule to protect coils and maintain airflow.
- Vacuum return grilles and supply registers periodically.
- Inspect visible ducts annually for loose straps, damaged insulation, or condensation.
- Re-seal accessible joints if you notice dust streaks or rising energy bills.
- Rebalance dampers seasonally if sun exposure or occupancy patterns change.
- Document any modifications during renovations so ducts stay balanced.
Frequently Asked Questions
Do I need a permit for duct work in Elizabeth? Many installations connected to HVAC equipment require permits and inspections. Contact the Building Department for current requirements and schedule your inspections early to stay on track.
What duct material should I choose? Sheet metal trunks with short, tight flex connections provide a durable, low-resistance system for most homes. Duct board can be a good option for plenums when carefully fabricated and sealed.
How can I reduce noise? Size returns generously, keep velocities reasonable, use long-radius elbows, and line return boxes near living spaces. Avoid choking airflow with small registers or tightly closed grilles.
Where should I place returns? Central locations that allow air from multiple rooms to return easily work best. Avoid returns in kitchens, bathrooms, and garages to prevent odor and contaminant transfer.
Why is sealing so important? Mastic-sealed joints reduce energy waste, improve comfort, and protect indoor air quality by preventing dusty, unconditioned air from entering the system.
What if a room stays uncomfortable? Check for crushed flex, blocked registers, or long branch runs. Fine-tune dampers, consider adding a return, or have a pro evaluate sizing and layout.
Finish Strong and Enjoy the Results
With this checklist, your project will move smoothly from planning to commissioning, and your Elizabeth home will benefit from quieter operation and more consistent comfort. If you would like expert validation, a second set of eyes, or a full-service partner, schedule time with a trusted provider of air duct installation. The right plan, executed carefully, delivers efficient airflow and healthier air for years to come.
