Safe, Step-by-Step Dryer Vent Cleaning for Elizabeth, New Jersey Homes
Dryer vents are easy to overlook until drying times stretch and the laundry room feels uncomfortably warm. A safe, well-planned cleaning keeps your appliance efficient and protects your home. Whether you live near Midtown, Elmora, Bayway, or North Elizabeth, you can use this guide to handle light maintenance confidently and to recognize when a full professional service is the smarter choice. For complex routes, stacked appliances, or rooftop terminations, many residents rely on expert dryer vent cleaning that clears the entire duct and verifies airflow. Below, you will find detailed preparation steps, a careful cleaning method, and a comprehensive safety checklist crafted for Elizabeth’s varied housing stock and seasonal weather.
Understand Your Vent System Before You Start
Your dryer pushes warm, moist air through a lint screen, then into a transition duct and a longer vent line to the exterior. Along the way, elbows, sags, and long runs can trap lint. Elizabeth homes present many configurations: laundry closets in apartments, basement dryer locations in older houses, and rooftop terminations in multifamily buildings. The safer you are at mapping your specific layout—appliance, transition duct, in-wall or ceiling path, and exterior hood—the better your results will be.
Before touching any tools, locate the power source and, if applicable, the gas shutoff. Make sure the floor is clear. If your dryer is heavy or the space is tight, ask for help to avoid straining or crushing the transition duct. Safety is about pace and planning, not speed.
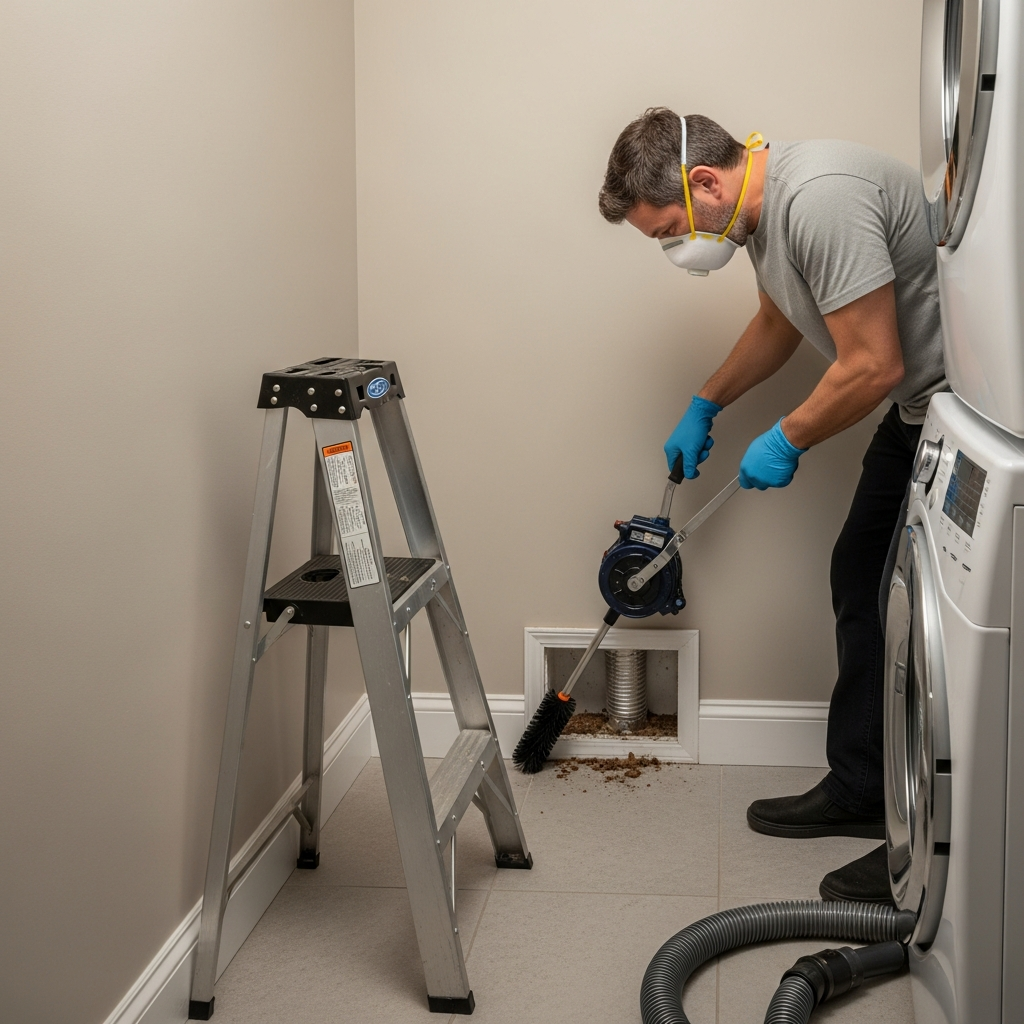
Safety Equipment and Tools
- Work gloves and a dust mask to protect hands and lungs.
- Flashlight or headlamp for visibility behind the appliance and at the exterior hood.
- Vacuum with hose attachment for lint capture around the lint screen housing and behind the dryer.
- Consumer-grade brush kit sized to your duct diameter for short, straight runs only.
- Screwdriver for hose clamp adjustments at the transition duct.
- Step ladder if you need to inspect a slightly elevated exterior hood.
These tools support light maintenance. For long ducts with multiple bends, rooftop exits, or tight closets, schedule professional service. A pro brings high-powered vacuums, rotary brush or air-sweep tools, containment systems, and the experience to handle complex routes safely.
Preparation Checklist
- Unplug the dryer. For gas units, close the gas valve carefully and avoid stressing the flexible line.
- Clear the area. Give yourself a safe path to move the appliance and handle tools.
- Identify the transition duct. Confirm it is smooth-walled, fire-resistant, and as short as possible.
- Locate the exterior hood. Check that the damper moves freely and there is no bird nesting or debris.
- Protect floors and walls with a drop cloth if you will move the dryer.
If any step raises concern—such as a brittle gas line or a transition duct that is already crushed—pause and call a professional. Avoid unplanned repairs by addressing issues deliberately.
Cleaning Steps for Short, Accessible Vents
- Remove and clean the lint screen. Rinse with mild soap if fabric softener residue has built up, then dry completely.
- Vacuum the lint trap housing. Use a narrow attachment to collect debris beneath the screen slot.
- Disconnect the transition duct at the dryer. Loosen the clamp, then gently pull the duct free. Avoid tearing foil flex; if it is damaged or excessively long, plan to replace it with a smooth, short transition duct.
- Vacuum behind and under the dryer. Lint accumulates along baseboards and in corners; capturing it reduces airborne dust during reassembly.
- Run a brush kit carefully into the vent opening. If your route is short and straight, extend the brush slowly, rotating to dislodge lint. Stop if you feel sharp resistance that may indicate an elbow, screw, or kink you cannot safely navigate.
- Collect debris as you withdraw the brush. Vacuum the area and avoid scattering lint.
- Inspect the exterior hood. With the dryer still off, open the damper by hand and remove visible debris. Do not force stuck parts; note any damage for replacement.
- Reconnect the transition duct. Keep it as short and straight as the space allows, then secure clamps snugly without over-tightening.
- Restore power and, for gas units, reopen the gas valve. Run the dryer on air-fluff for a few minutes to check airflow at the exterior hood. The damper should open widely and hold steady under the exhaust stream.
These steps serve small, uncomplicated layouts. If your brush kit snags, if the duct path is long or vertical, or if the hood is on a roof, stop and schedule a professional visit. Safe outcomes are more important than a DIY victory.
Elizabeth-Specific Safety Considerations
Because many Elizabeth homes were built before laundry rooms became standard, some vent routes reflect space-saving compromises. Elbows tucked behind stacked units, long runs through basements, and terminations facing prevailing winds are common. High summer humidity makes lint sticky, and winter air can create condensation in unconditioned spaces. These realities demand a careful approach: keep elbows to a minimum, ensure a consistent slight downward pitch toward the exterior in horizontal runs, and replace damaged hoods with models that open easily while shedding rain.
In multifamily buildings, rules may require professional service or coordination with building staff. Respect access guidelines and elevator usage policies to keep common areas safe and clean. A professional team will use protective coverings and plan for minimal disruption to neighbors.
Midway Milestones: Signs You Are on Track
As you progress, look for cleaner lint trap housing, reduced lint debris on the floor, and a transition duct that is smooth and unkinked. When you run the final airflow test, the exterior damper should open fully with a steady exhaust stream. Clothes should dry more evenly on the next load. If your results fall short, combine your DIY effort with professional dryer vent cleaning to address sections of the route you cannot reach safely.
Common Mistakes to Avoid
- Using screws that penetrate the interior of the duct. They trap lint and create fire risks.
- Venturing onto a roof without proper safety gear. Falls and roof damage are serious hazards.
- Compressing the transition duct when pushing the dryer back. Keep a clear path and watch the duct as you slide the appliance.
- Ignoring makeup air needs in tight closets. Insufficient air can cause overheating and poor drying.
- Venting indoors or into crawlspaces. Always exhaust to the outdoors through a compliant hood.
Avoiding these mistakes is as important as any brush pass. A clean but poorly routed or obstructed system will continue to underperform.
Maintenance Habits That Extend Results
- Clean the lint filter before every load and wash it periodically to remove film.
- Separate heavy fabrics from light ones to reduce dry times and lint shedding.
- Vacuum behind and under the dryer quarterly to keep dust down.
- Inspect the exterior hood seasonally and ensure vegetation or snow is not blocking it.
- Document your maintenance dates and any observations to decide on the right professional interval.
With these habits, many Elizabeth households see steady performance through all four seasons, even during summer humidity and winter cold snaps.
Frequently Asked Questions
How often should a vent be professionally cleaned? Many homes benefit from annual service, while larger families, pet owners, or homes with long or complex routes may need shorter intervals.
Why are my drying times still long? You may have a crushed transition duct, a stuck exterior damper, or buildup in sections your brush could not reach. A professional can inspect, measure airflow, and resolve hidden restrictions.
Is a plastic or foil transition duct acceptable? Smooth-walled, fire-resistant transition ducts are preferred. Thin foil or plastic types can crush or tear easily and are often not recommended.
Can scented dryer sheets increase lint? Heavier residues can adhere to the lint screen, reducing airflow. Clean the screen with soap and water periodically to remove buildup.
What about condo or co-op rules? Many buildings require professional service or prior notice. Coordinate with management to ensure compliance and smooth access.
Confident, Safe Vent Care for Elizabeth Homes
Safe dryer vent cleaning is about understanding your system, respecting limitations, and focusing on outcomes that reduce heat, moisture, and lint risks. With patient preparation and steady technique, you can manage light maintenance and recognize when professional help is warranted.
Book Trusted Help When You Need It
When your vent route is long, access is tight, or results fall short, schedule a thorough dryer vent cleaning for your Elizabeth home. You will gain restored airflow, safer operation, and the peace of mind that comes from a complete, end-to-end service tailored to the challenges of local properties.
