Comprehensive Dryer Vent Cleaning Guide and Safety Checklist for Elizabeth, NJ
Dryer vent safety is a must-have for every household in Elizabeth, New Jersey. Whether you live in a historic home near Elizabethport, a garden apartment in Elmora, or a mid-rise condo closer to the waterfront, your dryer relies on clear, efficient venting to move hot, moist air out of the building. Lint accumulates beyond the lint screen, especially at elbows, long runs, and exterior terminations. The result can be longer cycles, excess heat near the machine, and combustible buildup inside the duct. If you are just getting started and want a dependable reference point, reviewing trusted dryer vent cleaning resources helps you see what thorough, safety-first service looks like.
This guide explains how dryer vent systems work, the warning signs of restriction, step-by-step cleaning considerations, and a practical safety checklist you can use throughout the year. You will also learn Elizabeth-specific tips related to weather, older building materials, and access constraints, so you can tailor maintenance to your home.
How Dryer Vent Systems Work
Your dryer heats air and tumbles clothes while a blower pushes humid exhaust through the lint screen and into the vent duct. Ideally, that duct is a short, smooth metal path with minimal bends leading to an exterior hood that opens freely. In reality, many Elizabeth homes have longer routes with multiple elbows, vertical chases, or roof terminations. Each bend slows airflow, and any crush point or kink in the connector behind the dryer becomes a choke point. Over time, lint adheres to the duct walls. High humidity and cold surfaces accelerate this buildup by helping fibers stick and clump.
When the vent restricts, the dryer runs hotter and longer. Clothes may feel hot but still damp at the end of a cycle, the laundry area can develop a musty or burnt odor, and the exterior hood may barely open. Clearing lint from the entire run—not just the first few feet—is the key to restoring safety and efficiency.
Warning Signs Your Vent Needs Attention
Look for longer drying times that creep up over weeks or months. If towels used to dry in one cycle but now take two or three, airflow is likely compromised. Check the laundry room temperature; excess heat suggests hot air is lingering instead of venting outside. Inspect the exterior hood while the dryer runs. You should feel a strong stream of warm air and see the flapper open decisively. Weak airflow or visible lint around the hood are red flags.
Other signs include a burnt-lint smell, condensation on walls near the laundry area, and a dryer cabinet that feels unusually hot. Some newer dryers display error codes related to restricted venting; take these alerts seriously and schedule a thorough cleaning.
Safety Principles to Guide Every Cleaning
Safety comes first. Use smooth-wall metal ducts where possible. Keep the transition connector behind the dryer short and supported, avoiding sharp bends. Do not introduce screws that penetrate the duct interior; protruding tips snag lint. Ensure the exterior hood opens fully and is not blocked by nests or debris. If your vent runs vertically or includes inaccessible sections, plan for professional assistance to avoid damaging the duct or leaving hidden blockages behind.
Vent cleaning should remove lint along the entire run and confirm restored airflow at the end. That means agitation tools sized to the duct, a capture method with negative pressure to prevent spreading lint indoors, and a check at the termination. Skipping any step risks leaving a partial blockage that shortens the benefit of the cleaning.
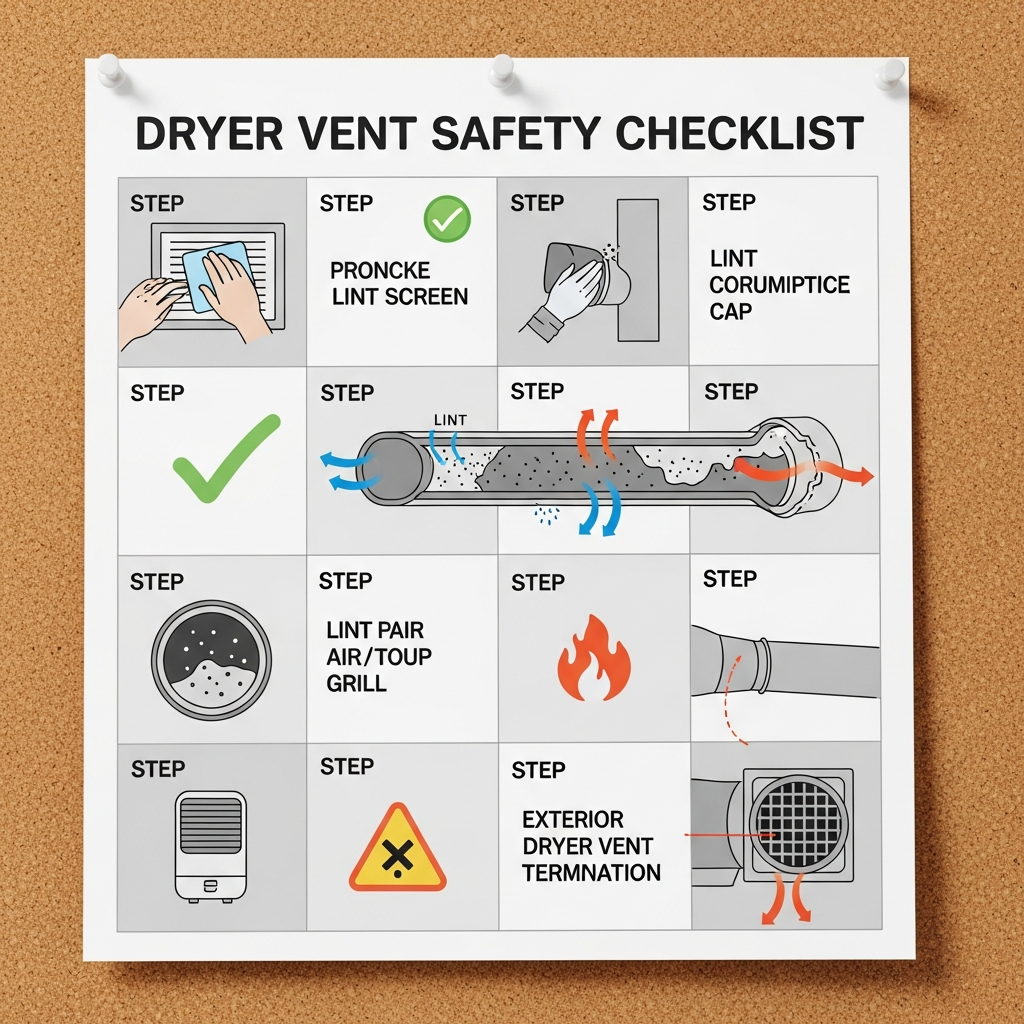
Step-by-Step Cleaning Considerations
Step 1: Preparation. Clear access to the laundry area. Unplug the dryer and gently move it to expose the transition connector. Take a quick look at the connector for kinks, crushing, or fragile materials that need an upgrade.
Step 2: Lint Screen and Housing. Remove and clean the lint screen. If residue from dryer sheets or fabric softener has built up, wash the screen with mild soap and water, then dry it thoroughly. Vacuum the lint screen housing to remove fibers that escape the screen.
Step 3: Transition Connector. Disconnect the transition hose from the dryer and duct. If you see foil or plastic, consider upgrading to a semi-rigid or rigid metal connector sized to fit without crumpling. Ensure the path is as straight as your space allows.
Step 4: Duct Agitation and Capture. For a comprehensive cleaning, use a rotary brush or air whip matched to your duct diameter while a vacuum creates negative pressure to capture loosened lint. If your duct is older or fragile, a gentler method reduces the risk of damage. The goal is to clear elbows and long sections, not just the first few feet.
Step 5: Exterior Termination. Inspect the exterior hood or roof cap. Confirm the flapper moves freely and that screens or guards, if present, do not impede airflow. Remove nests or debris. If the termination is on the roof, plan for safe access and consider professional help.
Step 6: Reassembly and Test. Reconnect the transition connector without crushing it, push the dryer back with care, and run a short cycle. Step outside to feel the exhaust stream and observe the hood opening. You should notice stronger airflow and a more decisive flapper movement.
Elizabeth-Specific Tips
Because Elizabeth sits near the bay and major transit routes, humidity and airborne particulates are part of life. In summer, humid air encourages lint matting; in winter, cold ducts can condense moisture, helping fibers stick. Scheduling cleaning just before seasonal extremes—late fall and early spring—can keep performance steady. If you live in a multifamily building, coordinate with management for roof or chase access and align on best times for service to minimize disruption.
Older buildings may hide elbows and joint transitions behind finished walls. If your cycles remain long after basic cleaning, a concealed restriction is likely. A professional inspection that tracks the vent path from appliance to termination can reveal the true configuration and locate problem spots.
Ongoing Maintenance and Habits
Empty the lint screen before every load. Periodically wash it to clear residue that restricts airflow. Keep the area around and under the dryer clean; stray lint near the floor can get pulled toward the connector. Make sure the dryer is not pushed tightly against the wall, which can kink the transition hose. During a drying cycle, step outside to check that the hood opens and that exhaust feels strong and steady.
Plan for professional cleaning annually, or more frequently if you have a large household, pets that shed, or a complex vent path. Treat the visit as part of your home’s preventive maintenance—similar to servicing a furnace or air conditioner. The payoff is shorter cycles, lower heat stress on the dryer, and greater peace of mind.
Frequently Asked Questions
Q: How do I know my vent is clear after cleaning? A: You should feel strong airflow at the exterior hood during a test cycle, see the flapper open easily, and notice that laundry dries in a single cycle without excessive heat in the room.
Q: Can I perform the entire cleaning myself? A: Light maintenance is reasonable, but full cleanings—especially for long or vertical runs—are safer and more effective when handled by trained professionals with the right tools and capture systems.
Q: What materials are best for the transition connector? A: Semi-rigid or rigid metal connectors resist crushing and maintain better airflow than thin foil or plastic versions.
Q: Why does my laundry room smell musty after drying? A: Restricted airflow leaves moist air lingering, which can cause musty odors. Restoring clear venting usually resolves the smell.
Q: How often should I schedule a professional cleaning in Elizabeth? A: Many households benefit from annual visits. Large families, pet owners, and homes with complex vent paths may need more frequent service.
Q: What if my vent exits on the roof? A: Roof terminations require safe access and careful inspection. Plan ahead with your building management or a qualified provider to ensure the cap and flapper are clear and operating.
Q: Are screens on exterior hoods a good idea? A: Some screens can trap lint and impede airflow. Choose solutions that safeguard against pests while preserving free movement of exhaust air.
Q: My dryer shows a vent error—what now? A: Treat it as a real warning. Schedule a thorough cleaning and verification check. If the error persists, consult an appliance technician to rule out internal dryer issues.
Checklist You Can Use Year-Round
Monthly: Clean the lint screen, wipe the screen housing, and vacuum around the dryer area. Visually check that the transition connector remains supported and kink-free.
Seasonally: Step outside during a cycle to observe the hood. In fall, schedule cleaning ahead of winter’s closed-window months. In spring, clear any nests or debris that formed over winter and verify the flapper moves freely.
Annually: Book a comprehensive professional cleaning. Ask for a summary of findings, including any suggested upgrades to connectors or terminations. Keep notes on service dates and observations so you can spot patterns year to year.
Putting It All Together
Dryer vent safety comes down to consistent attention and smart choices. Understand your vent path, watch for performance changes, and address restrictions promptly. Use durable materials, keep the transition hose short and supported, and confirm that the termination opens fully during operation. With these habits, your dryer works efficiently, your laundry area stays cooler, and the risk of lint ignition is reduced.
If you are ready to translate this guide into action, schedule a thorough service with a team that explains their process, respects your home, and verifies results you can see and feel. When you want an example of what comprehensive, safety-first service entails, consider booking with a provider known for expert dryer vent cleaning so your home in Elizabeth stays safer and your laundry routine runs smoothly all year long.
