Step-by-Step Air Duct Installation for Elizabeth, NJ Homes
A successful duct installation follows a clear sequence that protects your home’s finishes, meets local codes, and delivers quiet comfort in every season. In Elizabeth, New Jersey, homes range from historic colonials to newer townhomes, and the right process adapts to each structure while preserving performance. The roadmap below details every critical step—from planning and layout to balancing and verification—so you can complete your project with confidence.
While the sequence is designed for homeowners and contractors alike, there are moments when expert support shortens timelines and prevents rework. If you plan to handle demolition or access while a pro manages design and critical connections, or if you prefer a full-service approach, explore local specialists in air duct installation who know Union County codes and common construction details.
Step 1: Define Goals and Gather Information
Clarify whether your top priorities are comfort, efficiency, noise reduction, zoning, or all of the above. Gather house plans or sketch your own with accurate room sizes, ceiling heights, and window orientations. Note existing equipment location, venting, and service clearances. Identify barriers such as beams, plumbing, or electrical conduits that will influence routing.
In Elizabeth, consider winter heating demand for rooms over garages and summer cooling loads in top-floor bedrooms. Early clarity on goals and constraints makes subsequent steps faster and more precise.
Step 2: Perform Load Calculations and Choose a Layout
Use Manual J or an equivalent approach to determine room-by-room airflow needs. Then apply Manual D principles to select a trunk-and-branch or radial layout. Trunk systems are flexible for basements; radial systems can simplify balancing when paths are similar in length. Aim for short, straight runs, minimal elbows, and strategic register placement to offset drafts and solar gain.
Sketch your planned trunks, branches, returns, and register locations. Include damper positions and label duct sizes. Verify that doors have undercuts or transfer paths for return air to prevent pressure imbalances.
Step 3: Obtain Permits and Prepare the Site
Confirm permit requirements with the City of Elizabeth and schedule inspections to align with rough-in and final stages. Protect floors and finishes, set up dust control, and mark all duct routes and penetrations. Stage materials by zone and label components clearly to reduce errors and keep the project flowing.
Step 4: Fabricate and Install the Supply Plenum
Mount the supply plenum to the air handler using gasket and mastic to ensure an airtight seal. Transition smoothly from the equipment outlet to the plenum size using tapered fittings. Avoid abrupt changes that create turbulence and noise. If using duct board, follow manufacturer guidelines for internal seals and external tape.
Step 5: Run the Main Supply Trunk
Install the main trunk straight and level, supporting it with galvanized straps or angle supports at consistent intervals. Keep elbows to a minimum and use long-radius fittings. Plan takeoffs several duct diameters downstream of elbows to allow flow to stabilize. Seal all longitudinal seams and joints with mastic and UL 181 foil tape.
Step 6: Add Branch Takeoffs and Balance Dampers
Cut and mount takeoffs at smooth angles that favor low turbulence. Install manual dampers on branch lines to facilitate balancing during commissioning. When using flex for final runs, keep lengths short, pull the inner core tight, and support every few feet to avoid sagging. If you want a mid-project performance check or help verifying branch sizes before you close ceilings, consult an Elizabeth pro who focuses on air duct installation to validate your approach.
Step 7: Build the Return Plenum and Trunks
Returns must be at least as free-flowing as supplies. Construct a quiet, generously sized return plenum and run trunks to central locations. Avoid drawing air from kitchens, baths, or garages. Line return boxes with acoustic liner near living areas to reduce noise. Seal joints thoroughly and confirm that interior doors or transfer grilles allow air to return easily.
Step 8: Install Boots, Registers, and Grilles
Cut openings for boots accurately and mount them square and flush. Seal the boot-to-drywall or boot-to-subfloor perimeter with mastic and a compatible sealant to stop leakage and dust infiltration. Install registers and grilles sized for quiet velocities and good throw. Mark damper locations and set them to mid-position for initial testing.
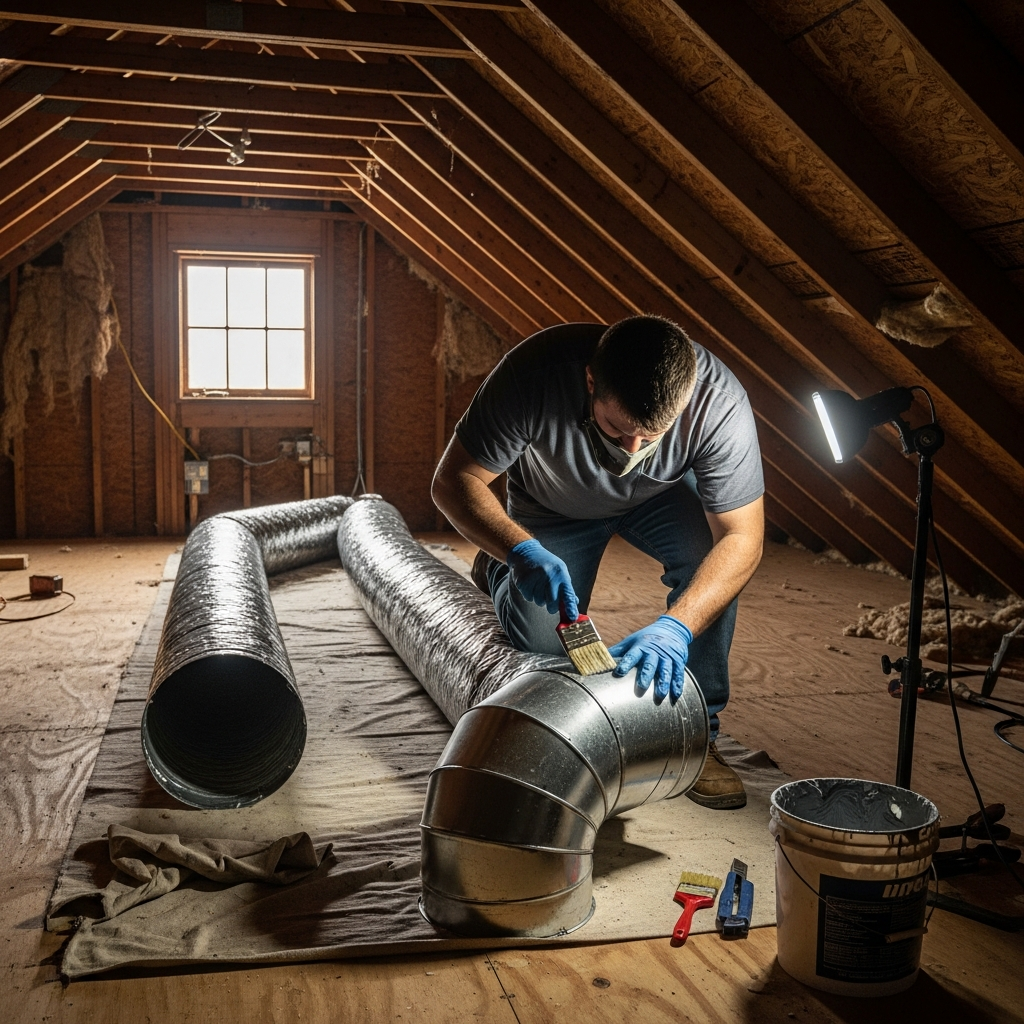
Step 9: Seal and Insulate
Air sealing is non-negotiable. Apply mastic to all seams, takeoffs, and transitions, then supplement with UL 181 foil tape. In unconditioned basements, attics, or crawlspaces, wrap ducts with appropriate insulation and vapor barriers where needed. Sealed, insulated ducts reduce energy waste and prevent condensation during humid New Jersey summers.
Step 10: Pressure Testing and Commissioning
Measure total external static pressure and ensure it falls within your air handler’s rated range. Check temperature rise in heating mode and drop in cooling mode. Use a smoke pencil to locate lingering leaks around boots and seams and fix them immediately. Adjust branch dampers incrementally until rooms reach even temperatures under normal operation.
Step 11: Final Documentation and Homeowner Orientation
Record duct sizes, damper positions, and filter sizes. Capture photos of concealed routes for future reference. Provide a simple map of supply and return paths, note insulation levels, and document maintenance schedules for filters and visible duct inspections.
Elizabeth-Specific Field Notes
In older Elizabeth homes, tight chases and finished basements often force creative routing. Use compact transitions and hug trunks to joists to preserve headroom. For multi-level homes, consider zoning controls or carefully balanced branch sizing to maintain consistent temperatures across floors. Pay close attention to combustion safety and clearances near gas appliances commonly found in basements.
Noise control is another priority. Avoid undersized returns, keep velocities reasonable, and consider acoustic lining in return plenums near bedrooms or living rooms. Long-radius elbows and properly sized registers help maintain quiet operation day and night.
Avoiding Common Pitfalls
Do not rely on building cavities as returns without proper lining and code approval. Avoid placing takeoffs too close to elbows, overusing flexible duct, or skipping mastic in favor of tape alone. Never run uninsulated supply ducts through unconditioned spaces. Each of these mistakes increases noise, energy use, and the risk of condensation or comfort complaints.
Plan for maintenance access. Leave space to replace filters, service the air handler, and inspect key duct connections. Document where dampers are hidden and label them clearly so seasonal adjustments are easy.
Frequently Asked Questions
How long do these steps take? Timelines vary by home size, access, and complexity. A simple, single-level layout goes faster than a multi-story install with tight chases and finished spaces. Planning and staging materials ahead of time reduce delays.
What duct type is best? Sheet metal trunks with short, tight flex branches strike a good balance for most homes. Duct board can work for plenums and some trunks when fabricated and sealed properly.
Do I need to insulate all ducts? Any duct in unconditioned spaces should be insulated to minimize heat loss/gain and prevent condensation. Even in conditioned areas, sealing remains essential for efficiency and air quality.
How do I keep the system quiet? Size returns generously, use long-radius elbows and turning vanes, select appropriately sized registers, and maintain reasonable air velocities. Balance with dampers rather than closing registers.
What if a room still runs hot or cold? Verify that the branch is not crushed, takeoffs are properly located, and dampers are set correctly. Consider adding a return or resizing a stubborn branch if balancing does not resolve the issue.
Bring the Plan to Life
Follow this sequence, and you will produce a duct system that performs reliably through Elizabeth’s hottest days and coldest nights. If you want a seasoned partner to confirm design choices or complete the entire installation, connect with a trusted provider of air duct installation. The right process, executed carefully, delivers quiet comfort, healthy air, and long-term efficiency for your New Jersey home.
