Introduction: A Practical Checklist for Cleaner, Stronger Ducts in Elizabeth, NJ
In Elizabeth, New Jersey, your home’s comfort and energy efficiency depend on how well your air ducts move conditioned air without obstruction or leakage. Between coastal weather influences, seasonal pollen, and older housing stock, ducts can collect debris and lose performance faster than many homeowners expect. This comprehensive checklist walks you through what to do before, during, and after air duct cleaning and repair so you can protect indoor air quality, protect your HVAC investment, and feel confident about every step. If your initial inspection suggests damaged sections, loose connections, or persistent dust plumes, consider scheduling professional help and targeted air duct repair right at the start to keep the project efficient and safe.
Use this resource as a living document you can revisit each season. Work through it systematically, save notes about what you find, and compare results after service. That way, you’ll have evidence of improvements, a timeline for maintenance, and a clear picture of remaining priorities.
Why a Checklist Matters
A well-structured checklist turns a vague plan into a clear series of actions. It keeps you consistent, shortens diagnostic time, prevents oversights, and supports healthier indoor air. Most importantly, it gives you conversation points when coordinating with a technician. When you can describe symptoms, locations, and timing, you set yourself up for faster, more accurate results.
In Elizabeth, NJ, where humid summers and brisk winters push HVAC systems to their limits, tools like checklists help you schedule cleaning and repair at the right time, catch early warning signs, and avoid compounding problems. You will also be better prepared to confirm that the work was completed properly.
Safety and Preparation
Begin by shutting off the HVAC system at the thermostat and, if necessary, at the breaker to avoid fan activation while registers or panels are removed. This protects both the equipment and your household. Make sure you have adequate lighting for basements, crawlspaces, or attic runs so you can see connections, supports, and any signs of damage clearly.
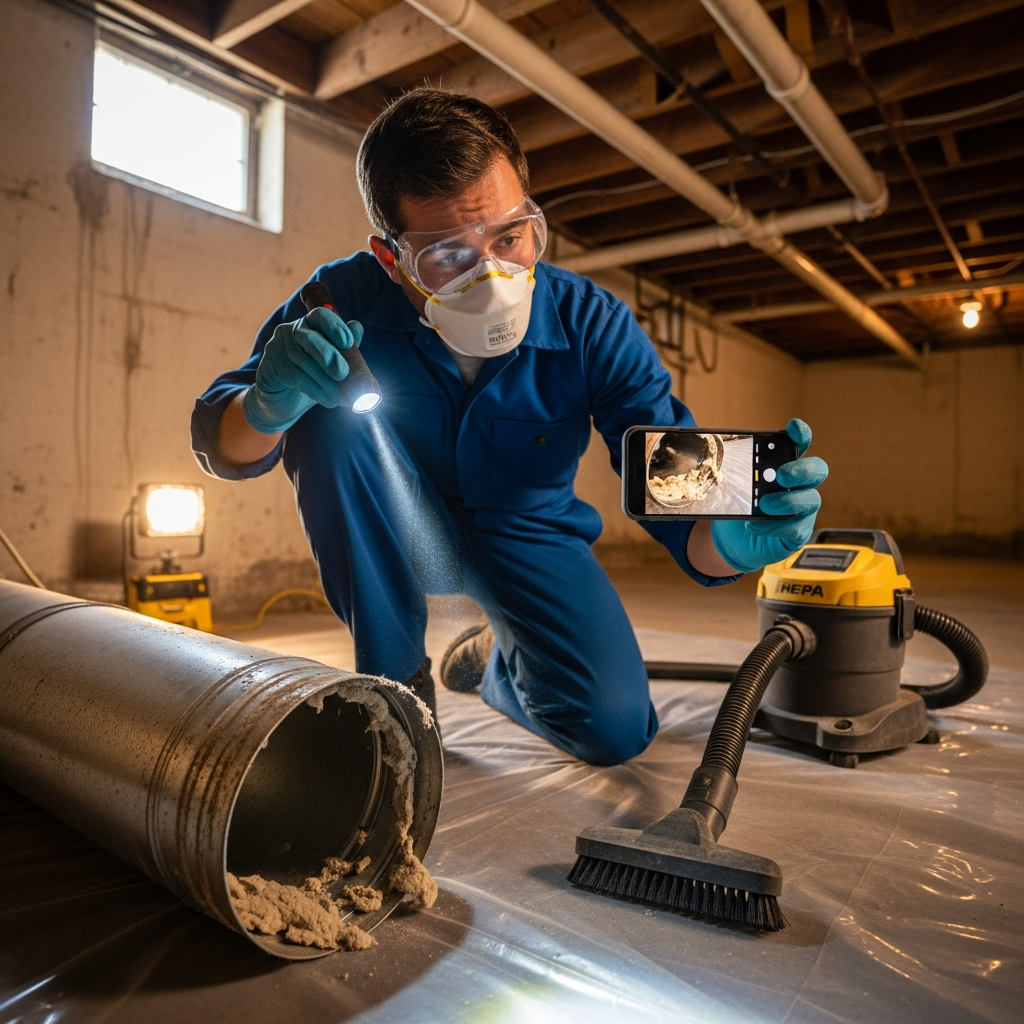
Lay down protective coverings around vents and returns to catch dust during inspections. If you have respiratory sensitivities, consider wearing a basic mask while opening grilles. Keep a camera or smartphone handy so you can document any visible dust build-up, torn insulation, loose mastic, or signs of moisture.
If your home has recently undergone renovations, extra diligence is wise. Construction dust is notorious for migrating into ductwork, coating interior surfaces, and affecting air quality for months if not resolved. Your preparation step should include checking for drywall dust, sawdust, or paint residue in and around return grills.
Finally, identify access points. Note the location of the air handler, main supply and return trunks, branch runs, and any flexible connections. This orientation ensures you do not miss important sections during the inspection and cleaning process.
Initial Visual Inspection
Start with the returns, since they draw air and contaminants into the system. Remove grilles carefully and use a bright light to inspect the first few feet of duct interior. If you see heavy dust layers, compacted lint, pet hair, or debris, that is a strong signal that professional cleaning is due.
Next, examine supply registers. Pay attention to the vane edges and inner walls. Grey or black streaking, clinging dust, or a film that reappears soon after cleaning the room can indicate dirtier interior ducts or a filter issue. Also look for uneven air pressure between rooms, which may indicate partial blockages or leaks.
Look for moisture stains, rust, or water spots around metal ducts, and for crushed or kinked sections in flexible ducts. These conditions not only impede airflow but may also introduce contaminants or encourage microbial growth. Note any unusual odors when the system starts; a musty smell can indicate damp insulation or stagnant sections.
Filter and Equipment Check
Remove and inspect the HVAC filter. If it is clogged or gray with dust, replace it promptly. Confirm that the filter size matches the system’s specifications and that the frame is undamaged and seated correctly to prevent bypass. A poorly fitting filter allows dust to slip around the edges, lowering indoor air quality and creating more cleaning work for the ducts.
Check the blower compartment and coil access doors for secure seals. Gaps or loose latches can pull unfiltered air into the system. Ensure the condensate drain is clear to prevent humidity from entering ducts indirectly through elevated indoor moisture levels.
Cleaning Readiness Checklist
Plan the cleaning sequence from returns to supply trunks and branches, ending at the registers. This flow reduces cross-contamination. Confirm that all vents and registers are accessible and that furniture or rugs are moved in advance. Close windows so outdoor dust and pollen do not mix with circulating indoor air during the work.
Gather basic tools for non-invasive tidying around vents: a vacuum with a HEPA filter and brush attachment, microfiber cloths, a flashlight, and gentle, non-residue cleaners for grilles and registers. Surface cleaning is safe for many homeowners, while internal duct cleaning is best left to trained professionals who use negative-pressure equipment and controlled agitation tools designed for duct interiors.
If you are planning a professional visit, prepare questions about their process, equipment, and verification steps. Ask how they protect home furnishings, how they handle delicate flexible duct, and whether they provide before-and-after photos of key sections. These details make it easier to confirm a thorough job.
Repair-Focused Inspection
After addressing surface dust and planning cleaning, switch to repair considerations. Look for disconnected joints, loose collars at plenum connections, and missing or dried-out mastic on seams. Gently tug flexible duct at connections to ensure it is clamped and taped correctly with appropriate materials. Metal tape labeled for ductwork and a proper sealant are the norms; ordinary cloth duct tape is not suitable.
Inspect hangers and supports. Sagging ducts cause airflow turbulence and reduce performance. Secure supports maintain the designed cross-section and prevent stress at joints. In older homes, watch for improvised hangers or worn straps that may have been installed decades ago.
Note any rooms with persistent temperature swings or low airflow. Correlate these comfort issues with the layout you mapped earlier. If the branch run is long, has several sharp turns, or passes through unconditioned spaces without adequate insulation, it may need a combination of sealing, insulation repair, or reconfiguration.
Finally, check for signs of pest intrusion. Rodents or insects can damage duct insulation and create openings that draw in attic or crawlspace dust. Listen for scratching noises when the blower runs and look for droppings near accessible duct paths.
Elizabeth, NJ Considerations
Homes in Elizabeth encounter a wide range of temperatures and humidity levels. Summer humidity can exacerbate condensation on poorly insulated metal ducts, while winter dryness can reveal whistling leaks around seams as the system runs longer. Proximity to the coast can introduce salt-laden air outdoors, which, when pulled into leaks, may accelerate corrosion on exposed metal.
Older homes and multifamily buildings may have complex duct routing that crosses multiple temperature zones. If your ducts traverse attics, garages, or crawlspaces, prioritize sealing and insulation to stabilize temperatures in the conditioned rooms. In some cases, a small layout adjustment can trim a bend or shorten a run and improve overall balance.
Mid-Project Coordination and Documentation
Whether you handle surface cleaning or coordinate with a professional, document findings with photos or short notes. Capture close-ups of seams before and after sealing, show where insulation was replaced, and mark the rooms that improved in airflow. Keeping a record helps you evaluate the service quality and gives you a starting point for the next seasonal check.
If you are bringing in outside help, confirm appointment windows, access details, parking, and any building requirements if you live in a condo or co-op. Consolidate questions in one email or note so everything is addressed during the visit. Mid-project communication reduces misunderstandings and ensures that both cleaning and repairs are completed without gaps.
During this stage, it is also a smart time to plan any targeted improvements your inspection uncovered. If airflow is low in a particular room, discuss options like resealing connections, re-strapping a sagging section, or replacing a crushed flexible run. This is where a small investment in well-planned air duct repair can produce an outsized improvement in comfort and system performance.
Post-Cleaning Verification Steps
Once cleaning is complete, perform a simple visual and functional check. Look at vents and returns for residual dust streaks, wipe a finger inside the first few inches of duct where safe, and evaluate the airflow by feel at multiple registers with the system running. While not a lab test, these quick checks can confirm that your system is circulating cleaner air more effectively.
Ask for documentation if a professional team performed the work. Before-and-after images, a summary of areas serviced, and notes on any repairs made are valuable. Review the report while rooms are still open and technicians are present so any questions can be resolved on the spot.
Replace the filter if the schedule calls for it, label the date on the frame, and set a reminder for the next change. A fresh filter after a thorough cleaning supports continued air quality and protects freshly serviced components.
Repair Completion Checklist
For repairs, confirm that all joints are sealed with appropriate materials, that flexible ducts are clamped properly, and that any insulation work covers seams and fittings without gaps. Verify that supports are spaced to avoid sagging, and that any relocated runs preserve gentle bends and minimize kinks.
With the system running, listen for whistling or rattling at previously problematic connections. Place your hand near seams, where safe, to feel for escaping air. If the issue persists, mark the location for a follow-up seal or adjustment. One thorough pass often addresses most issues, but sometimes a second look is warranted, especially in complex assemblies.
Walk room to room and note comfort improvements. Balanced airflow and faster temperature stabilization are positive signs. If one area remains stubbornly uncomfortable, it may require a more detailed assessment of duct sizing, layout, or obstructions.
Ongoing Maintenance Strategy
Establish a maintenance rhythm: seasonal visual inspections, timely filter changes, and proactive attention after renovations or major shedding seasons for pets. Set reminders on your phone or calendar for these tasks so they do not get lost during busy months. Consistency lowers the likelihood of sudden performance drops or air quality complaints.
When life gets hectic or findings become complex, it is perfectly reasonable to call a pro to review your documentation, confirm problem areas, and carry out targeted air duct repair. Collaboration turns your careful observations into precise solutions that extend equipment life and boost comfort.
Troubleshooting Common Symptoms
If dust appears rapidly after cleaning living spaces, reassess the filter, return paths, and nearby renovation activity. For rooms with persistent odor, look for moisture sources like a damp crawlspace or attic insulation compromised by roof leaks. Weak airflow can stem from obstructions, kinks, collapsed liners, or a blower issue; rule out the duct issues first, then escalate to equipment diagnostics if needed.
Uneven temperatures may hint at undersized or oversized branches, long runs with too many turns, or leaks at concealed junctions. Use your documentation to zero in on the path serving the problematic room and confirm that it is sealed, supported, and insulated appropriately for the surrounding environment.
FAQ
Q: How often should I schedule air duct cleaning in Elizabeth, NJ? A: Frequency depends on lifestyle, pets, renovations, and filter discipline. Many households reassess annually and schedule cleaning when visual checks reveal buildup or when indoor air quality complaints increase.
Q: What are signs I need repair, not just cleaning? A: Whistling at seams, rattling ducts, uneven airflow, persistent dust despite new filters, and visible gaps or crushed sections all point toward repairs.
Q: Can I clean ducts myself? A: You can safely clean grilles, registers, and visible interior edges with a HEPA vacuum and microfiber cloths. Interior duct cleaning requires specialized equipment and training to avoid damage and to capture debris effectively.
Q: Will sealing ducts really improve comfort? A: Proper sealing and support reduce air loss, stabilize room-to-room temperatures, and help your HVAC system reach setpoints more quickly and quietly.
Q: What should I ask a technician before work begins? A: Ask about their process, protective measures, materials used for sealing, how they handle flexible ducts, and how they will verify results through photos or measurements.
Q: Do older buildings in Elizabeth need special attention? A: Yes. Older buildings may have legacy materials, tight chases, or long, winding runs. A careful inspection and tailored plan are essential for results without collateral issues.
Q: How do I maintain results between services? A: Replace filters on schedule, keep returns unobstructed, maintain clean living spaces, and do quick visual checks each season.
Schedule Reliable Service in Elizabeth, NJ
You now have a clear checklist to guide preparation, communication, and verification for cleaning and repairs. If your walk-through suggests that professional help would accelerate results, choose a trusted local team that respects your home, documents their work, and stands behind outcomes. When you are ready to upgrade comfort and indoor air quality, schedule expert air duct repair and enjoy the difference a well-sealed, clean system can make throughout every season in Elizabeth.
