Introduction
A thorough inspection is the backbone of a safe, efficient dryer vent installation. In Elizabeth, New Jersey, where homes range from historic brick to modern townhouses, a thoughtful checklist helps ensure your system supports strong airflow, minimizes lint accumulation, and stands up to seasonal humidity and winter cold. This guide provides a detailed, step-by-step inspection framework you can use before, during, and after installation. If you prefer a professional assessment and turnkey setup, local specialists can perform code-conscious dryer vent installation with comprehensive testing and documentation.
Inspections prevent small mistakes from becoming big problems. By validating materials, route design, sealing quality, and termination details, you can safeguard your home from overheating, moisture intrusion, and lint-related hazards. Use this checklist to evaluate a new installation or to audit an existing vent you intend to upgrade.
Pre-Installation Assessment
Start with the laundry space. Confirm that the intended dryer location has adequate clearance around and behind the unit for ventilation, service access, and a stress-free transition connection. Verify the electrical receptacle or gas supply is accessible and in good condition, and plan for moving the appliance safely during the work.
Map the route options to the exterior. Identify the shortest path with the fewest turns and confirm there are no obstructions such as framing members, wiring, plumbing, or ductwork that force tight bends. In multifamily buildings or HOA communities, verify placement rules and appearance standards for termination hoods.
Review the home’s envelope materials. Penetrating vinyl siding differs from drilling through brick or block; choose the correct tools and sealants for each. In colder months, consider the risk of condensation along uninsulated ducts routed through unconditioned spaces and plan for insulation where helpful.
Materials and Components Verification
Inspect all duct sections before assembly. Choose smooth-wall rigid or semi-rigid metal for the main run. Reject any pieces with dents, crushed ends, or sharp edges that could snare lint. Ensure the duct size matches the dryer outlet for a consistent pathway.
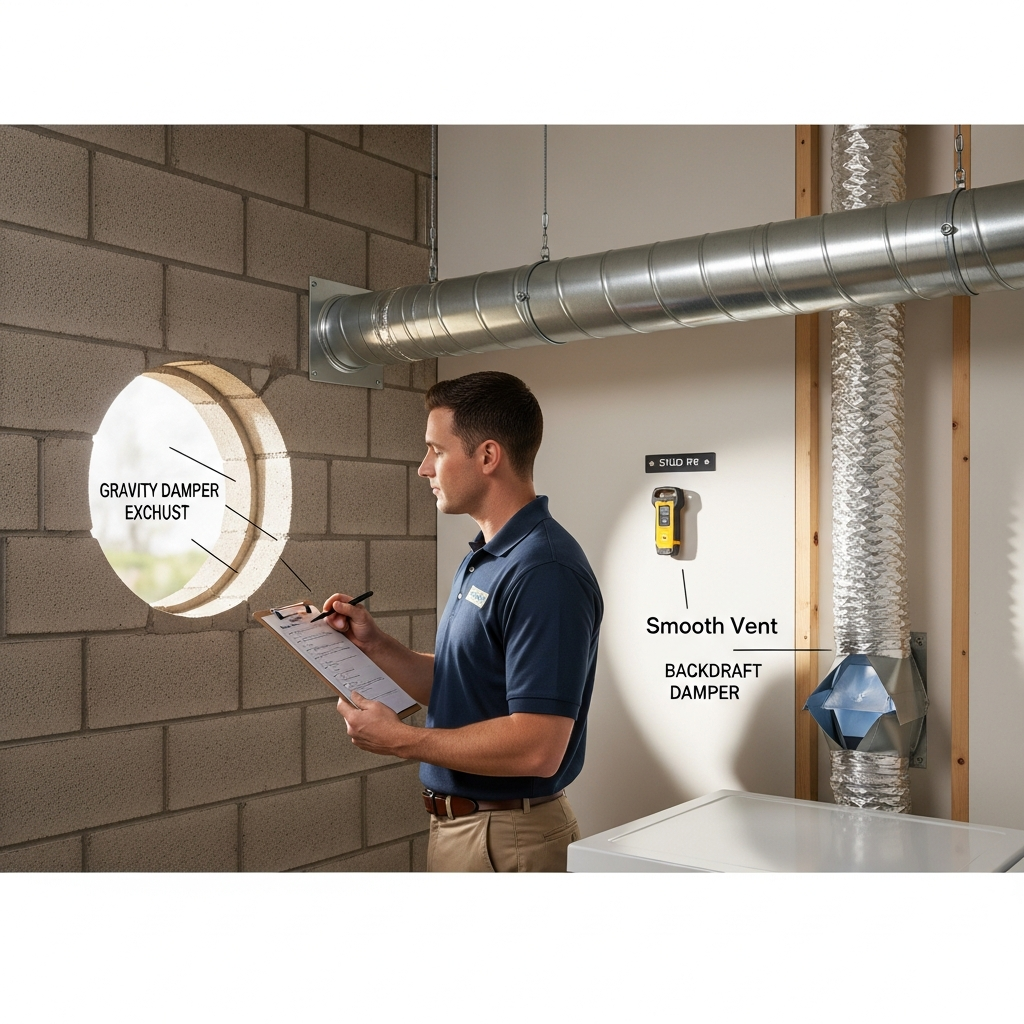
Examine the exterior termination hood. The damper should move freely, close fully when at rest, and open without sticking under airflow. Confirm the hood’s collar matches the duct diameter to avoid performance-robbing transitions. Look for a sturdy flange that can be weather-sealed to the wall surface.
Check sealing materials. Use HVAC-rated metal foil tape for joints, not standard cloth tape. Ensure you have appropriate fasteners for wood or masonry and pipe straps for regular support. If the duct will pass through combustible materials, plan for proper clearances and any required fire-blocking restoration.
Route Design and Clearances
Measure the total equivalent length, adding the resistance contribution from elbows. Aim to keep the run as short and straight as possible. Each added elbow and every extra foot of duct reduces airflow and increases lint accumulation risk, so reconsider layout if the route becomes convoluted.
Plan for serviceability. Provide access points or visible sections that allow periodic inspection and cleaning without tearing into finished walls. Avoid concealed, unbroken long runs in ceilings or chases that cannot be cleaned.
Confirm proper clearances from other systems. Do not share the dryer vent with bathroom or kitchen exhausts. Maintain separation from wiring and plumbing, and avoid locations where the duct might be crushed by storage or building movement.
Penetration and Termination Details
From the interior, mark the exit point and drill a small pilot hole to locate it outside. Evaluate exterior clearances to windows, doors, walkways, and neighboring properties. In dense Elizabeth neighborhoods, be sure your discharge remains on your own exterior surface and does not impact adjacent structures.
Create a clean, snug opening sized to the hood sleeve. On siding, integrate flashing or the hood’s flange to shed water; on masonry, use compatible sealant and corrosion-resistant anchors. Level the hood so the damper operates freely. Verify the hood is positioned to avoid snow piles, dense shrubs, or other obstructions that could block airflow.
Ensure the termination includes an effective backdraft damper and that no screen is installed that could trap lint. After installation, confirm the damper opens fully during operation and closes when the dryer is off.
Duct Assembly and Sealing Checks
Assemble the duct with crimped ends oriented in the direction of airflow so seams do not snag lint. Inspect each joint as you tape it with HVAC-rated metal foil tape. Avoid screws protruding into the airway; if mechanical fastening is required by a specific connector, use low-profile methods and keep the interior smooth.
Support horizontal runs every few feet with pipe straps. Prevent sags and maintain a gentle slope toward the exterior to discourage condensation pooling. Where the duct passes through framing, protect edges to prevent abrasion over time.
For vertical runs, include a backdraft damper and verify appropriate fire-blocking is restored at penetrations between framing bays or stories, using approved materials consistent with the existing assembly.
Dryer Connection and Appliance Positioning
Use a short, high-quality semi-rigid metal transition between the dryer outlet and the main duct. Position the dryer in its final spot to avoid crushing the transition. Clamp the connection at both ends following the manufacturer’s guidance for a secure, serviceable joint.
Level the dryer and verify that vibration does not stress the transition. Check that the appliance can be moved forward gently for maintenance without dislodging the connection or kinking the duct.
Airflow and Function Testing
Run the dryer on a no-heat or low-heat setting and observe the exterior hood. The damper should lift fully under airflow and drop closed when the cycle stops. Feel for strong, warm exhaust. Weak flow could indicate an obstruction, an overly long route, or constricted elbows.
Inside, open the lint screen and confirm steady suction. Listen for whistling or rattling, which can signal gaps or misalignment. Reseal any suspect joints and retest. Mid-inspection, remember that you can always engage experienced technicians for turnkey dryer vent installation that includes performance validation and documentation.
Load a few towels and compare drying times against your previous setup. Mark improvements and note any persistent lag; recheck elbow expansion and route length if the vent does not perform as expected.
Weather, Condensation, and Insulation Review
In winter, cold exterior walls or unconditioned areas can promote condensation in metal ducts. Inspect for spots where insulation could reduce temperature swings and discourage moisture. In summer, high humidity can make lint clump; a smooth, sealed duct resists blockages better than flexible alternatives.
Confirm exterior seals are tight where the hood meets the wall. Look for gaps, cracks, or misalignment that could admit water. Ensure landscaping and snow are unlikely to block the damper seasonally.
Safety and Compliance Considerations
Verify the vent route is exclusive to the dryer and does not join bathroom or kitchen exhaust lines. Confirm that no screens are installed on the hood that can trap lint. Ensure combustible clearances are respected along the route and that any penetrations have been properly sealed and, if required, fire-blocked.
Document the final configuration with photos and notes. Keep a record of duct type, number of elbows, and total equivalent length. Documentation supports future maintenance and helps diagnose performance changes down the road.
Maintenance Planning
Set a schedule for regular checks. Clean the lint screen every load. Inspect the exterior hood seasonally and confirm the damper moves freely. Plan for annual vent cleaning, or more often for high-volume laundry households, to keep airflow strong and reduce fire risk.
Educate everyone in the home to look for warning signs: extended drying times, a hot laundry room, or a burning odor. If any occur, stop the dryer and inspect immediately. Early intervention preserves safety and prolongs appliance life.
Frequently Asked Questions
Q: What is the most important factor in a safe dryer vent?
A: A short, straight, smooth-wall metal duct with properly sealed joints is the single most impactful choice for safety and performance.
Q: How do I verify my exterior hood is working correctly?
A: During a drying cycle, the damper should open fully and close when the dryer stops. If it sticks, binds, or fails to open completely, clean or replace the hood.
Q: Do I need insulation on the duct?
A: Insulation can help in unconditioned spaces by reducing condensation risk during cold weather. Do not insulate flexible transition pieces or bury them in walls.
Q: Can I use screws on duct joints?
A: Avoid screws that penetrate the airflow path, as they catch lint. Seal with HVAC-rated metal foil tape and keep interiors smooth.
Q: What are signs of a restricted vent?
A: Longer drying times, a hot laundry area, a burning smell, or a damper that barely opens suggest a restriction. Inspect immediately and correct the cause.
Q: Is vertical venting acceptable in townhouses?
A: Yes, provided the route remains as straight as possible, incorporates a backdraft damper, and meets fire-blocking requirements at penetrations between levels.
Q: Should I install a screen on the hood to keep out pests?
A: No. Screens trap lint and block airflow. Use a quality hood with an integrated damper to deter pests while maintaining performance.
Q: How often should I schedule professional cleaning?
A: Annually for typical households, more often for large families or heavy laundry usage. Regular cleaning maintains airflow and reduces fire risk.
Move Forward with Confidence
Using this checklist, you can confirm that your vent is short, smooth, sealed, and safely terminated, all of which are crucial for Elizabeth’s varied housing stock and seasonal weather. If you prefer expert help, schedule local dryer vent installation that includes thorough inspection and performance testing.
Protect your home and optimize your laundry routine by documenting the route, maintaining clearances, and committing to regular cleanings. When you are ready, book trusted, code-aware dryer vent installation and enjoy consistent performance with lasting safety.
