Introduction
A clean, efficient kitchen exhaust hood is essential for safety, air quality, and day-to-day comfort in any Elizabeth, New Jersey home or small food business. When grease builds up inside the hood, duct, and fan, it can restrict airflow, make cooking areas feel hotter, and increase the risk of flare-ups. This guide explains how to perform a thorough cleaning from start to finish, with a focus on making the process safer, more effective, and appropriate for the climate and housing styles common across Elizabeth. If you want expert help or need a reference point as you plan your own project, you can explore kitchen exhaust hood cleaning to understand the full scope of professional standards and results.
Many homeowners assume the visible portion of the hood is all that needs attention. In reality, the most critical areas are inside the hood plenum, the baffle filters, the ductwork, and the fan assembly on the roof or exterior wall. A proper procedure addresses each of these components without damaging finishes, electrical parts, or roof coatings. In Elizabeth, where seasonal humidity swings can be significant and historic homes often have longer duct runs than modern builds, methodical cleaning can prevent lingering odors and stubborn grease residues.
Safety First and Local Considerations
Before touching any part of the system, think safety. Turn off power to the hood and verify that the fan cannot start unexpectedly. If your hood connects to makeup air, be aware that shutting down the system may alter air movement in the kitchen. Wear gloves and eye protection, and make sure you have adequate ventilation while degreasers are in use. Elizabeth’s older housing stock may have unique routing for ducts, so inspect access points and plan how you will reach each segment without forcing or bending panels. Never mix chemical cleaners and always follow the label directions for contact time and rinsing.
Local conditions matter. In coastal New Jersey, salt in the air can interact with certain metals and coatings, so you should avoid overly abrasive pads that could strip protective layers. If your fan is roof-mounted, check the weather forecast to ensure you will not be working in high winds or heavy rain. Secure your footing on ladders and consider using a spotter if you need to access exterior fans. Finally, protect nearby appliances and countertops since degreasing runoff can discolor finishes.
Understanding the System Components
A typical residential or light commercial system in Elizabeth includes the hood canopy, removable baffle filters, an internal plenum where grease accumulates first, a duct that routes fumes outdoors, and an exhaust fan. Some fans use a squirrel cage or centrifugal wheel, while others have a simple upblast configuration. Grease collects in stages: the hood interior and baffles catch heavy particles, the duct collects residue over time, and the fan can develop uneven deposits that affect balance. Knowing where grease settles helps you allocate effort efficiently.
Preparation and Kitchen Protection
Preparation is the difference between a clean hood and a messy kitchen. Clear surrounding counters, remove decorative items, and cover appliances with plastic sheeting or washable drop cloths. Place absorbent pads or folded towels around the cooktop and under the front edge of the hood to capture drips. Keep a bucket of warm water nearby for quick wipe-ups. Have a separate container lined with a sturdy trash bag for used towels and spent filters if you will replace rather than wash them. Good preparation keeps the process organized and shortens the final cleanup.
Switch off power to the hood at the breaker or a dedicated disconnect. Confirm lights and fan controls are in the off position. If your hood has built-in lights, consider removing the bulbs and setting them aside in a safe place, particularly if previous cooking produced heavy splattering. Heat and grease can fuse residues around light lenses; handle these gently to avoid cracks.
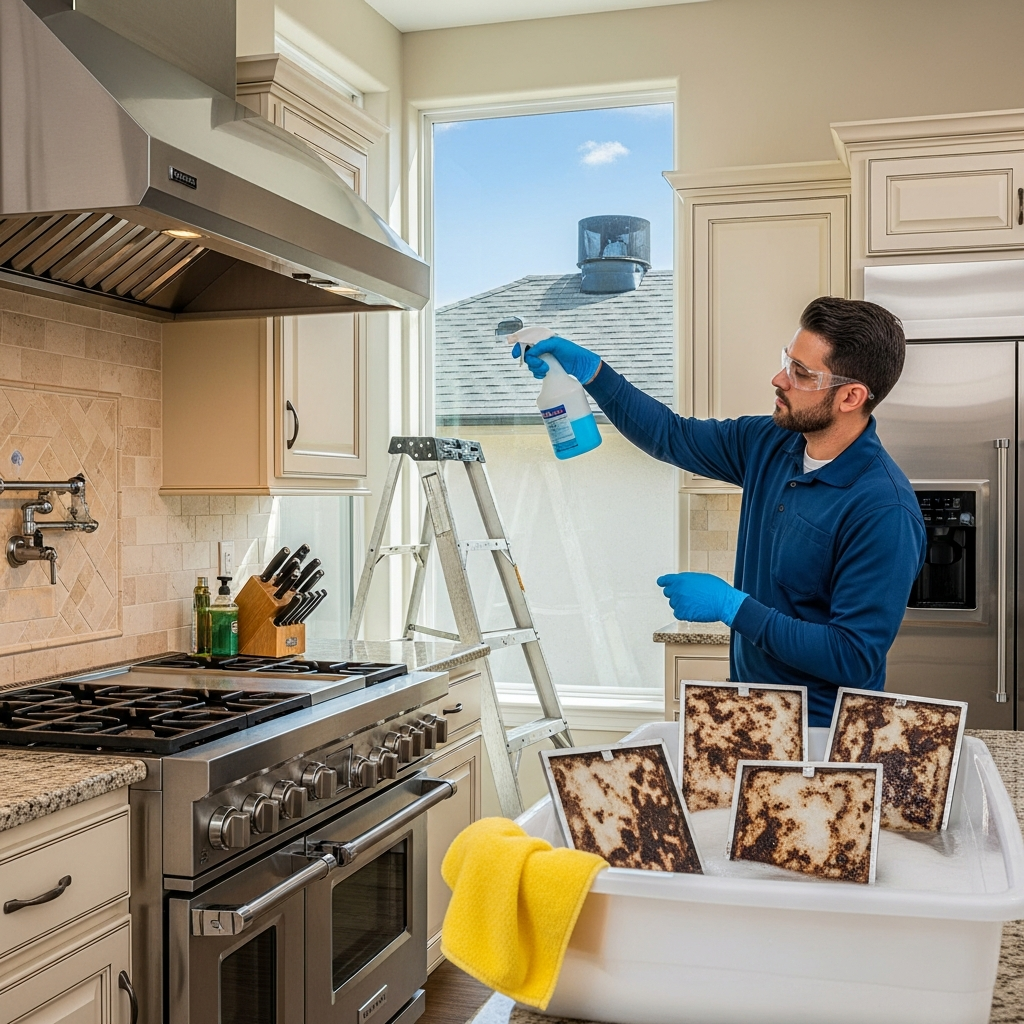
Removing and Cleaning Baffle Filters
Most hoods in Elizabeth homes use baffle filters because they allow efficient airflow while trapping grease. Slide them out carefully to prevent dripping. If the filters are highly saturated, carry them level to avoid spreading grease. In a utility sink or large plastic tub, soak the filters in hot water mixed with a degreaser that is safe for stainless steel. Allow sufficient dwell time so the solution can break down stuck-on fat and oil. Agitate the filters by dipping and lifting to dislodge particles without aggressive scrubbing that could warp the metal.
After soaking, rinse the filters with hot water. Inspect for any bent baffles or loose rivets. Minor cosmetic wear is normal, but warped filters can channel grease incorrectly and should be replaced. Set filters upright to drain and dry fully before reinstallation. Do not reinstall while damp, as trapped moisture can attract dust and interfere with immediate airflow.
Degreasing the Hood Interior
With filters removed, you can access the interior plenum. Spray or wipe on a concentrated degreaser rated for kitchen metals. Work from top to bottom using gentle, even strokes. Pay close attention to corners and seams, where grease often forms thick ridges. Use non-scratch pads to loosen buildup, switching to microfiber cloths for final wipes. Keep the work surface wet long enough for the cleaner to do its job, but avoid flooding edges where liquid could seep into electrical compartments or drip behind cabinets.
Rinse by wiping with clean, hot water. A two-bucket method—one for rinsing cloths and one for clean water—helps avoid smearing grease back over the surfaces. Repeat as needed until the towel comes away clean. If odors persist, a second pass with a milder detergent can remove residual films that hold onto smells.
Accessing and Cleaning the Duct
How you reach the duct depends on your installation. Some hoods have removable panels or cleanouts; others require accessing from the rooftop fan. Only proceed if you are comfortable with ladder safety and exterior work. If you cannot safely reach all sections, consider partial cleaning of accessible duct segments and schedule a professional for the rest. Incomplete duct cleaning is better than none, but remember that any untouched segments will continue to accumulate grease and can compromise airflow.
Where access is possible, apply degreaser with caution to avoid drips into wall cavities or onto insulation. Use long-handle brushes designed for ducts to work deposits free, then collect residues with absorbent cloths. In older Elizabeth homes, expect irregular duct angles that slow runoff; limit the amount of liquid you introduce to prevent pooling. Wipe repeatedly until the inside surfaces are visually clean and free of slick films.
Fan Cleaning and Balance
The fan is the heart of your exhaust system. Unbalanced grease on blades can cause noise, vibration, and premature bearing wear. With power secured, remove the fan housing or dome as your model allows. Note how gaskets and screws fit so reassembly is straightforward. Apply a degreaser to the fan wheel and housing, allowing time for it to soften hardened residue. Wipe from the hub outward to the blade tips, keeping solvent away from motor windings. Inspect the wiring for heat damage and check that the fan spins freely.
Rinse carefully with damp cloths rather than pouring water. Excess moisture can seep into the motor or roof curb. Dry thoroughly before reassembly. If the fan had visible wobble before cleaning, recheck the set screws and confirm the wheel sits square on the shaft. Balanced, clean blades draw more air with less effort, reducing cooking haze and lingering smells in the kitchen.
Exterior Surfaces and Finishing Pass
Once the internal sections are clean, turn to the hood exterior. Grease mist and fingerprints collect around the control panel, underside edges, and trim. Use a gentle cleaner suitable for stainless or painted metal, then buff with a dry microfiber towel to restore luster. If your hood includes a tempered glass canopy, use a glass-safe cleaner after the degreasing step to prevent streaking. A polished exterior not only looks better but also makes it easier to notice new residues early.
At this midpoint in the process, it helps to review your progress and make sure every major component has been addressed. If you are following along and decide that certain tasks—especially high or rooftop work—are better left to specialists, you can evaluate local service options and standards for kitchen exhaust hood cleaning to gauge what a comprehensive visit should include and how often it should be scheduled to keep your system performing consistently.
Drying, Reassembly, and Testing
Allow all cleaned surfaces to air-dry or speed the process with clean towels. Reinstall baffle filters carefully, ensuring that arrows or airflow markings face the correct direction. Verify that each filter seats flush without gaps where air could bypass. Replace light bulbs and verify that lenses are clean and secure. Remove protective coverings from counters and appliances, and dispose of used cloths according to local waste guidelines.
Restore power at the breaker. Test the fan on each speed setting and listen for unusual noises that might indicate a misaligned wheel or loose panel. Check the airflow at the hood entrance by holding a strip of lightweight paper near the intake; steady movement toward the hood suggests good draw. Watch for drips during the first few minutes of operation, which could indicate residual rinse water in the duct.
Odor Control and Indoor Air Quality
A freshly cleaned system can significantly reduce cooking odors. To maximize results, open a window briefly to allow cross-ventilation during and after the first test run. If your home has a tight building envelope—a common feature of newer renovations in Elizabeth—consider a brief run of makeup air or a slightly opened window while cooking to prevent negative pressure from slowing the exhaust flow. Proper airflow not only clears smoke faster but also reduces moisture, which can help prevent mold growth around the cooktop area.
Regular cleaning keeps the airflow pathway open, which reduces the load on the fan motor. This can extend the motor’s life and keep noise levels low. If you notice a return of persistent odors sooner than expected, examine your cooking habits. Heavy frying contributes more aerosols than simmering or baking. Adjusting fan speed and preheating the hood for a minute before cooking can capture more vapors at the start.
Frequency and Scheduling in Elizabeth
How often you need to clean depends on usage. A household that pan-fries frequently will need filter washes every two to four weeks and a deep cleaning of the hood interior and fan every three to six months. Light-use kitchens may stretch longer between deep cleanings. High summer humidity can accelerate film accumulation, so plan an extra mid-season touch-up to keep the system responsive. If you run a cottage food operation from home, adopt a schedule closer to commercial standards to keep performance reliable and odors under control.
Mark your calendar after each service and keep a simple log. Note the date, what components you cleaned, and any observations like minor rattles or sticky damper movement. This record helps you notice patterns and decide when to replace filters or fan parts. It can also be useful if you ever sell the home and want to demonstrate attentive maintenance of ventilation systems to prospective buyers.
Common Mistakes to Avoid
Avoid using abrasive steel wool on stainless surfaces, which can permanently scratch and make future cleaning harder. Do not spray large amounts of cleaner directly into the duct where it can collect in hidden low spots. Skip pressure washers on rooftop fans unless you are certain the motor and electrical enclosures are fully protected. Never leave filters to dry on finished wood or porous stone; the runoff can stain. Finally, resist the urge to over-lubricate fan bearings—many modern units are sealed and require no additional oil.
Another common error is forgetting to check outside terminations. Wall caps and roof vents can develop sticky films that trap airborne lint or yard debris. If these become partially blocked, even a spotless hood will struggle. Incorporate a quick visual check of the exhaust termination into your seasonal home maintenance routine. Clearing these spots takes minutes and spares the fan from working overtime.
Environmental Responsibility
Degreasers and rinse water carry dissolved fats and oils. Do not pour concentrated residues into storm drains. Collect heavy runoff with absorbent materials and dispose of them with household trash according to local guidelines. Choose cleaners that are effective yet appropriate for metal finishes, and use only the amount necessary to achieve a clean surface. Many modern degreasers are biodegradable when diluted; still, responsible handling protects Elizabeth’s waterways and reduces odors at home.
Whenever possible, extend the life of your filters through timely washing rather than frequent replacement. Reusable baffles are durable when treated gently. If a filter is bent or corroded, replace it with the exact size and type recommended by the hood manufacturer to preserve airflow characteristics and noise levels.
Troubleshooting After Cleaning
If the fan seems weaker after reassembly, remove the filters and test airflow briefly. Strong suction without the filters suggests they were reinstalled backward or are still damp and restricting flow. If suction remains weak, inspect the duct for an inadvertently shifted damper or a dislodged piece of insulation near a wall penetration. A new rattle often points to a loose access panel or a fan wheel that is not fully seated on its shaft. Systematic checks usually reveal a simple fix.
Lingering odors after deep cleaning may indicate residues in a hard-to-reach duct elbow or a roof cap. In such cases, targeted access through a small service opening can make a big difference. If you are unsure how to create or seal an access point, a professional can help establish a permanent, code-compliant solution for future maintenance.
Frequently Asked Questions
How long does a thorough cleaning take? For a typical Elizabeth home, plan two to four hours for careful work, including setup and drying time. Complex duct routes or rooftop access can add time.
Can I use vinegar or baking soda instead of degreaser? Mild solutions can help with final film removal, but they are not strong enough for heavy grease. Use a kitchen-safe degreaser for the primary pass and reserve mild cleaners for finishing.
What if my filters are aluminum, not stainless? Aluminum is softer and scratches easily. Choose a cleaner labeled safe for aluminum and use softer cloths. Avoid high-pH products that can dull the finish.
Is it okay to run the fan while I cook with an open window? Yes, a slightly open window can improve capture by reducing negative pressure. Just be sure the cross-breeze does not blow smoke away from the hood’s intake.
How do I know if I need professional help? If you cannot access the full duct or fan safely, if heavy deposits persist after two cleaning cycles, or if the fan vibrates excessively, bring in a specialist for inspection and service.
Final Thoughts and Next Steps
Performing your own kitchen exhaust hood cleaning is achievable with patience, the right supplies, and respect for safety. A methodical approach—filters, hood interior, duct, fan, and exterior finishes—restores airflow, reduces odors, and creates a more enjoyable cooking environment. Keep a schedule, respond quickly to new residues, and refine your routine with each cycle. Whether you are maintaining a newly renovated kitchen in the North Broad Street corridor or tending to a classic home near Warinanco Park, consistency is the key to dependable ventilation.
Schedule Professional Help in Elizabeth
If you prefer a guaranteed, top-to-bottom result or need assistance with hard-to-reach ductwork and rooftop fans, schedule a visit with a trusted local provider. For comprehensive service that aligns with best practices and local expectations for safety and cleanliness, explore your options for kitchen exhaust hood cleaning and book a convenient time that fits your cooking schedule and seasonal needs.
