Introduction
In Elizabeth, New Jersey, a dependable kitchen exhaust hood cleaning checklist keeps your cooking space safer, your air clearer, and your workflow predictable. Checklists transform a complicated process into a series of focused actions that anyone on your team can follow. This guide presents a comprehensive, practical sequence that fits both commercial operations and serious home kitchens. If you prefer to verify your process against industry standards—or need help with the parts you cannot easily access—consider partnering with specialists in kitchen exhaust hood cleaning who build their work around efficiency, documentation, and safety.
Elizabeth’s kitchens range from takeout counters to high-capacity dining rooms, and their ventilation challenges vary accordingly. Fry-heavy menus load filters fast, while long simmering adds moisture that clings to metal and traps grease films. A well-structured checklist prevents surprises, reduces downtime, and helps new staff members produce consistent results from day one. The key is clarity: define what to clean, in what order, with which tools, and how to verify completion.
Below you will find a detailed sequence grouped into preparation, cleaning actions, quality checks, and recordkeeping. Each section emphasizes repeatable steps and clear visual standards so you can hand the checklist to a teammate and expect the same outcome every time. Modify the timing to match your volume and menu, and update your list whenever you notice recurring issues.
Preparation and Safety
Confirm the cooking line is off and fully cooled. Cover nearby appliances, counters, and electrical outlets to protect them from degreaser and rinsewater. Place absorbent mats or towels on the floor to prevent slips. Set aside cut-resistant gloves and eye protection. Ensure your space is ventilated by opening a door or using make-up air. Have a drip tray beneath the hood lip to capture runoff as you remove filters.
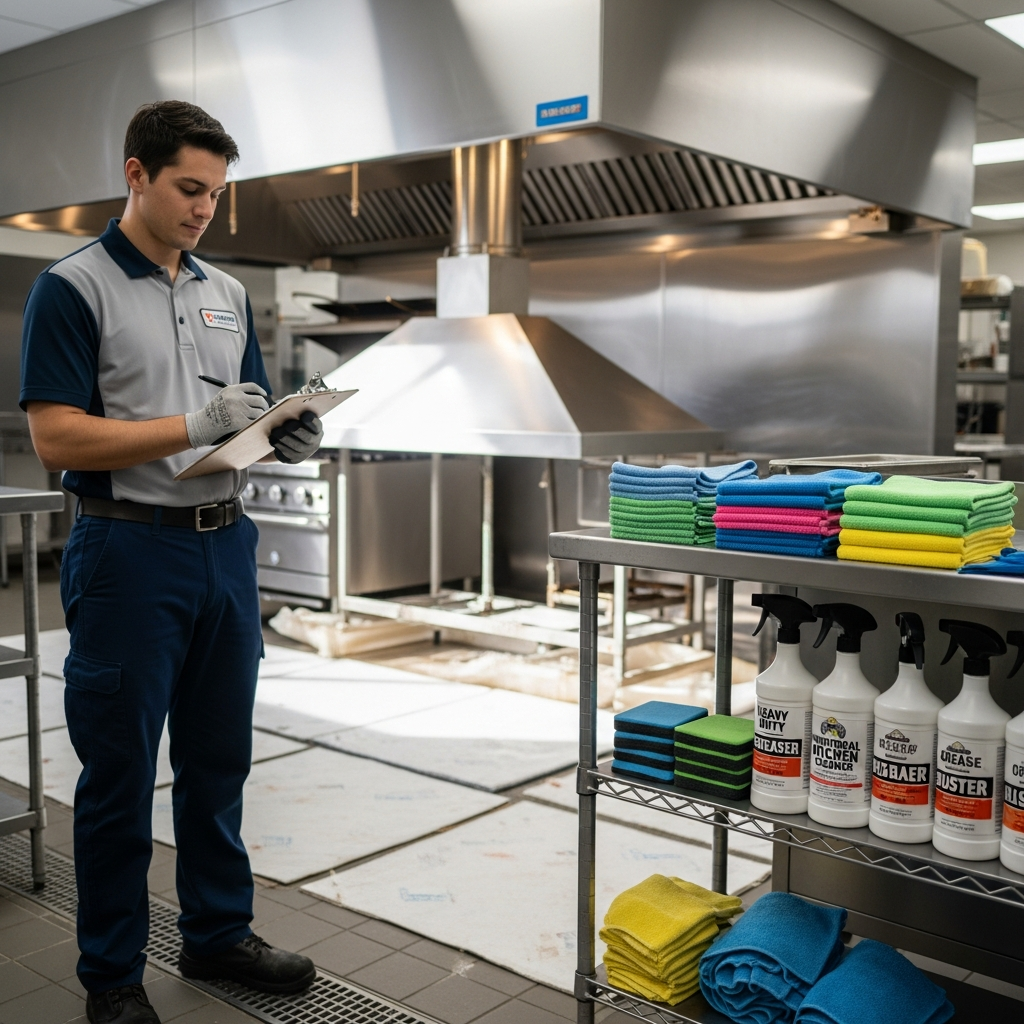
Assemble your tools: foodservice-grade degreaser, labeled spray bottles, microfiber cloths, non-scratch pads, soft-bristle brushes, lint-free drying towels, and a flashlight for inspection. If you will soak filters, prepare a utility sink or container with the correct dilution. Confirm that drains are protected with strainers to keep solids out of the plumbing. Keep a small bin for solids and used towels to stay organized.
Filter Removal and Soaking
Slide baffle or mesh filters out slowly, supporting them with both hands. Let excess grease drip into your tray before moving them to the soak area. Submerge filters completely in diluted degreaser and set a timer for the recommended contact time. During soaking, avoid leaving the solution unattended where it could be bumped or spilled. Agitate gently with a brush near the end of the dwell period, then rinse thoroughly with warm water until it runs clear.
Inspect the filters up close. Hold them to the light and look through the baffle channels. Any lingering film that creates a rainbow sheen or dull smear under a fingertip needs another pass. Shake out excess water and stand filters upright to dry. Do not reinstall while damp; moisture can drip onto hot surfaces when cooking restarts.
Hood Interior Cleaning
While filters soak, spray the hood interior with degreaser, working top to bottom and back to front. Allow the solution to dwell according to the label, then use non-scratch pads in small circular motions to lift films. Wipe with a damp cloth and repeat until the surface no longer smears under angled light. Clean seams, corners, and fasteners with a soft brush. Empty and wipe the grease trough and removable cups, then dry them thoroughly before reinstallation.
Address the underside lip and exterior face of the hood. These areas collect fingerprints and airborne films that can reappear quickly if missed. Use a mild cleaner compatible with stainless finishes, follow the grain, and buff dry to prevent streaks. A clean exterior makes inspections smoother and highlights any new drips that indicate internal residue.
Fan Intake and Duct Entry Visual Check
If you can safely view the intake without removing components, look for heavy deposits or pooled grease. Do not reach into moving parts or disturb wiring. If you see signs of significant buildup beyond the canopy, note it on your checklist as a trigger to schedule a deeper service. Your routine checklist should acknowledge these limits so the team knows when to escalate.
Mid-Process Verification
Before reinstalling filters, run a fingertip test on the cleaned interior. If your finger glides without resistance and leaves no smear, the surface is ready. Shine a flashlight at a shallow angle; streaks will reveal themselves as dull patches. Re-wet and wipe any problem spots immediately. When satisfied, reinstall dry filters, checking that the baffles face the correct direction for airflow and grease capture.
At this midpoint, evaluate odor and airflow. Briefly turn on the fan and stand at the cookline. Air should pull consistently across the entire hood face. If the draw is weak in one corner, check for an out-of-position filter or a blocked baffle channel. Across Elizabeth’s busy kitchens, the fastest way to restore uniform airflow is often as simple as reseating a filter or re-wiping a film that dried unevenly.
Exterior Finishing Touches
Give switches, control panels, and surrounding tile or stainless a final wipe. Polish visible surfaces to a uniform finish so staff and inspectors can tell at a glance that the job is complete. Clean the floor area where you worked, removing any slick residue. Return tools to a labeled caddy and dispose of solids properly. A tidy close reinforces the habit of finishing strong every time.
Now review the space under angled light again. This last check catches the fine haze that sometimes appears when degreaser dries too long. If necessary, use a damp cloth to re-emulsify and lift the film, then dry with a clean towel. It is much easier to correct these small defects now than to rediscover them during a rush.
Scheduling and Frequency for Elizabeth, NJ
Set baseline intervals based on your menu and volume. Many Elizabeth operations clean filters weekly and perform hood interior wipe-downs monthly, with a deeper canopy cleaning prior to peak seasons or special events. Track how quickly grease returns to adjust frequency. Undershooting the interval leads to heavier chemicals and longer downtime later. Overshooting wastes labor. Your log will reveal the sweet spot after a few cycles.
Integrate the checklist with shift responsibilities. Some teams assign filter removal and soaking before close, with rinsing and drying done the next morning. Others perform the whole sequence on a scheduled slow day. The best plan is the one you will actually follow, backed by a visible calendar and clear role assignments.
Documentation and Accountability
Create a simple log with date, staff initials, tasks completed, observations, and next due date. Add quick photos of the plenum, filter faces, and grease cups after cleaning. These images provide proof of work and help you spot patterns, like a panel that re-greases faster due to a hot fryer station. Share the log with your team so everyone understands expectations and can step in if someone is absent.
When your notes indicate recurring airflow issues or visible deposits beyond the canopy, it is time to elevate the task to specialists. Coordinating routine in-house steps with periodic professional service yields the most reliable results, especially for high-volume, fry-centered menus. Providers dedicated to kitchen exhaust hood cleaning can tackle ducts and fans while your team focuses on the checklist at the canopy level.
Quality Standards You Can See
Define what “clean” looks like so your checklist has a finish line. On the hood interior, there should be no smearing under angled light, no sticky feel, and no visible residue at seams or screws. Filters should show clear channels when held to the light, without rainbow sheens or dull patches. Grease troughs and cups should be empty and dry. The exterior should present an even, streak-free finish with no fingerprints.
Make these standards visible. Print a one-page reference with photos labeled “before,” “acceptable clean,” and “needs another pass.” Keep it near the logbook. When everyone shares the same target finish, training time drops and results become consistent, even across staff changes and busy seasons.
Training Notes for Teams
Walk new team members through the checklist step by step. Emphasize why each action matters—from turning off heat to preventing slips, from using the correct dilution to drying thoroughly. Have trainees demonstrate filter removal and reinstallation several times under supervision. Give them the flashlight and ask them to find streaks; this builds a quality mindset. Reinforce the habit of resetting the space after cleaning so the cookline is immediately ready for service.
Add a short debrief to your routine: what went smoothly, what slowed the process, and what needs adjusting. Small improvements compound. Maybe you relocate the soak station closer to the hood to shorten carrying distance, or label spray bottles more clearly. Encourage suggestions and update the checklist when you find a better way.
Environmental Considerations
Protect drains with strainers, collect heavy grease in sealable containers, and dispose of it according to local rules. Avoid sending concentrated chemicals into storm drains. Choose effective, compatible degreasers and follow dilution guidelines. Wipe spills immediately and keep floors dry. Respecting your building and community infrastructure is part of a professional standard that benefits every kitchen in Elizabeth.
FAQ
Q: How often should I run this checklist? A: Many kitchens use a weekly filter cycle and a monthly interior detail, increasing frequency during heavy frying or special events.
Q: What if streaks appear after drying? A: Re-wet the area with a damp cloth to re-emulsify dried degreaser, wipe clean, and dry with a fresh towel.
Q: Do I need special tools? A: Foodservice-grade degreaser, microfiber cloths, non-scratch pads, and a soft brush cover most canopy tasks; more advanced ducts and fans require specialized service.
Q: How do I know filters are oriented correctly? A: The baffles should face the airflow direction; you will feel stronger pull at the front edge when the fan runs and filters are seated right.
Q: What triggers escalation to deeper service? A: Visible duct deposits, slow airflow after clean filters, or persistent odors indicate the need for a comprehensive service beyond the canopy.
Q: Can I clean during business hours? A: It is safer and more efficient during downtime when heat sources are off and the area is protected from traffic.
Q: How do I train new staff quickly? A: Pair the checklist with photos of acceptable results, supervise a few cycles, and use angled light to teach streak detection.
Q: What records should I keep? A: Date, initials, tasks completed, observations, photos, and next due date form a solid log for accountability and inspections.
Ready to Put Your Checklist to Work?
Set a start date, assign roles, and post your schedule where everyone can see it. With a clear sequence and shared standards, your hood will stay cleaner longer, airflow will be steadier, and service will feel smoother. When your log points to deposits beyond the canopy or you want a benchmark deep clean, coordinate with experts in kitchen exhaust hood cleaning. A strong checklist plus timely professional support keeps Elizabeth kitchens running safely and confidently.
