Introduction
Smart, reliable tips make kitchen exhaust hood cleaning easier, faster, and safer—especially in a vibrant food scene like Elizabeth, New Jersey, where menus and volumes vary widely. Grease, steam, and microscopic particulates gather quickly on metal surfaces, filters, and seams, restricting airflow and adding fire risk. The right approach saves time, protects finishes, and keeps your kitchen comfortable. If you want a professional reference point or periodic deep support, align your routine with experts in kitchen exhaust hood cleaning and adapt the following tips to your equipment and menu.
These tips are grouped by planning, products, technique, verification, and training. Together, they form a mindset: work methodically from the top down, manage chemistry and moisture carefully, and confirm results under realistic lighting. The result is a hood that performs better during rushes, smells cleaner, and shows inspectors you maintain strong control over your environment.
Plan for Consistency
Set intervals you can keep. In Elizabeth’s varied kitchens, weekly filter cleaning and monthly canopy wipe-downs are common baselines, with adjustments for heavy frying or seasonal events. Post your schedule near the cookline and add calendar reminders so the job is not forgotten on busy weeks. Consistency prevents polymerized films that take longer and harsher products to remove later.
Stage your tools before you start. Place degreaser, spray bottles, cloths, non-scratch pads, and brushes within easy reach. Cover adjacent equipment and floors to prevent slips and overspray cleanup. Turn off heat sources and lights in the hood where practical. Having a clear path from the hood to your soak station reduces drips and keeps the kitchen safer for everyone moving through the space.
Choose the Right Products
Use foodservice-grade degreasers designed for hoods and filters. These products are formulated for the tough, polymerized fats that collect above active cooklines. Follow label dilution and dwell time; stronger is not always better, and overconcentration can dull finishes or leave films. Keep a mild stainless cleaner for exterior polishing after the heavy lifting is done.
Reserve microfiber cloths for final wipes, and non-scratch pads for stubborn interior films. Dedicated towels for drying help avoid streaks. If you are cleaning aluminum filters, confirm your degreaser is compatible to prevent discoloration. Small choices like these add up to a better result with less rework.
Technique: Work Top to Bottom, Back to Front
Gravity is your friend. Spray degreaser starting at the back panel of the hood, then move toward the front lip, working from top to bottom so runoff does not contaminate areas you already cleaned. Allow the solution to dwell, then agitate gently in small circles. Wipe with a damp towel and inspect with angled light; if you see a haze that smears, repeat the process in that area before moving on.
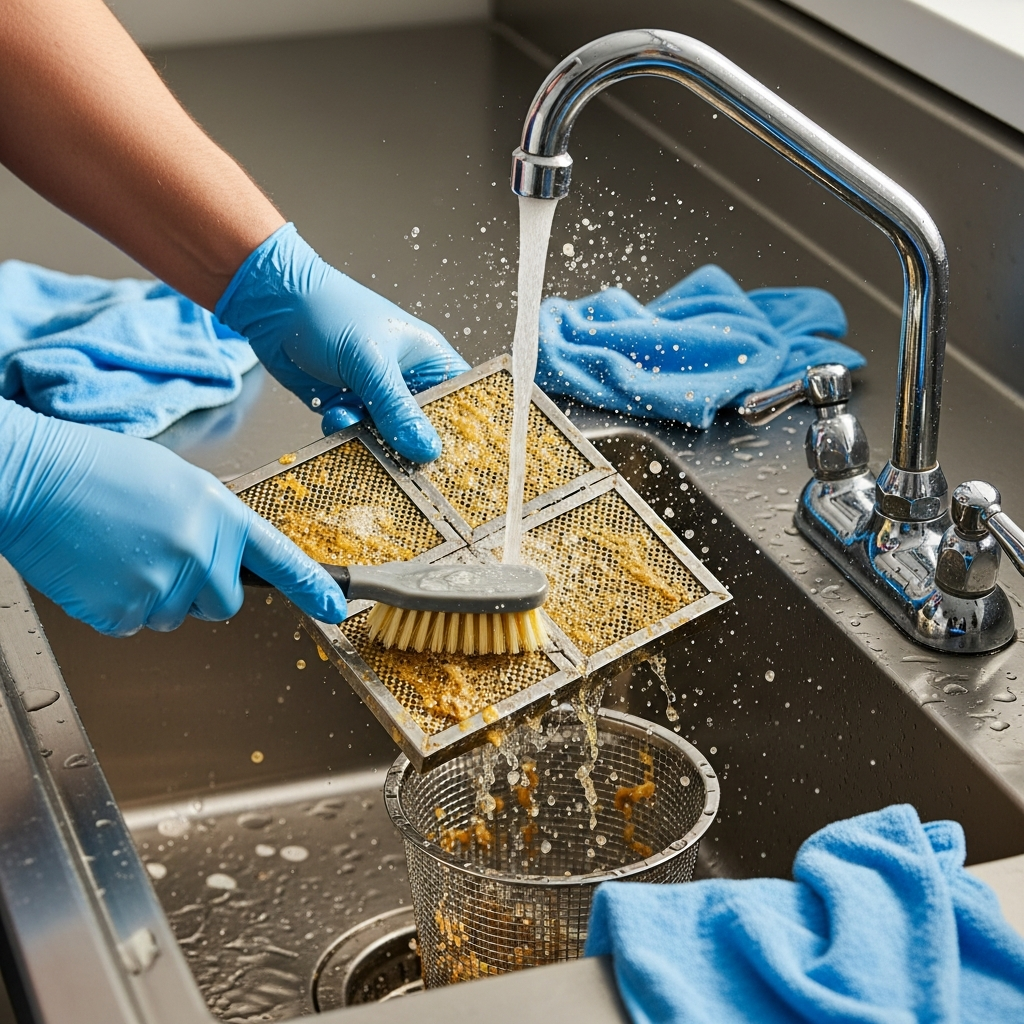
Handle filters with care. Support them with both hands as you slide them out and into your soak area. After dwell time, brush along the direction of the baffles, rinse with warm water until clear, and stand them upright to dry completely. Reinstall only when fully dry to avoid drips onto hot surfaces during your next service.
Use Light to Reveal What You Missed
Overhead lights can hide streaks. Use a flashlight or position a portable light at a shallow angle to the metal. Films appear as dull patches or rainbow sheens when viewed off-axis. This simple trick is one of the most powerful tips for quality control. Teach your team to look at surfaces from different angles before declaring the job done.
Check airflow after reassembly. Briefly run the fan, then stand at different points along the cookline. You should feel consistent pull under the hood across its entire length. Weak spots often indicate a misseated filter or a baffle channel still holding film. Fix these now to avoid performance complaints during the next rush.
Keep the Exterior Pristine
Fingerprints and smudges on the hood face and surrounding stainless make the whole kitchen look unfinished, even if the interior is spotless. After interior cleaning, switch to a mild stainless cleaner, follow the grain, and buff dry immediately to prevent streaks. Wipe control switches and nearby tile or walls where vapor residues settle. This finishing touch sends a strong message to staff, guests, and inspectors about your standards.
Include the underside lip of the hood in every cycle. Odors often linger there even after you have detailed the plenum and filters. A quick degreaser pass, followed by a damp wipe and dry towel, keeps smells in check and reduces the chance of sticky residue reappearing by the next shift.
Protect the Workspace
Slips and contamination can undo a good cleaning job. Place absorbent mats or towels on the floor before you begin, and wipe any drips immediately. Cover nearby appliances and outlets with plastic or washable liners. Keep a small trash bin and a container for captured grease close by. A tidy, protected workspace saves time on the back end and keeps the rest of your operation running smoothly while you clean.
Mind your drains. Use strainers to catch solids and collect heavy grease separately in a sealable container for proper disposal. Avoid sending concentrated chemicals into storm drains. Following these practices helps protect Elizabeth’s shared infrastructure and keeps you aligned with good stewardship.
Train for Repeatable Results
Do not assume everyone approaches cleaning the same way. Walk your team through the process, demonstrate filter removal and reinstallation, and explain why you work in a specific sequence. Provide a simple checklist and a photo guide showing “before,” “acceptable clean,” and “needs another pass.” Encourage staff to use angled light for final inspections. The more your team understands what “clean” looks like, the less rework you will see.
Rotate roles across cycles so multiple people can handle each step. That way, vacations and staffing shifts do not disrupt your routine. Build a quick debrief into your schedule—two minutes to note what went well and what needs adjustment. Small improvements accumulate into big efficiency gains across a season.
Document and Adjust
Keep a dated log with who cleaned, what was addressed, and any observations about airflow, odors, or visible residue beyond the canopy. Add quick photos of filter faces and interior panels after cleaning. Over time, you will see patterns—perhaps a fryer station drives faster buildup on one side, or certain menu days require more frequent touch-ups. Use the data to set realistic intervals and allocate time on the calendar.
When the log shows repeated concerns beyond the canopy, coordinate a deeper service for ducts and fans. This is the point where expert help becomes valuable because access, safety, and thoroughness matter more than speed. Teams experienced in kitchen exhaust hood cleaning can handle those complex portions while you continue to own the canopy routine with confidence.
Address Stubborn Films
Polymerized grease can resist a single pass. Increase dwell time slightly within label guidance and agitate with a non-scratch pad. Alternate between degreaser and a damp cloth to re-emulsify dried residue. Avoid over-scrubbing that could mar finishes, especially on aluminum. Multiple light passes are often faster and gentler than one aggressive attempt.
If odors persist after a thorough clean, target hidden edges: the underside hood lip, screw heads, seam lines, and the grease trough and cups. Films in these zones release smells as soon as the fan starts, giving the impression that the hood was not cleaned. A few focused minutes here make a noticeable difference.
Seasonal Considerations in Elizabeth
Seasonal changes can influence both grease accumulation and indoor air quality. Cold months concentrate indoor humidity, which can combine with vapors to produce sticky films. Summer heat can intensify odors and make thin films feel tacky. Slightly tightening your interval during peak seasons keeps airflow consistent and prevents the kind of buildup that demands extended downtime to remove.
Menu shifts matter, too. Introducing a fry-heavy special or adding griddle capacity increases particulates and accelerates filter loading. Update your cleaning schedule accordingly and communicate the change to your team so no one is surprised by faster re-greasing.
Quality Control: The Angled-Light Standard
Make angled-light inspection a nonnegotiable. If the surface looks pristine under overhead lights, tip a flashlight or use a phone light from the side. If you see a cloudy patch that smears under a fingertip, it is not clean yet. Re-wet, wipe, and dry. Train your eye to this standard and you will cut down on callbacks, odor complaints, and mid-shift frustrations.
Adopt a quick “smear test.” Lightly run a clean finger across the panel. A clean surface will feel smooth and resist sticking. If your finger drags or picks up residue, repeat the section immediately. This low-tech test is remarkably effective in busy environments.
When to Escalate
Escalate when you see heavy duct deposits, poor airflow despite clean filters, or recurring odors that survive a careful canopy cleaning. Ductwork and fans require specialized access and safety controls; do not push beyond safe limits. Plan these deeper services before peak seasons or major events so you enter busy periods with strong ventilation and a comfortable cookline.
FAQ
Q: How often should I clean filters in a high-volume Elizabeth kitchen? A: Weekly is a common baseline, with increases during heavy frying or special events that spike particulate output.
Q: What is the best way to avoid streaks? A: Prevent degreaser from drying on the surface, wipe promptly with a damp cloth, then dry with a lint-free towel and check under angled light.
Q: Can I use the same products on stainless and aluminum? A: Check labels for compatibility; some degreasers can discolor aluminum. Choose products designed for the metals in your hood system.
Q: Do I need to turn off power? A: Switch off heat sources and hood lights where practical, and avoid spraying near live electrical components.
Q: Why does airflow feel uneven after reassembly? A: Filters may be misseated, or a baffle channel could still hold residue. Reseat and recheck with the fan running.
Q: How do I train a new team member quickly? A: Use a short checklist, demonstrate removal and reinstallation, and teach angled-light inspection. Pair them with an experienced cleaner for the first few cycles.
Q: When should I schedule deeper service? A: When you see visible duct deposits, persistent odors, or slow airflow after filter cleaning, plan a comprehensive service before the next peak period.
Q: How do I handle collected grease? A: Capture heavy grease in sealable containers and dispose of it according to local rules, keeping solids out of drains.
Ready to Improve Your Hood Cleaning Routine?
Choose two or three tips from this guide to implement this week, post your schedule where everyone can see it, and confirm results with angled light. With clear habits and smart verification, your hood will run quieter, pull more evenly, and look professionally maintained. When you want a deeper benchmark or comprehensive service beyond the canopy, coordinate with trusted pros in kitchen exhaust hood cleaning. Strong fundamentals plus periodic expert support keep Elizabeth kitchens safe, comfortable, and inspection-ready.
