Whether you live in a classic brick rowhouse near Elizabeth’s bustling downtown or a newer home on a quiet street, a properly installed dryer vent is essential to safe, efficient laundry days. This homeowner-focused guide explains the basics in plain language: how dryer vents work, what materials to choose, how to plan a route that fits Elizabeth, New Jersey homes, and how to maintain the system for years of dependable service. If you decide the job is not your ideal DIY project, consider engaging trusted dryer vent installation pros who understand local building conditions and typical code expectations.
What a Dryer Vent Does and Why It Matters
Your dryer warms air, pushes it through tumbling clothes, and exhausts moisture-laden air plus lint to the outdoors. If that vent path is long, kinked, or made with the wrong materials, you will notice slow drying, musty smells, heat buildup, and risk of lint ignition. A clear, code-appropriate path means quicker loads, better energy performance, and longer equipment life.
In Elizabeth, many laundry spaces are in basements or interior closets. That configuration challenges homeowners to find a short, straight route. Because some homes share walls or sit close to neighbors, choosing a termination that will not disturb adjacent properties while staying code-compliant is key. Careful planning can solve both safety and convenience concerns.
Choosing the Right Materials
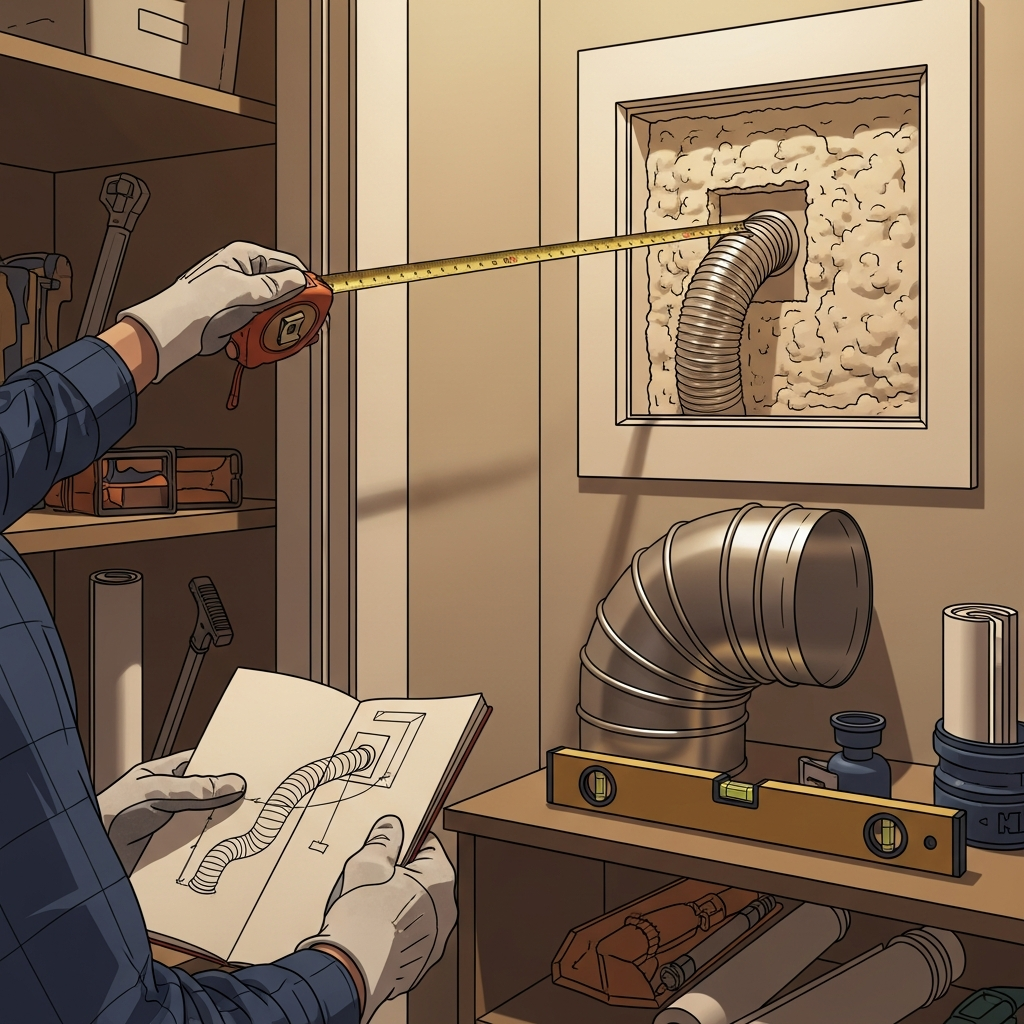
- Main duct: 4-inch smooth metal duct. Smooth interiors reduce lint buildup and backpressure.
- Transition connector: A short, listed transition piece from the dryer to the wall or first rigid elbow, typically semi-rigid or a listed flexible connector designed for dryers.
- Elbows: Adjustable, smooth metal elbows. Limit the number used.
- Tape: Foil-backed, heat-rated HVAC tape. Avoid cloth duct tape.
- Exterior hood: A listed termination with a backdraft damper and no screen that would trap lint.
- Supports: Straps or hangers to secure long horizontal runs every 4 to 6 feet.
Planning the Route in an Elizabeth Home
Start by mapping the most direct path to the outside. If your laundry is in a basement, a rim-joist exit through a side or rear wall is often ideal. For a second-floor laundry, you might run through a wall cavity and out a gable or side wall. Roof exits are also possible with correct flashing and a listed roof cap, though they may be harder to clean.
- Short and straight: Minimize elbows and keep runs short to preserve airflow.
- Safe clearances: Terminate away from windows and doors, and above snow lines.
- Serviceability: Plan for joints and ducts you can reach for cleaning.
- Moisture management: Pitch the duct slightly toward the exterior to drain condensation.
Step-by-Step: A Homeowner’s Walkthrough
- Unplug the dryer and move it forward. Shut off gas and disconnect safely if using a gas appliance.
- Identify the exit point. Use a stud finder to avoid framing or wires. Drill a pilot hole to verify the exterior location.
- Cut the opening using a hole saw or jigsaw. In brick or block, use masonry tools and consider a sleeve to protect the duct.
- Install the wall thimble if required. This provides a neat, protected passage through combustible walls.
- Attach the exterior hood to a short duct section and feed it through from the outside, then temporarily secure it.
- Assemble interior rigid sections and elbows. Keep the crimped ends pointing in the direction of airflow toward the outdoors.
- Seal joints with foil-backed HVAC tape. Avoid fasteners protruding into the duct.
- Support long runs with straps. Maintain a gentle slope toward the exterior.
- Connect a short, listed transition duct from the dryer to the wall connection with proper clamps.
- Restore power and, if applicable, gas. Test on an air cycle and confirm strong exterior airflow.
When the DIY Path Becomes Complex
Obstacles like complex framing, masonry walls, or long interior runs can challenge even experienced DIYers. Similarly, multifamily buildings and attached homes often require coordination with property owners and adherence to specific house rules. If you face those conditions, it may be more reliable to book dryer vent installation with experienced professionals who can navigate local construction styles and obtain any needed approvals.
Common Pitfalls and How to Avoid Them
- Using plastic or thin foil duct for the main run. These materials can sag, trap lint, and pose fire risks.
- Exceeding the manufacturer’s maximum equivalent length. Excessive elbows and long runs starve airflow.
- Crushing the transition connector while pushing the dryer back. Maintain a gentle radius.
- Terminating into an attic or crawlspace. This introduces moisture and lint where it does not belong.
- Adding a screen to the exterior hood. Screens catch lint and can quickly clog.
- Skipping maintenance. Lint accumulates quietly; schedule routine checks.
Maintaining Your Dryer Vent for the Long Term
Cleanliness and inspection matter as much as the initial installation. Elizabeth’s seasonal swings—from humid summers to chilly winters—put duct systems through expansion, contraction, and moisture challenges. Good maintenance prevents surprises.
- Clean the lint filter before each load.
- Visually inspect the exterior hood monthly to remove lint buildup.
- Vacuum accessible duct sections and the transition connector every few months.
- Schedule a full-duct cleaning annually or after any renovation that generated dust.
- After storms or snow, verify the damper moves freely and the outlet is unobstructed.
Considerations for Different Home Types in Elizabeth
Historic homes may have plaster-and-lath walls and masonry exteriors. These materials require careful drilling and accurate sleeves. Newer townhomes might centralize laundry rooms on upper floors, favoring a lateral run to a side wall. Garden apartments and multifamily buildings present additional coordination with building management and adherence to shared-wall requirements. In all cases, prioritize a direct path, proper support, and an accessible termination point.
Airflow Testing and Fine-Tuning
Once the system is assembled, test airflow by running the dryer on an unheated cycle. At the exterior hood, you should feel a strong, steady exhaust and see the damper open fully. Indoors, listen for rattling or whistling that suggests a loose joint or gap. If airflow is weak, reduce the number of elbows, check for crushed sections, and verify the damper is not sticking. Some homeowners also use simple airflow meters or a tissue test to confirm leaks at joints.
FAQ
Q: Do I need a permit in Elizabeth for a new dryer vent? A: Requirements vary by project scope and building type. Contact the local construction office to confirm if your installation needs a permit or inspection.
Q: What diameter duct should I use? A: Most residential dryers call for a 4-inch, smooth-interior metal duct for the main run.
Q: Can I route the vent through the attic and end it there? A: No. Always terminate outdoors to discharge heat and moisture safely.
Q: How many elbows are acceptable? A: Fewer is better. Each elbow increases resistance. Follow your dryer manufacturer’s equivalent length guidelines.
Q: Is a roof termination recommended? A: It can work with proper flashing and a listed roof cap. Many homeowners prefer wall terminations for easier cleaning and inspection.
Q: Should I insulate the duct? A: In unconditioned spaces where condensation is likely, insulating around the duct pathway may help, as long as it does not compress or interfere with the duct.
Q: Can I use screws to secure joints? A: Avoid screws that penetrate the airstream. Use listed clamps or foil-backed HVAC tape made for dryer ducts.
Q: What maintenance is essential? A: Clean the lint screen before every load, keep the exterior hood clear, and arrange annual duct cleaning.
Q: Why are my clothes still damp after a full cycle? A: Check for kinks, excessive elbows, a stuck exterior damper, or lint buildup restricting airflow.
Q: How high off the ground should the hood be? A: Mount high enough to avoid snow blockage and meet clearance recommendations near doors, windows, and grade.
Take the Next Step Toward Safer Laundry
With a clear plan, the right materials, and attention to airflow, homeowners in Elizabeth can install and maintain a reliable dryer vent that keeps laundry efficient and the home safe. If you would rather have a specialist handle layout, penetrations, and testing, contact a trusted provider and schedule your dryer vent installation with confidence.
