Dryer vent safety is a serious subject for homeowners and renters in Elizabeth, New Jersey. Between older multifamily buildings, busy households, and four-season weather that swings from humid summers to blustery winters off Newark Bay, lint can accumulate quickly and airflow can suffer. When that happens, drying times rise, utility usage spikes, and—most importantly—the risk of overheating increases. If you’re planning to take on a safe, do-it-yourself approach, it helps to understand how your system is built, what protective gear to wear, and which steps reduce risk rather than add to it. In the opening guide below, you’ll learn how to prepare, clean, test, and maintain a dryer vent with care that aligns with common-sense safety and widely accepted best practices.
Whether you live near Elmora, Midtown, North Elizabeth, or a garden apartment along Bayway, it pays to make dryer care routine. If you discover major blockages, damaged ducts, or installations that don’t meet standards, consider scheduling a professional visit for thorough dryer vent cleaning after you complete the basic checks outlined here. The steps below emphasize personal safety, protection of your appliance and ductwork, and smart decisions about when to stop and call a specialist.
Understand your dryer and vent path
Dryers are either electric or gas. Gas appliances add combustion byproducts to the air stream and require special care to avoid dislodging or damaging the exhaust path. Both types rely on an unobstructed vent that usually runs from a rigid or semi-rigid connector behind the dryer to the termination hood on an exterior wall or roof. In many Elizabeth, New Jersey homes—especially older ones—the duct may snake around corners or travel longer distances than ideal, making maintenance even more important. Know your route before you begin so you can plan safe access.
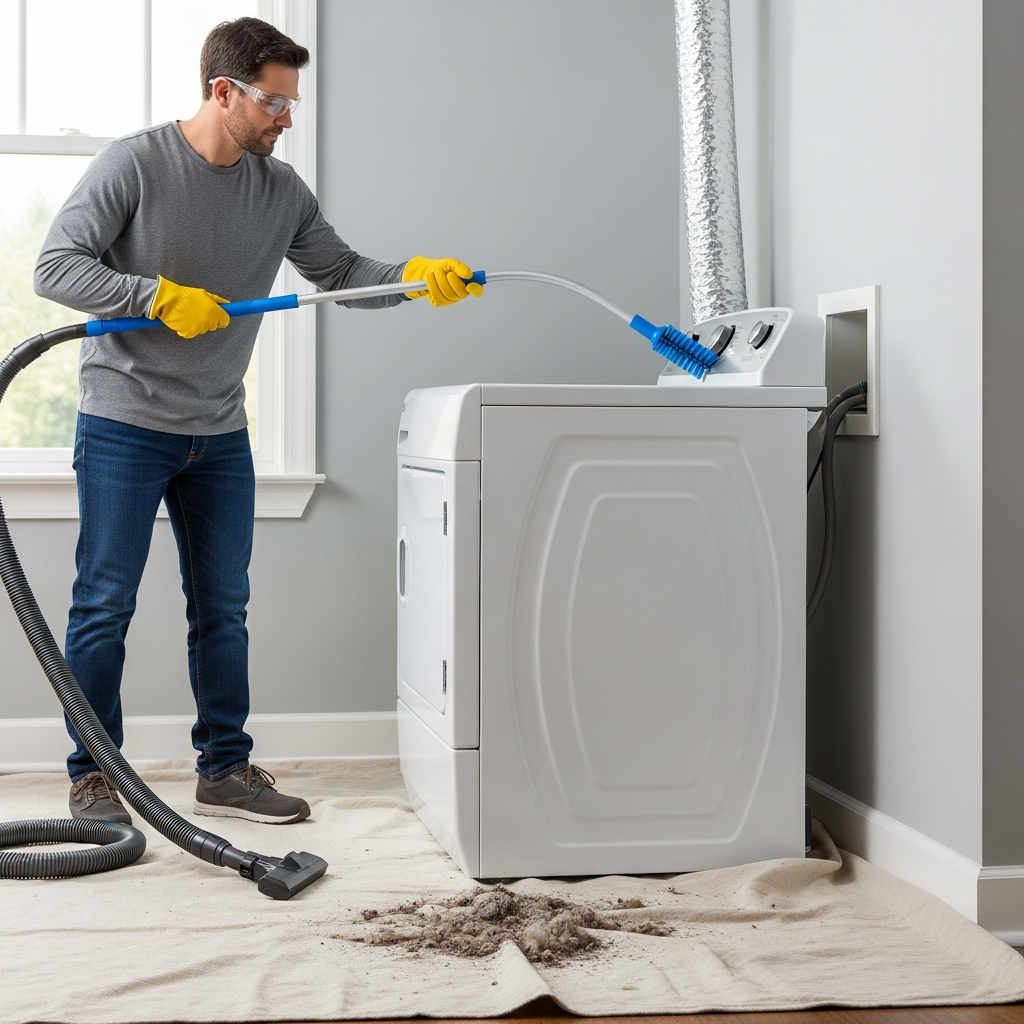
Safety first: personal protection and space preparation
- Unplug an electric dryer. For gas dryers, turn off the gas supply at the shutoff valve and avoid disturbing the flexible gas line.
- Wear safety glasses, gloves, and a dust mask or respirator suitable for fine lint.
- Clear a workspace to pull the dryer forward without straining hoses, electrical cords, or gas lines.
- Protect floors with a drop cloth to catch lint and debris.
- Keep pets and children out of the laundry room during the project.
Tools and materials you may need
- Vacuum with a hose and brush attachment
- Dryer vent brush kit with flexible rods
- Screwdriver or nut driver for hose clamps and panels
- Flashlight or headlamp
- Non-kinking, UL-listed semi-rigid or rigid duct if replacement is warranted
- Foil tape rated for HVAC (never use plastic duct tape)
Pre-clean checks that prevent problems
- Confirm duct type: Avoid plastic or vinyl flex duct; these are a hazard and should be upgraded to rigid or semi-rigid metal.
- Locate the vent termination on the exterior; ensure it has a backdraft damper and a bird/rodent guard that doesn’t overly restrict airflow.
- Note the number of elbows in the run: more bends mean more resistance and potentially more lint buildup.
- Check for signs of moisture at walls or ceilings near the vent path—condensation may indicate partial blockage.
Step-by-step: cleaning the interior connections
- Disconnect power and, for gas units, shut the gas valve. Gently pull the dryer forward to access the rear connection.
- Loosen the clamp and remove the transition duct from the dryer outlet. Inspect the outlet grille; vacuum visible lint and wipe it clean.
- Remove the transition duct from the wall or floor connection and inspect. If it’s crushed, torn, or made of foil-coated plastic, plan to replace it with a smooth-walled option.
- Use the vacuum hose to clean inside the wall or floor connection as far as you can safely reach.
- Feed a dryer vent brush into the duct from the interior side. Rotate clockwise while feeding through bends. Work slowly and withdraw periodically to vacuum loosened lint.
Cleaning from the exterior termination
- Go outside and locate the termination hood. Remove the guard or open the hood flap if it is accessible and designed to detach.
- Use the brush rods from the outside in, rotating and advancing carefully to avoid catching seams. Alternate with vacuuming if possible.
- Inspect and clean the hood, ensuring the damper moves freely and seals when closed.
- If the termination is on a roof, work only when conditions are dry and safe, and never beyond your comfort level. Rooftop work can be hazardous; if it feels risky, stop and consider a specialist.
Reassembly and airflow testing
- Reconnect the transition duct, ensuring a straight path with minimal crushing. Tighten clamps securely but avoid deforming the duct.
- Seal any necessary joints with HVAC foil tape; do not use screws penetrating into the airflow, as they catch lint.
- Plug the dryer back in, restore gas supply if applicable, and slide the dryer into place with care to keep the duct from kinking.
- Run the dryer on air-only or a timed cycle. Go outside and check airflow at the hood—strong, steady air suggests success.
- Perform a quick tissue test indoors: open the lint screen, hold a tissue near the screen with the dryer running, and feel for good suction. Replace the lint screen before normal use.
When to stop and call a professional
- Persistent weak airflow despite thorough cleaning
- Visible water, heavy corrosion, or signs of collapsed duct sections
- Long or complex duct runs hidden behind finished ceilings or walls
- Roof terminations that are difficult or unsafe to access
- Evidence of animals nesting, severe clogs, or flammable residue
Elizabeth’s building stock includes many townhouses and multifamily structures where vent routes can be unusually long, passing through shared chases or soffits. In these cases, specialized tools like high-powered vacuums, rotary brush systems, or air whips may be needed, along with trained judgment to avoid damage to aging ductwork. If your setup falls into this category, it may be time to schedule professional dryer vent cleaning so you can be confident the entire run is debris-free and flowing correctly.
Seasonal considerations in Elizabeth, New Jersey
- Winter: Ice and snow can freeze dampers open or shut; check the hood after storms. Cold, dense air can also amplify backpressure on marginal systems.
- Spring: Birds seek nesting spots—inspect guards and screens for tampering or blockage.
- Summer: Coastal humidity can make lint clump; keep the lint screen and vent especially clean during peak laundry months.
- Fall: Leaves and debris may gather near ground-level hoods; keep clear space around the termination.
Common mistakes to avoid
- Using plastic or thin foil flex ducts
- Forcing a brush aggressively through tight elbows, which can separate joints
- Sealing joints with household duct tape that dries out
- Reinstalling a crushed or overly long transition duct
- Ignoring subtle signs like a hot laundry room, musty odor, or new vibration noises
Simple maintenance habits for long-term safety
- Empty the lint screen before every load, and occasionally wash it with mild soap to remove fabric softener residue.
- Vacuum around and under the dryer quarterly.
- Visually inspect the exterior hood monthly for strong airflow and full damper travel.
- Schedule a thorough cleaning annually in most homes, or more often with heavy use, pets, or long duct runs.
FAQ
Q: How do I know my dryer vent needs cleaning?
A: Tell-tale signs include longer drying times, a hot dryer or laundry room, lint collecting around the exterior hood, or a burning or musty odor. In Elizabeth, seasonal humidity can exaggerate these symptoms.
Q: Is it safe to use a leaf blower to clear a vent?
A: Blowers can force lint into interior spaces, separate joints, and create a mess. Purpose-built brushes and vacuums are safer for ducts and better at removing compacted lint.
Q: Can I replace a plastic vent hose myself?
A: Yes, but choose semi-rigid or rigid metal and ensure smooth bends with no sharp kinks. Secure with clamps and HVAC foil tape, never screws that protrude into the airstream.
Q: How often should a vent be cleaned?
A: Most homes benefit from an annual cleaning. Larger families, pet-heavy households, or long/complex duct runs should increase frequency.
Q: What about gas dryers—any extra precautions?
A: Shut off the gas supply before moving the dryer. After reassembly, use a leak detection solution on the gas connection or have a licensed professional verify integrity before use.
Q: My vent exits the roof. Should I climb up there?
A: Only if you are fully comfortable and properly equipped for safe rooftop work on a dry day. Many homeowners choose a specialist rather than risk a fall.
Take the next step for a safer laundry room
You now have a clear, safety-first plan for tackling lint and restoring airflow in your Elizabeth, New Jersey home. If you run into complex duct paths, roof terminations, or stubborn blockages, bring in a trusted expert who can complete the job thoroughly. To safeguard your home and keep laundry day efficient, schedule a dependable dryer vent cleaning service and enjoy the peace of mind that comes with professional-grade results.
