Why Inspection Matters for Dryer Vent Installations
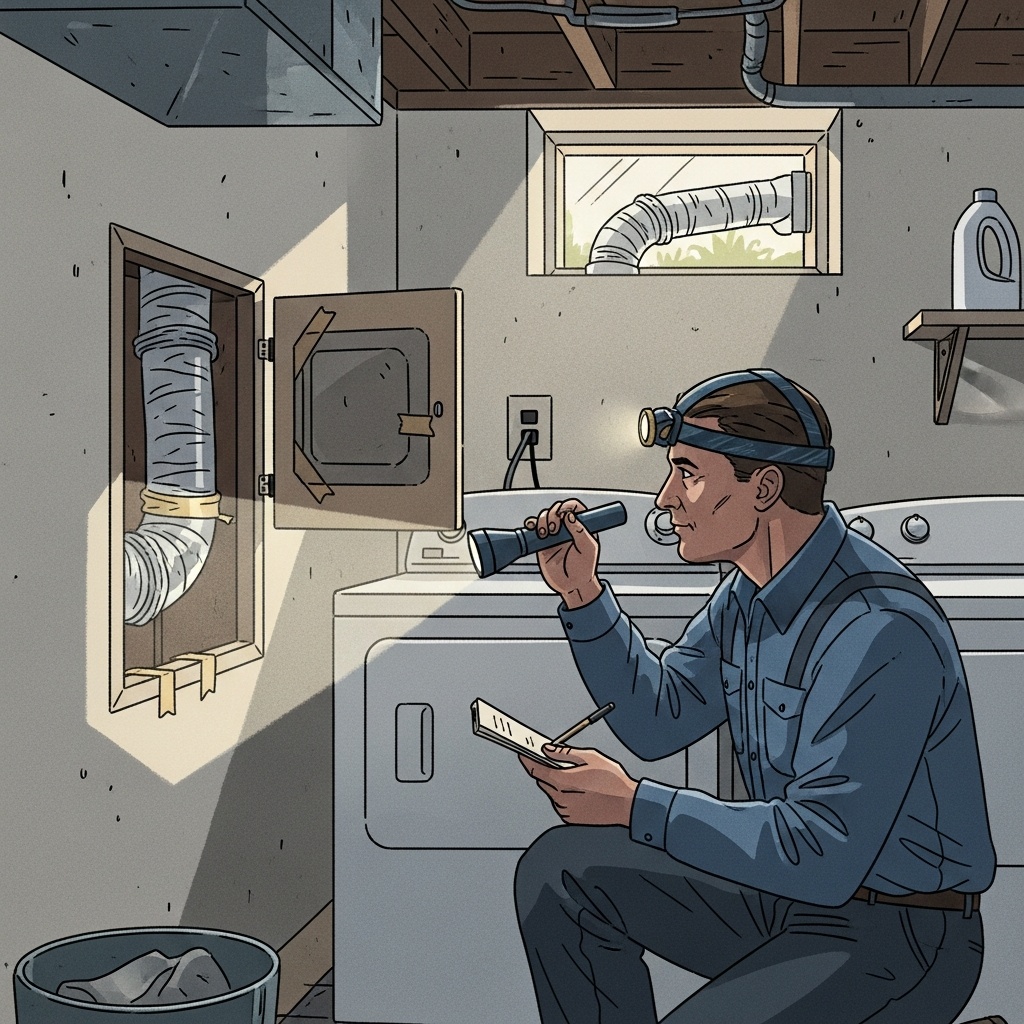
Whether you just finished a new dryer vent installation or you are evaluating an existing system in Elizabeth, New Jersey, a structured inspection protects your home from fire hazards, mold, and energy waste. Inspection is more than a quick glance at the exterior hood; it is a methodical review from the dryer’s exhaust collar to the outside termination that verifies materials, routing, seals, supports, and performance. This guide details a practical inspection workflow you can apply yourself or use to understand what a qualified technician will check.
Elizabeth homes range from older brick row houses to renovated single-family dwellings and multi-unit buildings. That variety means vent paths and exterior details differ widely. A consistent inspection process ensures nothing is missed, no matter the architecture. If you prefer a professional assessment backed by airflow measurements and documentation, local teams specializing in dryer vent installation can perform this inspection and recommend targeted improvements.
Step 1: Document the System and Its Context
Begin by identifying the dryer model, fuel type, and the location of the laundry space. Note the age of the home and any renovations that might influence the vent route. Photograph the dryer connection, the accessible duct runs, and the exterior hood. Draw a quick sketch that marks elbows, supports, and wall or rim-joist penetrations. Good documentation makes it easier to spot gaps and to explain recommendations to family members, building managers, or future buyers.
List questions you want to answer during the inspection: Does the route meet the dryer’s maximum equivalent length? Are joints sealed with appropriate tape? Is the hood free-swinging and properly sealed to the exterior? Do supports keep the duct straight without crushing it? Is the transition connector short and undamaged?
Step 2: Verify Materials and Sizing
Inspect the duct material. Permanent runs should be 4-inch rigid metal—galvanized or aluminum. Flexible foil or plastic ducts are not suitable for long-term use because their ridges trap lint and increase fire risk. Confirm the duct maintains its full 4-inch diameter from the dryer to the hood. Any neck-downs or crushed segments are red flags that should be addressed immediately.
Check the transition connector at the dryer. It should be short, smooth, and clamped securely, with no kinks or sharp bends. If the connector looks tired, heat-worn, or crushed, plan on replacement.
Step 3: Examine Routing and Equivalent Length
Trace the route from the dryer to the exterior. Count elbows and note their radius. Tighter elbows increase resistance. Use the dryer manufacturer’s equivalent length calculation to ensure the total run is within limits. Routes in Elizabeth homes often jog around old framing or masonry; document each bend, because simplifying the path can greatly improve performance and safety.
Look for opportunities to shorten the run. Sometimes shifting the dryer a few inches or moving the termination on the same wall can save an elbow or reduce length enough to make a real difference.
Step 4: Inspect Joint Quality and Sealing
At every joint, look for high-temperature foil HVAC tape that lies smooth and continuous over seams. Avoid cloth-backed tape or sealants that are not listed for this use. Ensure crimped ends face the direction of airflow toward the exterior. If you find screws penetrating the duct interior, plan to replace that section and reassemble with tape and clamps instead. Smooth interiors discourage lint accumulation and keep velocity high.
Press along each taped seam with a finger to confirm adhesion. If tape has lifted, remove old residue, clean the surface, and re-tape. Well-sealed joints protect airflow and keep moisture out of the building.
Step 5: Evaluate Mechanical Support
Check that the duct is supported every few feet with hangers or straps that do not pinch the metal. Supports should keep the run straight, prevent sagging, and allow for minor thermal movement. Inspect for vibrations during operation; rattles point to loose or uneven supports that can fatigue tape seams and fittings over time.
Where the duct passes near storage, confirm there is clearance so boxes or fabrics cannot rest against the warm metal. Simple housekeeping improves safety and reduces the need for repairs.
Step 6: Inspect the Penetration and Exterior Hood
At the wall or rim-joist penetration, verify that the opening is properly sized and protected with a sleeve or the hood’s built-in collar. Outside, examine the hood’s damper. It should open fully under airflow and close to block backdrafts when the dryer is off. Remove any cleanable guard and wash away lint. Check the hood’s mounting screws and the sealant around the flange. In Elizabeth’s windy, wet seasons, worn sealant can invite moisture intrusion, leading to hidden damage.
Confirm the hood is mounted with a slight downward slope to shed water, and that it sits high enough above grade to avoid snow and splashback. Look for lint deposits around the hood—heavy accumulation may indicate marginal airflow or partial blockages upstream.
Step 7: Functional Airflow Testing
Run the dryer on air-fluff and feel for strong airflow at the hood. Watch the damper for wide, steady opening. Inside, listen along the duct for rattles or hissy leaks. Time a typical load on a moderate heat setting. If the load dries quickly and consistently, the system is likely performing well. If not, correlate the symptoms with your route notes: too many elbows, an undersized or sticky hood, lifted tape, or a crushed connector are common culprits.
For a more precise assessment, professionals use airflow meters or manometers, but even a homeowner can learn a lot from careful observation and timing. Establish a baseline so changes over time are easy to spot.
Step 8: Moisture and Odor Check
A musty smell or elevated humidity in the laundry area signals leaks or backdrafts. Verify that the hood damper closes when the dryer stops and that interior seams are airtight. Inspect nearby walls and ceilings for subtle discoloration, which can indicate moisture migration. In basements, add dehumidification as needed during New Jersey’s humid months to protect the structure and keep drying cycles efficient.
After storms, reinspect the exterior sealant and confirm no water is making its way inside around the hood. Prompt sealing prevents chronic issues that can be mistaken for appliance faults.
Common Findings and How to Correct Them
Frequent inspection discoveries include elbows with too tight a radius, unsupported spans that sag, transitions crushed behind the dryer, lifted tape seams, and old hoods with sticky dampers. The fixes are straightforward: replace tight elbows with long-radius models, add hangers, reposition the dryer to relieve pressure on the connector, re-tape seams, and install a modern, low-resistance hood. Each change lowers total resistance and helps the dryer operate as designed.
If the equivalent length remains near the manufacturer’s limit even after improvements, consider rerouting the run or relocating the termination. Booster fans are a last resort and must be listed for dryer use; most homes do not need them once routing and fittings are optimized.
Elizabeth, NJ Considerations
Local housing variety means you may inspect systems that pass through brick, block, and layered siding. Masonry penetrations require careful sealing and sometimes a sleeve to prevent abrasion and moisture intrusion. Because winters can pile snow against low terminations, confirm that hood placement stays safely above typical accumulation levels. In windy conditions, a damper that seals well without sticking is essential to prevent backdrafts and drafts into the laundry space.
Coordinate with building officials or management in multi-unit properties. Shared walls and fire-rated assemblies may impose additional requirements on duct materials and penetrations. Document your inspection thoroughly so you can communicate clearly with stakeholders.
Documentation and Follow-Up
Conclude your inspection by updating your sketch with any corrections you made and any recommendations you are deferring. Photograph the final condition of joints, supports, and the hood. Keep a log of airflow observations and dry times. This record becomes your maintenance roadmap and helps you or a future technician identify drift from baseline performance quickly.
Schedule periodic re-inspections: a quick monthly hood check, a quarterly interior seam and support review, and an annual deep clean paired with a full inspection. Regular attention turns minor wear into predictable, easy maintenance rather than emergency repairs.
Frequently Asked Questions
Q: How long should an inspection take? A: A careful homeowner inspection may take an hour or two the first time, including documentation and cleaning at the hood. Subsequent inspections are faster as you learn your system’s details.
Q: What tools are essential? A: A flashlight, screwdriver, drill for access panels, high-temperature foil HVAC tape, a vent brush or vacuum attachment, exterior-grade sealant, and basic safety gear like gloves and eye protection.
Q: Do I need to remove duct sections? A: Not always. You can see and feel a lot without disassembly. If you discover lifted tape, tight elbows, or crushed segments, partial disassembly may be the fastest way to correct issues properly.
Q: Is a small amount of lint at the hood normal? A: Some lint is expected, but heavy clumps suggest marginal airflow. Clean the hood and reassess the run for excessive elbows, long length, or failing tape seams.
Q: How often should I inspect? A: Perform a brief monthly hood check, a quarterly interior review, and a full annual inspection paired with deep cleaning. Increase frequency if you do heavy laundry or have pets.
Put a Professional Eye on Your Venting System
A structured inspection shines a light on the small details that make venting safe and efficient—smooth interiors, sealed joints, sound supports, and a free-swinging hood. If you want documented performance and prioritized recommendations without the trial and error, schedule a thorough assessment and, when needed, expert dryer vent installation corrections so your Elizabeth, NJ home stays protected season after season.
