Air Duct Repair Checklist for Homes in Elizabeth, New Jersey
Cold winters and humid summers in Elizabeth, New Jersey, make efficient ductwork essential for comfort and air quality. Use this comprehensive checklist to inspect, repair, and maintain your ducts so your HVAC system performs as intended. If your review reveals issues that exceed DIY scope, schedule professional air duct repair to ensure durable, code-compliant results.
Safety First
- Turn off the HVAC system at the thermostat and service switch.
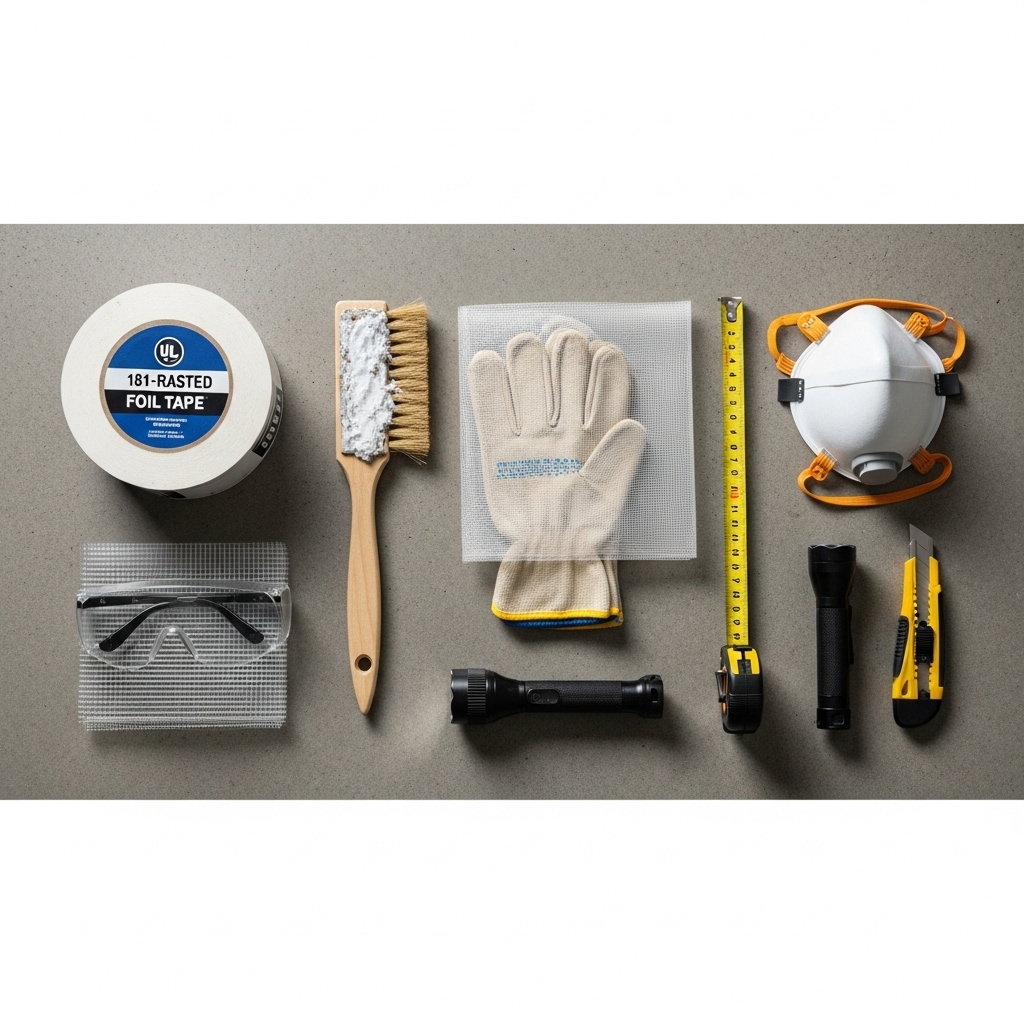
- Wear gloves, a dust mask, and safety glasses.
- Use stable ladders or platforms when accessing attics and crawl spaces.
- Avoid disturbing suspect insulation or materials that may contain asbestos.
- Maintain safe clearances around gas appliances and flues.
Initial Walkthrough
- Locate the air handler or furnace, main trunk lines, supply branches, and return paths.
- Identify duct types: sheet metal, flexible duct, or fiberboard.
- Note unconditioned spaces where ducts run, such as attics or garages.
- Mark each area to be inspected so you do not miss a run.
Leak and Damage Inspection
- Look for gaps at seams and joints, especially near takeoffs.
- Check for disconnected or partially slipped flex duct liners.
- Examine for crushed, kinked, or twisted flex duct that restricts airflow.
- Identify punctures, tears, or rodent damage.
- Watch for dust streaks on insulation—often a sign of leaks.
- Check for rust, corrosion, or delamination on metal and fiberboard ducts.
Moisture, Mold, and Odor Checks
- Inspect for condensation on cold ducts in humid spaces.
- Look for water stains on insulation and nearby framing.
- Smell for musty odors that may indicate moisture intrusion.
- If mold is suspected, stop and contact a professional for remediation.
Connections and Supports
- Verify that flex duct inner liners are fully seated over collars.
- Ensure clamps, zip ties, or drawbands are tight and secure.
- Confirm that hangers support horizontal runs every 4–6 feet.
- Reposition sagging ducts to maintain smooth airflow.
- Check that register boots are firmly fastened to ceilings, floors, or walls.
Sealing Materials and Methods
- Use UL 181-rated foil tape for smooth surfaces and insulation seams.
- Apply mastic sealant with mesh on larger gaps or irregular joints.
- Avoid cloth duct tape—it dries out and fails.
- Seal both supply and return sides; returns are common leak points.
Thermal Insulation
- Insulate ducts in unconditioned spaces to prevent energy loss.
- Repair or replace damaged insulation jackets.
- Seal insulation seams with foil tape to prevent condensation and air intrusion.
Airflow and Balancing
- Open all supply registers and ensure furniture is not blocking airflow.
- Check for closed or misadjusted dampers in the duct system.
- After repairs, measure airflow subjectively at each room; note improvements.
- Balance by slightly adjusting dampers to even out room temperatures.
Filter and Return Integrity
- Inspect the filter cabinet door for tight closure and missing gaskets.
- Replace dirty filters according to manufacturer guidance.
- Seal air gaps around the filter cabinet where the system could pull in dust.
Combustion Safety Considerations
- Ensure ducts do not alter combustion air for gas appliances.
- Do not seal or relocate vents that provide make-up air for furnaces.
- If you smell gas or see backdrafting signs, contact a professional immediately.
Elizabeth, NJ-Specific Considerations
- Attic heat in summer can accelerate duct expansion and joint loosening; recheck after heat waves.
- Winter dryness can shrink seals; inspect mastic and tape at season change.
- Storm events may introduce moisture; reinspect for damp insulation after heavy rain.
Repair Checklist
-
Clean and prep surfaces: Wipe dust and dry moisture at all joints.
-
Seal seams: Brush on mastic and embed mesh where needed; foil tape smooth seams.
-
Reconnect ducts: Seat flex liners over collars, clamp, and tape; add screws to metal joints.
-
Replace damaged sections: Splice new flex where torn; repair or replace dented metal sections.
-
Reinsulate: Wrap exposed ducts and tape seams to prevent condensation.
-
Support runs: Add hangers and adjust slopes to remove sags and kinks.
-
Test: Restore power, run the system, and verify airflow and noise levels.
Mid-project discoveries sometimes reveal hidden returns, multi-zone dampers, or branch lines buried behind finishes. When repairs extend beyond accessible joints, or you encounter contaminants or structural issues, it is time to call specialists. For reliable workmanship and efficient diagnostics, consider scheduling professional air duct repair so your system is sealed, balanced, and protected.
Post-Repair Verification
- Feel for air leaks at previously repaired joints while the system runs.
- Listen for whistling, rattling, or vibration that may indicate loose parts.
- Recheck temperatures room by room to confirm improved balance.
- Inspect for new condensation or damp insulation after a day of operation.
- Document repairs with photos and notes for future maintenance.
Seasonal Maintenance Checklist
- Spring: Inspect for winter-related seal shrinkage; replace filters before cooling season.
- Summer: Check attic duct insulation and re-tape seams if heat has degraded adhesives.
- Fall: Inspect for pests and nesting; seal any new penetrations.
- Winter: Monitor for dryness-related leaks; keep returns unobstructed by holiday decor.
Frequently Asked Questions
Q: How often should I inspect my ducts? A: Perform a quick visual each season and a thorough inspection annually, especially after major storms or renovations.
Q: What products should I use to seal ducts? A: UL 181-rated foil tape and mastic sealant are recommended. Avoid cloth-backed tape not designed for HVAC.
Q: Do I need to insulate all ducts? A: Any duct running through unconditioned spaces should be insulated to prevent energy loss and condensation.
Q: What if I see mold? A: Stop DIY work and contact a qualified professional to assess and remediate the issue safely.
Q: Why do my rooms still feel unbalanced after repairs? A: You may need damper adjustments, additional return air, or professional airflow testing to pinpoint bottlenecks.
Take the Next Step for Your Elizabeth Home
A thorough checklist-driven approach can restore comfort, reduce dust, and help your HVAC equipment last longer. When you want a comprehensive inspection, diagnostic testing, and durable sealing, schedule expert air duct repair and enjoy more even temperatures and cleaner air throughout your Elizabeth, New Jersey home.
