Introduction
A safe, efficient New Jersey kitchen begins with a clear, methodical exhaust hood cleaning process. When performed correctly, this process improves airflow, reduces odors, and protects against grease fires. It also gives inspectors confidence that your operation is consistent and code-conscious. This guide walks through every step—from preparation to verification—so your team knows what to do and when to involve experts. For deep, full-system results that go beyond what in-house staff can safely reach, professional kitchen hood cleaning is the best way to maintain compliance and performance.
Think of the process as a chain: each link supports the next. Proper prep prevents damage and downtime. Careful cleaning protects finishes and equipment. Verification catches issues early. Documented results keep you inspection-ready. By following the steps below, your kitchen will develop a repeatable standard that works during rushes and busy New Jersey seasons alike.
Step 1: Assess Your System and Set the Scope
Begin by listing your hood sections, the equipment under each, and any known problem areas. Note whether you operate on gas, electric, or solid fuels, since solid fuel cooking typically requires more frequent and thorough service. Consider your menu and volume. A burger-heavy line or a fryer-forward concept produces more grease vapors than a light sauté kitchen. Set goals for the session: exterior surfaces and baffle filters for daily or weekly staff cleans, and full duct and fan service at longer intervals with a qualified provider. Document the scope so everyone understands what today’s work includes and what will be deferred to professionals.
Step 2: Safety First—Lockout, Cooldown, and PPE
Before cleaning, reduce risks. Allow hot equipment and surfaces to cool. Shut off burners, fryers, and griddles as needed, and avoid splashing degreasers onto hot metal that can off-gas. Use gloves, eye protection, and non-slip footwear. Lay down floor mats to handle overspray and rinse water. Keep a Class K extinguisher available, and confirm your automatic suppression system’s tags are current. Communicate to staff that the hood area is a work zone to avoid accidental contact with cleaning chemicals or wet floors.
Step 3: Prepare the Area
Cover nearby surfaces, food prep areas, and sensitive electrical components with protective film or plastic as appropriate. Remove utensils and open containers from the vicinity. Ensure you have the right degreasers, microfiber cloths, non-abrasive pads, and a method for washing and drying baffle filters. If you use a dishwasher for filters, verify that the filter type is dishwasher-safe. Place buckets, signage, and trash receptacles nearby so the workflow remains organized and spills are contained.
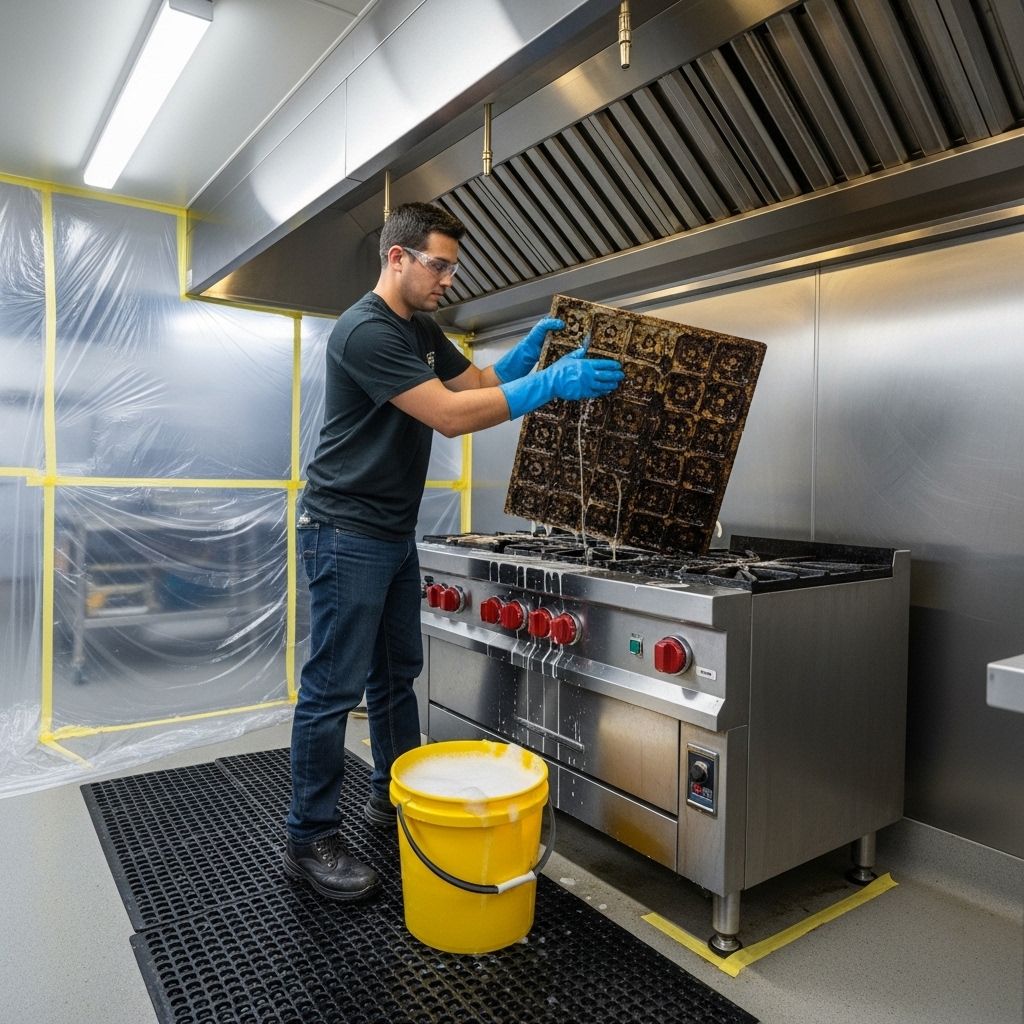
Step 4: Remove and Clean Baffle Filters
Carefully remove baffle filters and check for correct orientation markings so reinstallation will be straightforward. Pre-scrub heavy residue with an appropriate degreaser and non-abrasive pads. Rinse thoroughly with hot water. If the manufacturer allows, run filters through a dishwasher cycle to finish. Dry them completely—either air-dry or towel-dry—before reinstallation. Inspect the frames for warping or damage, which can create air gaps that reduce capture efficiency.
Step 5: Clean the Hood Canopy Interior and Lip
With filters out, degrease the interior canopy surfaces you can safely reach, starting with the cleaner sections and moving toward the greasiest areas. Pay special attention to the perimeter lip, where splatter tends to accumulate. Avoid oversaturating light fixtures or electrical components. Wipe residue with microfiber cloths, changing cloths as they become saturated. Rinse with minimal water to prevent drips down onto equipment, and thoroughly dry surfaces to prevent streaks and residual film.
Step 6: Inspect Accessible Duct Openings
If your hood provides limited, safe access near the throat of the duct, visually inspect for visible buildup without reaching beyond safe boundaries. Staff should not attempt to clean deeper duct sections; this is for trained technicians with proper access panels and tools. Document what you see with photos or notes so you can share them with your service provider and adjust your schedule as needed.
Step 7: Empty and Clean Drip Trays and Grease Cups
Remove grease cups or trays, empty them into approved containers, and degrease thoroughly. Confirm that any drain paths are unobstructed. Improperly maintained trays can overflow and create slip hazards or send grease into parts of the system where it does not belong. Dry components and reinstall securely so they cannot move during service.
Step 8: Reinstall Filters and Check Orientation
Once filters are dry, reinstall them with the airflow arrows oriented correctly. Ensure each filter seats snugly with no gaps where air could bypass the baffles. Gently tug on the frames to confirm stability. Misaligned filters can rattle, reduce capture, and allow grease to accumulate in unintended areas.
Step 9: Test the Fan, Makeup Air, and Capture
Turn on the exhaust fan and makeup air systems. Listen for unusual noises that suggest belt or bearing issues. Hold a light strip of tissue at the hood edge to gauge capture. Sear a protein or run a high-heat test to observe smoke behavior. If smoke rolls out or lingers, troubleshoot: check filter seating, verify that diffusers are not blowing across the capture zone, and ensure doors and windows aren’t creating competing drafts. Note any anomalies for follow-up service.
Step 10: Document Your Work
Record the date, time, staff involved, steps performed, chemicals used, and observations about airflow and residue. Attach photos when useful. Over time, your documentation becomes a maintenance map that shows what works, when you need mid-cycle adjustments, and how seasonal changes affect grease accumulation in New Jersey’s varied climate.
Step 11: Schedule and Prepare for Full-System Cleaning
No step-by-step guide is complete without acknowledging the limits of in-house cleaning. Ducts and fans demand specialized tools, access panels, and trained technicians who follow NFPA-aligned procedures. Plan quarterly or semiannual deep cleanings depending on volume and fuel type. Coordinate roof access, protect nearby surfaces, and notify your team of the schedule. After service, save the report, photos, and tags in your records so you can present them during inspections.
Mid-Process Considerations: When to Escalate
If you detect heavy, sticky residue near duct entry points, recurring smoke rollback, or worsening fan noises, escalate the timeline for a professional visit. Don’t wait for a scheduled quarter if performance declines. A proactive mid-cycle clean can prevent service disruptions during New Jersey’s busy weekends or tourist seasons. When issues persist despite diligent staff work, bring in professional kitchen hood cleaning to restore the entire system and reset your baseline.
Quality Assurance After Each Clean
Build a habit of post-clean performance checks. Confirm that capture is consistent at low and high heat, verify that odors dissipate quickly, and ensure staff can work without smoke irritation. Monitor the dining room for odor drift. If performance is uneven, consider adjusting equipment placement or reviewing makeup air diffusers. Small tweaks can yield big improvements in capture and comfort.
New Jersey–Specific Factors
Seasonality is a major factor in the Garden State. Shore restaurants see summer spikes, while urban and suburban kitchens often experience holiday surges and university-driven waves. Humidity affects how grease behaves, often accelerating buildup on interior canopy surfaces. Plan additional wipe-downs during peak months and reassess your deep-clean frequency after seasonal shifts. Keep communication open with landlords, building managers, or mall operators about roof access and mechanical schedules to avoid conflicts during planned cleanings.
Training Your Team
Train every staff member who will handle cleaning on safe chemical use, PPE, and the correct order of operations. Emphasize cooling time for hot surfaces, filter removal and reinstallation, and careful attention to light fixtures and electrical components. Use checklists and brief demonstrations during pre-shift meetings so knowledge stays fresh. Rotate responsibilities to avoid over-reliance on a single person, and audit compliance weekly.
Frequently Asked Questions
Q: How often should a New Jersey kitchen perform in-house hood cleaning? A: Daily wipe-downs and filter cleaning are typical, with weekly deeper attention to canopy interiors. The exact cadence depends on volume and menu.
Q: When is professional service necessary? A: Any time ducts and fans need cleaning, or when smoke rollback persists despite clean filters and canopy surfaces. Most kitchens schedule full-system service quarterly to semiannually.
Q: What documentation should we keep? A: Maintain logs of daily and weekly staff work, deep-clean reports with photos, and any corrective actions. Organized records make inspections smoother.
Q: Can we use abrasive pads to speed up cleaning? A: Avoid abrasives that scratch stainless steel; scratches harbor grease and make future cleaning harder. Use stainless-safe degreasers and microfiber cloths.
Q: How can we tell if makeup air is balanced? A: Look for steady capture at the hood edge, comfortable door operation, and absence of drafts across the cookline. If problems persist, coordinate with HVAC professionals.
Q: Does weather change our schedule? A: Yes. Humid summers and enclosed winter operations often require more frequent in-house wipe-downs and may justify an earlier professional deep clean.
Book Reliable Service and Stay Inspection-Ready
By following this step-by-step process, you create a safer, more efficient kitchen with clean air and consistent performance. When airflow declines or logs show acceleration in grease buildup, schedule professional kitchen hood cleaning to reset the system and provide the documentation inspectors expect. A disciplined process keeps your team focused on great food while your ventilation quietly does its job.
