Introduction: A Clear, Repeatable Process for New Jersey Restaurants
From fast-casual counters to fine dining in New Jersey’s downtowns and shore towns, the kitchen exhaust hood cleaning process is a key control that influences fire safety, air quality, and inspection outcomes. A defined, repeatable process limits surprises and keeps service running smoothly. It should coordinate with your menu, cookline layout, and staff skill set, while incorporating the realities of local inspections. Many operators blend in-house steps with periodic professional kitchen hood cleaning to reach the concealed areas that accumulate grease beyond the visible canopy.
The process is easiest to manage when it is mapped from preparation to verification. That means lining up safety precautions, assigning roles, laying out tools, documenting the work, and closing the loop with a quality check. The following sections outline a practical sequence built for New Jersey restaurants that need to control risk without slowing the pace of a busy operation.
Step 1: Preparation and Safety Controls
Start by scheduling cleaning during low-traffic windows to reduce disruption and allow for cool-down. Shut down and cool cooking equipment, isolate gas where appropriate, and confirm that the fire suppression system remains intact and properly serviced. Post wet-floor signs, use non-slip shoes, and stage absorbent mats or plastic sheeting to protect appliances and floors. Select approved degreasers, scrapers, soft pads, and low-pressure wash tools. Establish ventilation pathways so fumes are directed safely away from staff areas.
Before touching the hood, do a quick risk survey. Verify that access panels are reachable, rooftop areas are safe, hinges or hold-open devices on fan units are functional, and electrical components are protected from moisture. Clarify the communication plan between the kitchen team and the cleaning crew to limit confusion once work begins.
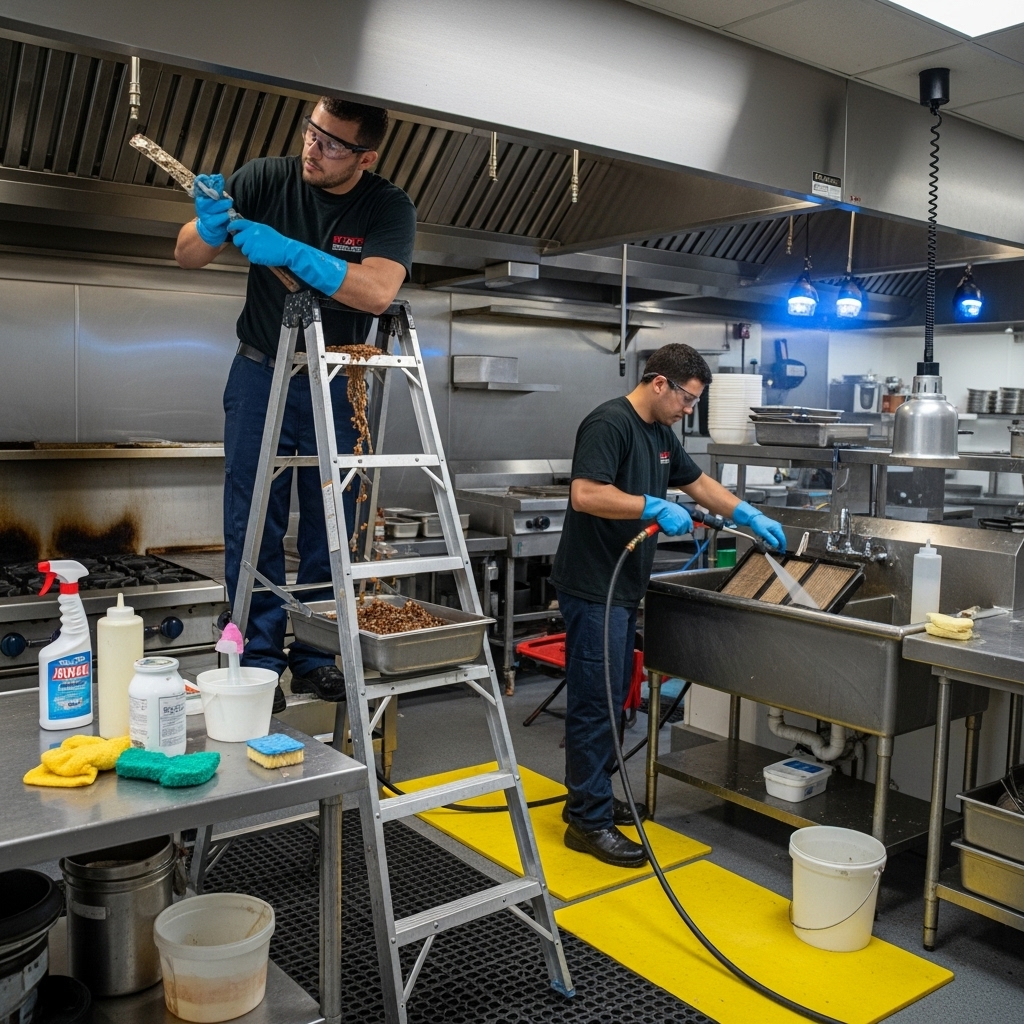
Step 2: Filter Removal and Cleaning
Filters are the first barrier against grease migration. Remove them carefully to avoid dripping onto appliances. Soak in a suitable degreaser solution, then scrub to remove stubborn residues. Rinse thoroughly and allow to dry before reinstallation. During this step, evaluate the condition of each filter: bent frames, broken baffles, or caked residue signal replacement or schedule adjustments. Clean filter rails and the receiving edges inside the hood so new buildup is not immediately re-deposited.
The filter step is also a good checkpoint for airflow observations. If filters saturate unusually fast or if cooking odors linger despite daily care, note it in your log. Trends like these often indicate issues deeper in the plenum or duct that warrant inspection and may require a more comprehensive service interval.
Step 3: Hood Canopy and Plenum Cleaning
With filters removed, address the hood interior. Scrape heavy deposits from the canopy lip and internal surfaces, then apply degreaser and agitate with non-scratch tools. Work systematically from top to bottom to prevent re-soiling. Access the plenum behind the filters to remove grease accumulations that can flow into the duct. Rinse residues and dry surfaces, ensuring that seams and corners do not retain moisture.
Inspect for signs of recurring leaks, warped metal, or areas where grease seems to pool. Such clues can reveal ventilation imbalances or duct obstructions. Mark these findings for follow-up to make sure the root causes are addressed rather than repeatedly cleaned without correction.
Step 4: Duct Access and Internal Cleaning
Open each access panel in sequence, documenting its location and condition. Use scrapers and brush tools to remove heavy layers from duct surfaces, then apply degreaser and rinse as permitted by your setup and local guidance. Control runoff to prevent contamination of the kitchen or rooftop. Replace gaskets or fasteners that are worn or damaged so panels reseal properly, maintaining airflow and fire containment design.
Because duct interiors are not easily visible, rely on strong lighting and, when possible, photographs to confirm clean metal from the plenum all the way to the fan. If you encounter inaccessible segments, note them clearly and schedule a follow-up with a qualified crew who can safely reach and certify these sections.
Step 5: Exhaust Fan and Roof Area
Rooftop work requires particular care. Confirm safe ladder practices, protect roofing membranes, and secure fan lids or hinges to prevent damage. Clean fan blades, housings, and discharge areas thoroughly. Examine the grease containment setup and empty or replace absorbent materials. Check for belt wear, vibration, and noise that could indicate a maintenance issue. Ensure that the fan re-seats properly and that any penetrations are sealed to prevent leaks.
The roof area often reveals the story of your system’s health. Streaking, pooling, or staining indicate that grease has been escaping the duct path, often due to saturated filters, inadequate containment, or airflow problems. Correct these issues promptly to prevent roof damage and inspection findings.
Step 6: Rinse, Dry, and Shine
After the heavy work, rinse all treated surfaces carefully to remove chemical residue. Dry metal with clean towels or air movement to prevent spotting and corrosion. Polish the visible hood surfaces to present a clean, professional appearance. This step supports health code expectations and keeps the front-of-house impression positive in open-kitchen concepts.
Restore the area by removing protective coverings, cleaning the floor, and returning tools to storage. Confirm that any water intrusion around electricals or controls is addressed before power is restored to the cookline.
Step 7: Verification, Documentation, and Tagging
Verification closes the loop on your process. Use a checklist to confirm that each component was addressed: filters, canopy, plenum, ducts, fan, and surrounding surfaces. Capture before-and-after photos, especially of access points and the fan housing. Record dates, personnel, observations, and any deficiencies. Update the tag near the hood with the service date and the next scheduled comprehensive cleaning.
Documentation is your best friend during inspections. It shows diligence, demonstrates that issues were tracked and corrected, and gives you a defensible record of compliance. Keep records accessible and train managers to present them confidently.
Mid-Cycle Adjustments and Professional Support
Menus evolve, seasons change, and special events can increase cooking volume. Reassess your process when evidence suggests faster buildup or airflow changes. Add interim filter cleanings, schedule spot checks of the plenum, or accelerate the next full-duct service. Pairing your internal routine with periodic professional kitchen hood cleaning ensures that concealed sections are addressed on a cadence that matches actual risk rather than a generic timeline.
Training Your Team on the Process
Train against the real sequence your kitchen follows, not an abstract notion. Walk new staff through safety, chemical handling, and tool use. Emphasize the importance of cool-down, lockout, and personal protective equipment. Provide quick visual guides near the hood and keep a stocked cleaning cart so the process is convenient and consistent. Require signatures or initials for accountability and schedule manager audits to confirm quality.
Culture matters. When staff understand why each step exists, they are more likely to execute consistently and report early signs of trouble. Recognize strong performance and share wins after clean inspections to reinforce the value of a well-run process.
Frequently Asked Questions
Q: How often should a full duct and fan cleaning occur? A: It depends on cooking load and menu type. High-volume frying or charbroiling may require more frequent service than light sautéing or steaming. Track filter saturation and rooftop conditions to fine-tune the interval.
Q: Can we skip rooftop work if the kitchen canopy looks clean? A: No. The exhaust path extends to the fan and discharge area. Grease often accumulates in the fan housing and roof containment, creating hazards and potential roof damage.
Q: What should our photo documentation include? A: Capture access panels before and after, interior duct surfaces, the plenum, fan blades and housing, and the roof containment area. Label images by date and location for easy reference.
Q: Are all degreasers acceptable on stainless steel? A: Use approved, non-abrasive products. Harsh chemicals can pit surfaces and create long-term cleaning challenges. Rinse thoroughly and dry to protect finishes.
Q: How can we tell if airflow is improving after cleaning? A: Observe smoke capture at the hood, listen for smoother fan operation, and check for reduced odors. When possible, log temperatures and make-up air balance notes to identify trends.
Bring the Process to Life in Your New Jersey Kitchen
Define the steps, train the team, and document the results. When your process becomes routine, it stabilizes operations, protects your staff, and makes inspections predictable. If your last review revealed heavy duct buildup, rooftop staining, or inconsistent documentation, pair your routine with experienced professional kitchen hood cleaning so the concealed risks are handled thoroughly. A clean, well-documented exhaust system supports safety, peace of mind, and smooth service from prep to close.
