Introduction: A Practical Tutorial for New Jersey Homes
This tutorial walks New Jersey homeowners through a practical approach to installing a dryer vent that is safe, efficient, and resilient in local weather. While many steps can be tackled by experienced DIYers, complex routes, roof terminations, masonry penetrations, and multi-family fire-resistance requirements are best handled by professionals. If at any point you want predictable results with proper materials, sealing, and testing, consider expert dryer vent installation to ensure long-term performance.
Planning the Route
The route is the backbone of a high-performing system. Start by identifying the shortest, straightest line to the outdoors. Note the number of bends and their locations, and avoid routing the vent into attics, crawlspaces, or garages. Consider the building’s framing, utilities, and exterior cladding. In coastal New Jersey, factor in wind and salt exposure; inland, plan for snow and freeze-thaw cycles. If a wall exit is impractical, a roof termination may be necessary, which requires careful flashing and weatherproofing.
Gathering the Right Materials
- Smooth, rigid metal duct sections sized to match the dryer outlet.
- UL-2158A–listed transition connector for the short run between the dryer and wall.
- Large-radius elbows to reduce airflow penalties.
- Foil HVAC tape to seal exterior joints.
- Hanging straps or supports for long runs.
- Low-resistance exterior hood or roof cap with a backdraft damper and suitable guard.
- Caulk and flashing compatible with the exterior surface.
- Hole saw or core bit, drill/driver, metal snips, level, and measuring tools.
- Anemometer for airflow verification.
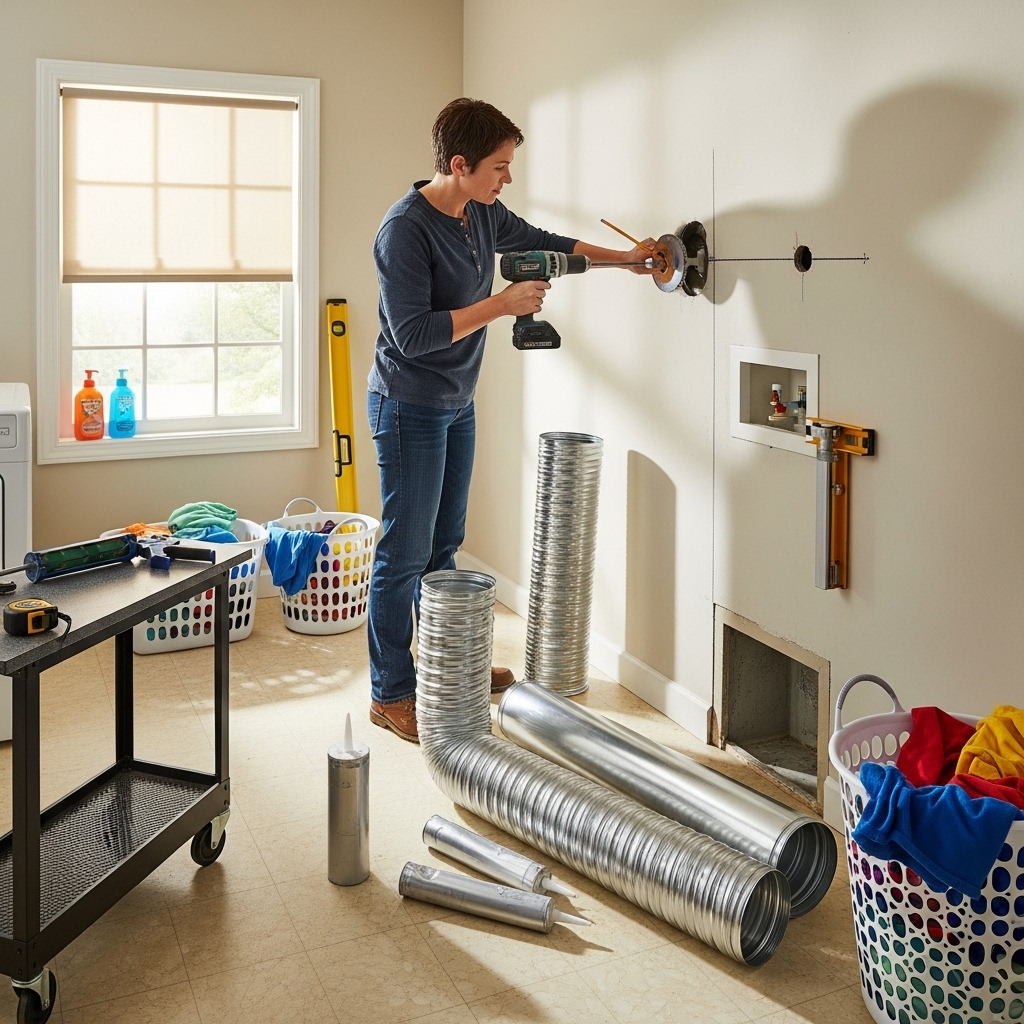
Step-by-Step Tutorial
- Measure and Mark: Determine the exit point that preserves structure and siding while achieving the shortest path. Mark the centerline inside and outside.
- Check for Obstructions: Use stud finders and inspection holes to avoid wires, pipes, and blocking. Adjust the route before cutting if you find conflicts.
- Create the Opening: Cut a clean opening matched to the duct size. For masonry, core carefully and install a sleeve to protect the duct and allow proper sealing.
- Dry-Fit Duct Sections: Assemble rigid sections with the crimped end facing the airflow direction. Aim for gentle bends and minimal elbows.
- Secure and Seal: Use appropriate fasteners that do not penetrate into the airstream and seal exterior joints with foil tape. Support long horizontal runs at intervals to prevent sagging.
- Install the Termination: Mount the exterior hood or roof cap with flashing and sealants suitable for your cladding or roofing. Ensure the damper moves freely and is protected from wind-driven rain and pests.
- Connect the Transition: Behind the dryer, install a short, UL-2158A–listed transition connector. Keep the path straight and avoid crushing when positioning the appliance.
- Test Airflow: Run the dryer on a heat cycle and confirm that the exterior damper opens fully. Use an anemometer for a more objective airflow check.
- Document the Route: Photograph concealed sections before they are closed and sketch the path for future reference.
- Plan Maintenance: Set reminders for seasonal checks of the exterior hood and periodic professional cleaning based on usage.
New Jersey Challenges and Solutions
- Historic Masonry Walls: Use the right core bits and sleeves; ensure moisture management and corrosion-resistant materials.
- Coastal Exposure: Choose exterior components that resist corrosion and seal against wind-driven rain.
- Cold Attics and Basements: Insulate duct sections that pass through unconditioned spaces to mitigate condensation.
- Townhouse and Condo Rules: Coordinate with building management and respect fire-rated assemblies with proper firestopping.
- Dense Lots: Maintain code-required clearances from openings and avoid exhausting near areas where lint could accumulate on neighboring surfaces.
Optimizing Airflow
Airflow is the decisive metric. Every elbow adds resistance, and every rough interior surface invites lint to stick. Large-radius elbows, smooth rigid duct, and short runs are your allies. Keep joints aligned and sealed externally. Make sure the exterior cap is low resistance and opens fully. If airflow is marginal, revisit the route to eliminate a bend or shorten the path rather than relying on add-ons.
When a Roof Termination Makes Sense
Roof terminations are sometimes unavoidable in laundry closets located deep within the floor plan or in stacked multi-story units. Use a purpose-built roof cap and integrate flashing beneath the shingles. Plan for snow loads and prevailing winds along ridgelines. Insulate attic sections and consider a slight pitch in long horizontal attic runs to discourage moisture accumulation. Regularly check the cap for free movement.
Common Errors to Avoid
- Using plastic or foil flex inside walls and ceilings.
- Over-reliance on tight elbows that dramatically increase equivalent length.
- Terminating into non-conditioned spaces rather than outdoors.
- Adding screens that trap lint and reduce airflow.
- Skipping the airflow test after installation.
Troubleshooting Guide
- Long Dry Times: Inspect for crushed transition duct, stuck damper, or too many elbows.
- Rattling or Whistling: Check for loose joints, misaligned sections, or a cap that vibrates in wind.
- Moisture Near Termination: Revisit flashing and sealant, and evaluate for condensation in unconditioned sections.
- Damper Sticks in Winter: Verify that the cap is weatherworthy and clear of ice; adjust installation height to avoid snow drift zones.
Working Safely with Gas Dryers
Gas dryers must vent outdoors, and joints should be sealed externally to prevent leaks into living areas. Keep the gas shutoff accessible and avoid sharing the dryer exhaust with any other appliance vent. If you suspect a gas issue, stop and involve a qualified professional immediately.
Mid-Tutorial Recap: Quality Over Shortcuts
Success comes from short, straight routes; smooth, rigid duct; low-resistance terminations; and verified airflow. If your plan requires many elbows, masonry penetrations, or roof work, it’s prudent to bring in specialists who perform dryer vent installation every day and can document the results.
Seasonal Maintenance for New Jersey
- Winter: Keep the termination clear of snow and inspect for ice around the damper.
- Spring: After windy months, confirm the damper opens freely and that no debris has lodged in the hood.
- Summer: Ensure vegetation hasn’t grown into the outlet’s clear zone.
- Autumn: Verify sealants remain intact before colder temperatures and precipitation arrive.
Checklist Before You Call the Project Complete
- All concealed sections are rigid metal with joints oriented to airflow.
- Transition behind the dryer is short, UL-2158A–listed, and uncrushed.
- Equivalent length within appliance and code limits.
- Exterior termination with backdraft damper opens fully under operation.
- All joints sealed externally with foil HVAC tape; no screws intruding into airflow.
- Supports prevent sagging on long horizontal runs.
- Airflow verified by observation and measurement.
- Documentation completed for future maintenance.
Frequently Asked Questions
Q: Can I run the dryer vent up through the roof? A: Yes, when a wall exit is not feasible. Use a purpose-built roof cap, robust flashing, and insulate attic runs. Many homes perform best with a side-wall termination when site conditions allow.
Q: Do I need a booster fan? A: Only if the calculated equivalent length exceeds limits and route optimization cannot resolve it. Any booster must be listed and installed according to instructions.
Q: Is PVC acceptable for a dryer vent? A: No. Use smooth, rigid metal duct designed for dryer exhaust.
Q: Can I add a screen to stop birds? A: Standard screens are not recommended; they trap lint. Choose a termination designed for dryer exhaust with an appropriate guard and backdraft damper.
Q: How often should I clean the vent? A: Usage dictates frequency. Many households benefit from annual checks with cleaning as needed based on airflow and lint accumulation.
Putting Knowledge into Action
With a solid plan, the right materials, and disciplined execution, you can build a vent that keeps your dryer running efficiently through New Jersey’s weather extremes. Test thoroughly and maintain the system to protect performance over time.
Want a reliable result from day one?
If you prefer a professionally documented route with durable materials, weather-ready termination, and proven airflow, schedule expert dryer vent installation tailored to New Jersey homes. You’ll gain smooth performance, safer operation, and confidence that the vent is built to last.
