Introduction: A Step-by-Step Plan Tailored to New Jersey Homes
Installing a dryer vent is not just a matter of punching a hole and attaching a hood. In New Jersey, where homes span dense city blocks, leafy suburbs, coastal towns, and mountain foothills, the best results come from a methodical plan that respects building layout, local weather, and code. If your goal is to follow proven steps and avoid common pitfalls, the smartest approach is professional dryer vent installation that balances airflow, durability, and safety. This guide lays out each phase—from planning and materials to penetration, routing, termination, and final testing—so you know what a proper job looks like.
Phase 1: Assessment and Route Planning
Every successful installation begins with a thorough assessment. Measure the proposed duct length, identify the number of elbows, and note whether the path crosses conditioned and unconditioned spaces. The goal is always the shortest, straightest path that reaches the outdoors, with minimal restrictions and a termination point that will remain free of snow, landscaping, or other obstructions. If your laundry space is interior, you might need a vertical run and a roof termination, which makes planning and condensation management even more important.
Phase 2: Materials and Tools Checklist
- Smooth rigid metal duct sections, sized appropriately for the dryer outlet.
- UL-2158A–listed transition connector for the short run behind the dryer.
- Large-radius elbows to reduce equivalent length penalties.
- Foil HVAC tape for exterior joint sealing (not duct tape).
- Appropriate fasteners and hanging straps for long runs.
- Exterior wall cap or roof cap with a backdraft damper and bird-guard solution that will not restrict lint discharge.
- Caulks and flashing materials suited to your siding or roofing.
- Drill, hole saw or core bit, metal snips, and a level.
- Anemometer or airflow measurement device for final verification.
Phase 3: Safety Preparations
Unplug the dryer and, for gas units, close the gas shutoff valve before moving the appliance. Protect floors and finishes in the work area. Verify the location of studs, pipes, and wires in proposed penetration zones. For multi-family or townhouse settings, ensure compliance with any fire-rated assembly requirements and HOA rules. These steps prevent surprises that could compromise safety or slow the project.
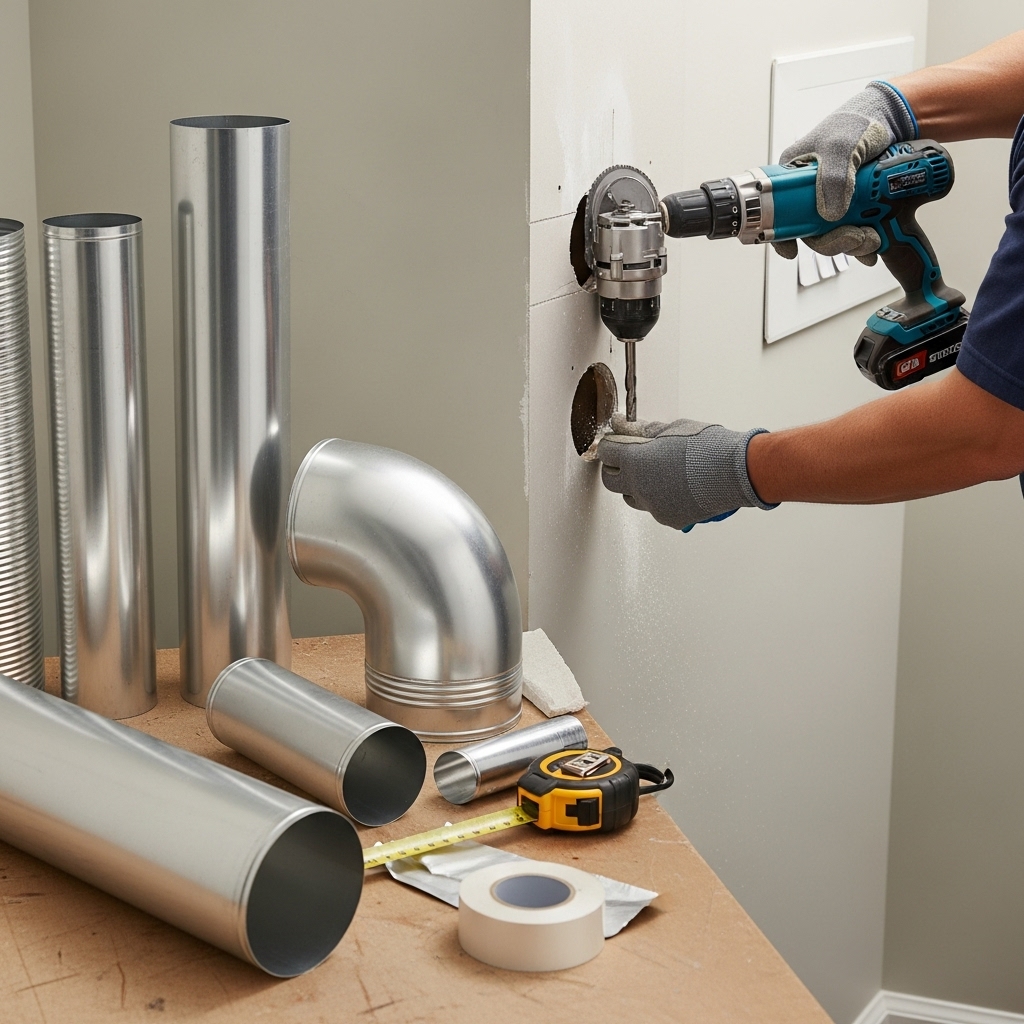
Phase 4: Create the Penetration
With the route confirmed, mark the centerline at the exit point. If you are exiting through a band joist, confirm exterior clearances and interior obstructions. Use a proper hole saw or core bit to cut a clean, correctly sized opening. When penetrating masonry, plan for a sleeve and use corrosion-resistant hardware. Keep the opening snug to the duct size to support proper flashing and weather sealing.
Phase 5: Assemble Interior Ductwork
Dry-fit rigid sections to ensure alignment and to minimize unnecessary elbows. Crimped ends should face the direction of airflow to avoid lint-catching edges. Joints are secured without penetrating screws that intrude into the airstream and then sealed externally with foil tape. Longer horizontal sections are supported at proper intervals with strapping to prevent sagging. Where a vertical section is required, use supports designed for the weight and length involved.
Phase 6: Transition Connection at the Dryer
Behind the dryer, connect a short, UL-2158A–listed transition duct. This section accommodates slight movement for servicing while preserving airflow. Avoid long runs of flexible duct and never route plastic or foil flex inside walls or ceilings. Keep bends gentle and avoid crushing the duct when pushing the dryer back into position.
Phase 7: Exterior Termination and Weatherproofing
On the exterior, install a low-restriction cap with a backdraft damper that opens fully under normal dryer operation. In New Jersey’s coastal and winter conditions, choose corrosion-resistant materials and secure flashing that sheds water. Seal the perimeter according to your cladding—vinyl, fiber cement, brick, or stone—so that the assembly remains watertight through storms and freeze-thaw cycles. Ensure the termination is high enough to avoid snow buildup and is clear of landscaping.
Phase 8: Special Considerations for Roof Terminations
When a wall exit is impossible, a roof termination may be used. Select a purpose-built roof cap with an internal damper and install it under shingles with proper flashing. Maintain adequate clearance from other penetrations, and consider wind exposure common to ridge lines. In cold weather, insulate duct runs that pass through unconditioned attics to limit condensation, and plan a gentle pitch to discourage water pooling.
Phase 9: Airflow Testing and Commissioning
Once assembled, test airflow with the dryer running on a heat cycle. Observe the exterior damper; it should open fully and move smoothly. Use an anemometer to verify a strong, stable velocity at the outlet. Indoors, confirm there are no perceptible leaks at joints and that connections remain cool to the touch, indicating healthy flow. Document the route and take photos of concealed sections for your records.
Phase 10: Homeowner Orientation and Maintenance Plan
Review the route, materials used, and maintenance intervals. Show how to remove the exterior hood for cleaning if applicable, and explain signs of restriction, such as extended dry times or a damper that does not open fully. Provide a maintenance cadence based on household usage and the length/complexity of the run.
New Jersey Variables That Affect the Steps
- Historic masonry: Requires careful drilling, sleeves, and moisture management.
- Coastal exposure: Demands corrosion-resistant metals and secure dampers.
- Townhouses: May require vertical runs with firestopping and roof caps.
- Cold attics: Benefit from duct insulation to prevent condensation and dripping.
- Dense suburbs: Necessitate extra attention to clearances from windows and doors.
DIY vs. Professional: When to Call for Help
A homeowner with strong skills can handle straightforward, short runs through a wood-framed wall. But longer routes, roof terminations, masonry penetrations, and multi-family constraints are best left to pros who install vents daily. Their familiarity with code, flashing details, and airflow testing is invaluable. When a project involves complex routing or unknowns behind finished walls, choose specialists in dryer vent installation to avoid hidden restrictions and long-term performance problems.
Common Mistakes to Avoid
- Using plastic or foil flex inside walls or as a substitute for rigid duct.
- Running the vent into an attic, crawlspace, or garage instead of outdoors.
- Installing screens that trap lint at the exterior termination.
- Crushing or sharply bending the transition duct behind the dryer.
- Skipping airflow testing and assuming a spinning flapper equals success.
Troubleshooting During Installation
If airflow is poor upon testing, inspect every elbow and joint for misalignment, obstructions, or overtightened straps causing deformation. Check that the damper opens fully and that the termination is not blocked by siding texture or mortar lips. Shorten the route or replace tight elbows with larger-radius fittings where possible. If the route remains long, evaluate whether a listed booster fan is appropriate and permissible.
Seasonal Maintenance Tips for New Jersey Homes
- Winter: Confirm that snow cannot drift up against the wall cap; clear it promptly after storms.
- Spring: Inspect bird-guard components and damper movement after windy seasons.
- Summer: Check for vegetation growth near the outlet that could restrict flow.
- Autumn: Ensure leaves and debris have not gathered around the termination and that seals remain intact before colder weather.
Safety Notes for Gas Dryers
Gas dryers rely on proper venting to exhaust combustion byproducts safely. All joints must be sealed externally, the path must terminate outdoors, and testing must confirm reliable flow. Never share a dryer vent with other exhausts, and never vent into a chimney. If you smell gas at any time, stop and contact a qualified professional.
Frequently Asked Questions
Q: How long can a dryer vent be? A: The maximum length depends on the number and type of elbows and the dryer manufacturer’s allowances. Equivalent length calculations should be done during planning.
Q: Can I use PVC pipe for a dryer vent? A: No. Use smooth, rigid metal duct designed for dryer exhaust. PVC can accumulate static and is not suitable for high-temperature lint-laden air.
Q: Are roof terminations less efficient? A: They can introduce more resistance and exposure to weather. When required, use purpose-built components and ensure excellent flashing and insulation of attic runs.
Q: What’s the best way to seal joints? A: Use foil HVAC tape on the exterior of joints; avoid screws that protrude into the airstream and avoid generic duct tape.
Q: How often should I clean the vent? A: Usage dictates frequency, but annual checks with cleaning as needed keep airflow strong and the system reliable.
Q: Can I put a screen on the outside to stop pests? A: Standard screens are restrictive and collect lint. Choose a termination with an integrated bird-guard design appropriate for dryer exhaust.
Wrap-Up: A Repeatable Process for Reliable Results
Successful dryer vent installation follows a disciplined sequence: plan, penetrate, route, terminate, test, and maintain. Respecting New Jersey’s varied housing and weather ensures long-term performance. Completing each step with care protects your home, improves drying efficiency, and supports appliance longevity.
Ready for professional help?
When you want a clean route, proper materials, weatherproof termination, and verified airflow from day one, schedule expert dryer vent installation and enjoy shorter dry times, safer operation, and clear documentation of the work performed.
