Introduction: What to Expect from a Professional Dryer Vent Cleaning
Hiring a professional service for your dryer vent is about more than removing lint—it is a methodical process designed to restore airflow, confirm safety, and document results. For Elizabeth, New Jersey homeowners, understanding each phase helps you evaluate quality and know what questions to ask. This guide explains the full journey from initial assessment to post-service verification, including the tools, techniques, and standards that set high-caliber work apart. If you are comparing options or preparing for a visit, familiarize yourself with reputable approaches to dryer vent cleaning so you know how a well-executed service should unfold from start to finish.
The professional process emphasizes safety, thoroughness, and measurable outcomes. By the end of a quality appointment, you should see stronger airflow at the exterior hood, shorter drying times, and a clean, properly configured transition hose and termination.
Phase 1: Intake and Pre-Inspection
A thorough appointment typically begins with questions about symptoms: longer cycles, odors, error codes, or heat buildup in the laundry room. The technician also asks about the home’s age, previous renovations, and the vent’s route if known. A visual inspection follows at the dryer and exterior termination to identify obvious issues like crushed hoses or stuck dampers. Documenting conditions with photos ensures transparency and establishes a baseline for before-and-after comparison.
Phase 2: Protection of the Workspace
Respectful service includes protecting floors and surrounding areas. Technicians lay drop cloths or use sliders to move the dryer without scratching surfaces. They unplug the unit, and for gas dryers, they carefully check that the gas line is not strained during movement. Tools are staged neatly to maintain a safe, efficient workspace.
Phase 3: Airflow and Pressure Benchmarking
Pros often measure airflow at the exterior termination using an anemometer, and when appropriate, static pressure within the duct. These readings provide objective data to compare after cleaning. Observing the damper’s motion under load is also critical: a damper that fails to open fully indicates significant restriction or mechanical failure.
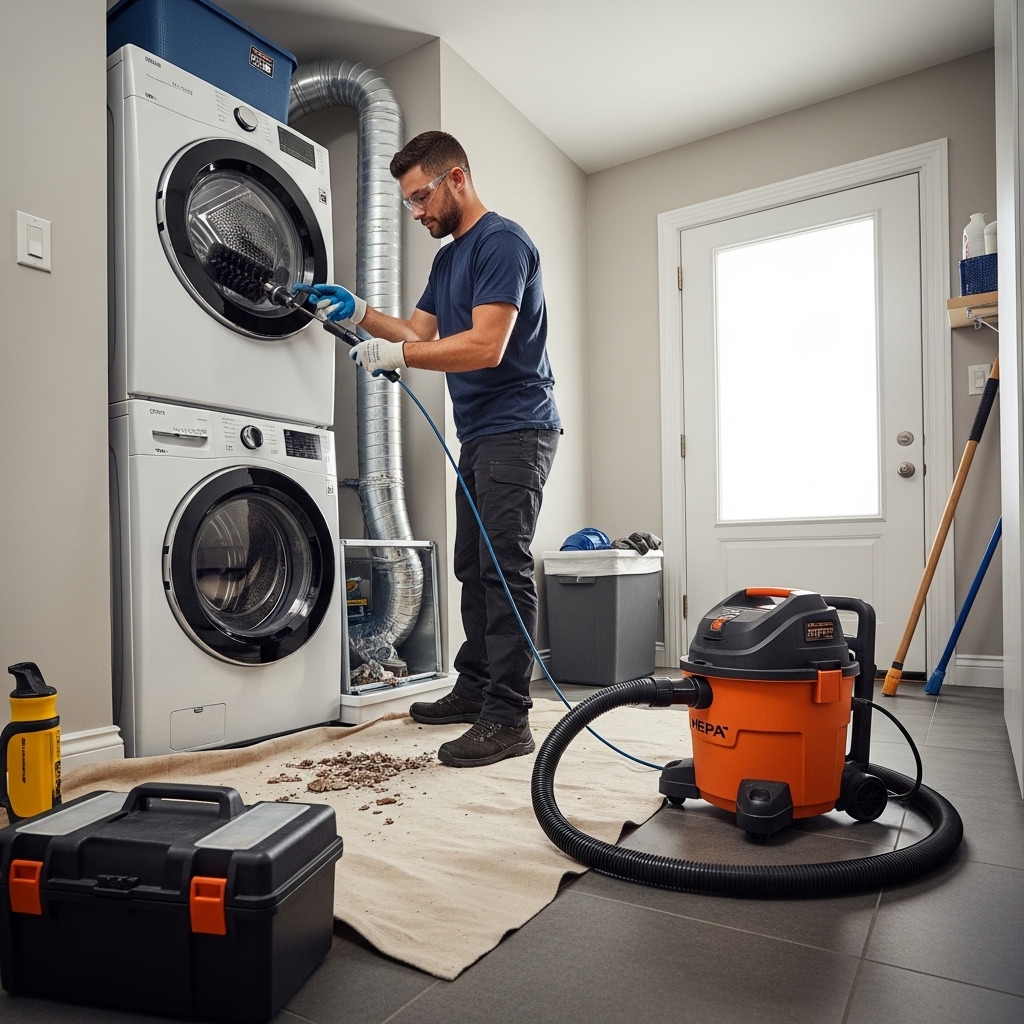
Phase 4: Transition and Appliance-Side Cleaning
The transition hose is detached and inspected. Non-compliant or damaged hoses are replaced with semi-rigid or rigid metal. The dryer’s exhaust port and lint screen housing are vacuumed carefully, often with brush attachments designed for lint removal. This step reduces the chance that new debris will immediately migrate back into a freshly cleaned duct.
Phase 5: Duct Cleaning with Specialized Tools
Professional technicians use rotary brush systems, compressed-air whips, and high-suction HEPA vacuums to dislodge and capture lint along the entire duct length. They feed brushes from the most accessible points—often from the exterior termination and the interior connection—working methodically to ensure elbows and joints are cleared. Particular care is taken at turns to prevent damage while still removing compacted debris. If an inspection camera is available, it can confirm cleanliness and identify defects like separated joints.
Phase 6: Exterior Termination Service
The exterior hood is cleaned; debris and nests are removed, and the damper is tested for smooth motion. If the hood is cracked, warped, or contains a screen that traps lint, the technician may recommend replacement with a code-compliant damper-style termination. Attention to the termination often produces immediate airflow improvement.
Phase 7: Repairs and Optimization
During or after cleaning, small repairs and optimizations are addressed: reseating joints with proper connectors, securing with foil tape rather than screws that catch lint, adjusting the dryer’s position to avoid crushing the transition hose, and shortening excessive hose length. Where duct geometry is clearly suboptimal—too many bends or an overly long route—the technician may provide recommendations for rerouting or upgrading materials to rigid metal.
Phase 8: Post-Clean Validation
After reassembly, the technician repeats airflow checks and observes the damper under load. You should notice a strong, steady airflow stream and a damper that opens fully. Some providers will also run a brief test load to confirm normal drying behavior. Benchmark data, including before-and-after airflow readings, is shared with the homeowner.
Phase 9: Documentation and Homeowner Education
Quality service includes clear documentation: photos of the duct and termination, notes on materials and any repairs, and recommendations for future maintenance. Technicians typically offer guidance on per-load lint screen cleaning, monthly lint housing vacuuming, quarterly exterior checks, and annual or semiannual deep cleanings depending on laundry volume.
Elizabeth, NJ Considerations
In Elizabeth, variable weather can stress exterior hoods, and older homes may have long duct runs hidden behind finished walls. Professionals familiar with local housing types anticipate these challenges, bring roof-safe access equipment when needed, and know how to remediate common retrofit issues such as elbows that add excessive equivalent length. Local experience also means recognizing when a hood upgrade will significantly improve performance in windy conditions.
Quality Indicators You Can See
- Neat, protected work area and careful appliance handling.
- Use of rigid or semi-rigid metal for the transition hose.
- Objective measurements before and after cleaning.
- Proper sealing with foil tape and no screws penetrating the duct interior.
- Clear, practical maintenance recommendations tailored to your home.
When Specialized Expertise Is Essential
Some situations exceed typical DIY or basic service scope: rooftop terminations, ducts with hidden collapses, severe lint compaction, or areas with restricted access. In these cases, trained technicians with the right tools and safety equipment are essential. Attempting complex work without proper preparation can damage ducts or leave obstructions behind, creating a false sense of resolution.
How Professional Service Extends Dryer Life
Restored airflow reduces heat stress and allows the dryer to operate within its designed temperature range. Motors, belts, bearings, and heating elements experience less strain. You’ll notice shorter cycles, fewer wrinkles, and more consistent results across load types. Over time, this translates into fewer repairs and a longer service life for your appliance.
Preparing for the Appointment
Before the technician arrives, remove items from the laundry area, clear a path to the exterior termination, and identify any concerns you’ve noticed—burning smells, hot surfaces, or inconsistent cycle times. If you manage a multifamily property, coordinate access and inform residents of the service schedule, ensuring dryers are not in use during the appointment.
After the Service: Maintenance You Control
Continue with best practices: clean the lint screen every load, vacuum the housing monthly, and check the exterior hood each season. Keep the dryer a short distance from the wall to preserve a smooth transition hose path. Record the date of service and your new normal drying time as a benchmark.
Frequently Asked Questions
Q: How long does a professional cleaning take?
It varies by duct length, access, and severity of blockage, but most appointments conclude the same day with time for documentation and homeowner education.
Q: Will the technician go on the roof if needed?
Qualified professionals bring appropriate safety gear and will access rooftop terminations when required and safe to do so.
Q: Can damaged duct sections be repaired during the appointment?
Minor repairs and replacements are common. Significant rerouting may require a follow-up visit or coordination with a contractor.
Q: How often should I schedule professional service?
Annually for average usage; more frequently for large households, heavy laundry loads, or multifamily properties.
Q: Will I see immediate results?
Yes. You should feel stronger airflow at the exterior hood and notice normalized drying times on your next load.
Choose Confidence for Your Home
Understanding the professional process helps you recognize quality and advocate for your home’s safety and efficiency. If your duct path is long, your exterior damper sticks, or drying times keep climbing, it’s time for focused attention. Book expert dryer vent cleaning for your Elizabeth, New Jersey home to restore airflow, protect your appliance, and make laundry day reliably efficient.
