Effective air duct sealing and repair is a methodical process that transforms uneven rooms, noisy vents, and dusty air into steady comfort and dependable performance. In New Jersey, where summers are humid and winters can be brisk, a well-sealed system ensures that conditioned air goes exactly where it should—your living spaces. This step-by-step guide explains how professionals evaluate, prioritize, and implement long-lasting repairs, what materials they use, and how homeowners can prepare for a smooth visit and verify results afterward. If you are looking for a trusted team to carry out this work, many residents choose specialists who deliver comprehensive air duct repair services including diagnostics, sealing, and post-repair testing.
The following sections break down the entire process from initial walk-through to final verification. While some steps may vary based on the type of duct and the layout of your home, the overall sequence remains similar. Each step builds on the previous one, ensuring that repairs are durable, safe, and consistent with best practices and local requirements.
Step 1: Gather background and define goals
Professionals begin with a brief conversation about your comfort concerns, rooms with weak airflow, and any recent renovations or service history. They will ask about filter changes and whether certain times of day feel noticeably different. These insights guide a targeted inspection so time focuses on the most impactful areas first.
Step 2: Visual inspection of accessible ducts
The technician examines plenums, trunk lines, takeoffs, and boots for signs of leakage, such as dust trails along seams, missing screws, sagging flex, or collars that have backed off. They also inspect returns carefully, because open return cavities can pull unconditioned air into the system and undermine filtration.
Step 3: Diagnostics to quantify performance
Next, they take readings to understand system behavior. Static pressure measurements reveal restrictions or imbalances. Airflow readings at selected registers help compare baseline performance across rooms. A smoke pencil or similar tool may be used to visualize leakage at joints and transitions. These tests inform decisions about where repairs will deliver the greatest improvements.
Step 4: Safety checks and code awareness
Before any work, the team verifies safe clearances from combustion appliances, reviews venting for potential backdraft risks, and confirms that sealing materials are appropriate for the duct type and temperature range. They also ensure ladders and work platforms are secure, lighting in attics and crawlspaces is adequate, and access points can be opened without damaging finishes.
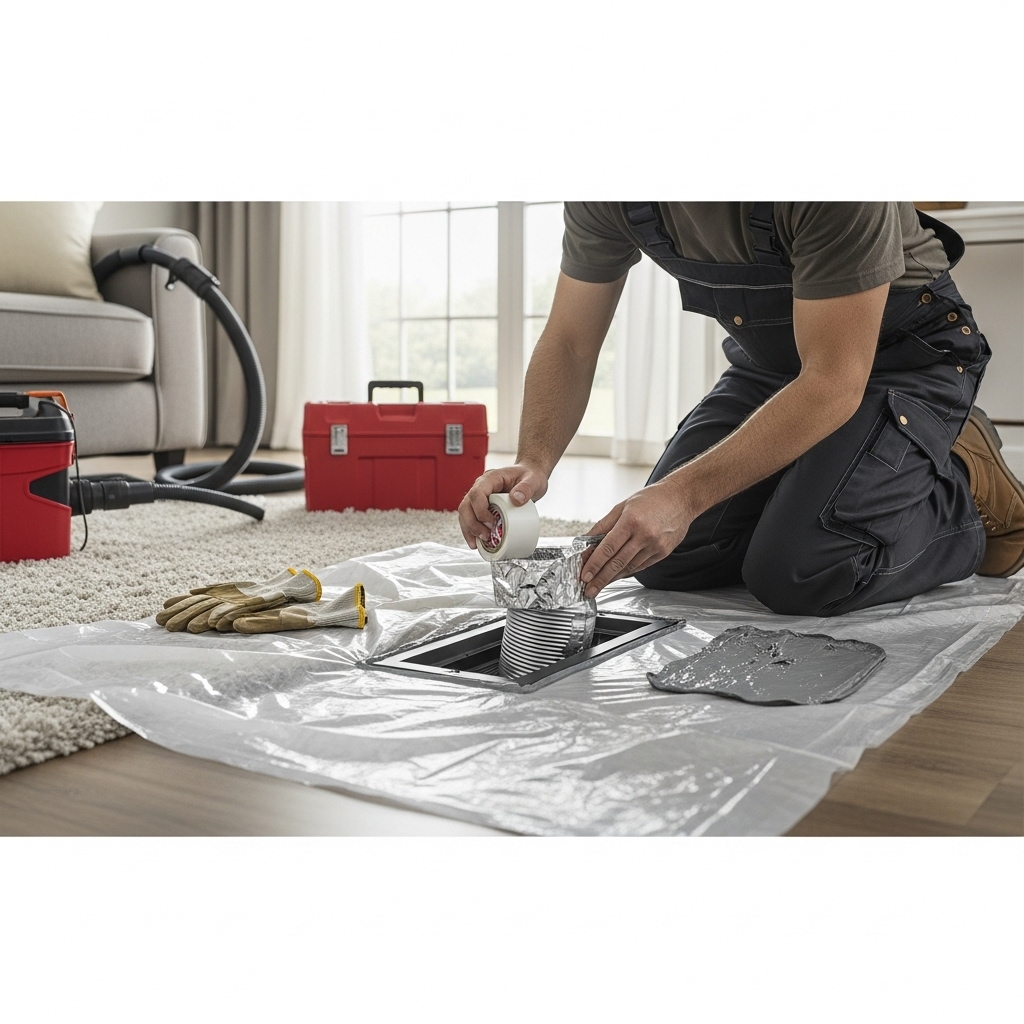
Step 5: Prepare the workspace
Protective coverings may be placed beneath work areas, and tools are staged nearby to minimize trips in and out of the home. If a return or supply plenum requires attention, panels are opened and screws are set aside in a labeled container. The goal is to work neatly and methodically so the system can be reassembled without confusion.
Step 6: Mechanical repairs come first
Durable sealing begins with sturdy mechanical connections. Sheet metal joints are reattached with appropriate screws. Collars on plenums are reseated and secured using clamps or fasteners. Flex ducts with crushed or torn sections are cut back to sound material and replaced or reconnected to a new collar, ensuring a smooth path without sharp turns or kinks. Supports are added or corrected so duct runs do not sag.
Step 7: Sealing with compatible materials
Once connections are mechanically sound, seams and joints are sealed. Water-based mastic is applied generously to sheet metal joints, often with fiberglass mesh embedded to bridge larger gaps. For duct board, technicians use listed adhesives and rules for reinforcing edges. For appropriate applications, UL-listed foil tapes complement mastic, particularly around access panels that may need to be reopened later.
Step 8: Treat high-leakage areas
Boot-to-drywall transitions, takeoff seams, and plenum corners tend to leak the most. The team focuses attention here, ensuring a continuous, airtight layer. Returns receive special care because even small openings can draw unfiltered air, undermining indoor air quality and comfort.
Step 9: Address insulation and condensation
In humid New Jersey summers and cold winters, condensation can form on poorly insulated metal ducts. After sealing, technicians may recommend adding or repairing duct insulation to keep surfaces at stable temperatures and prevent moisture. Proper insulation also helps maintain airflow temperatures from the air handler to the farthest rooms.
Step 10: Airflow balancing
With leaks closed and connections secured, technicians recheck airflow. Dampers may be adjusted, and registers tuned to enhance balance. The aim is even delivery across rooms: fewer hot spots in summer, fewer cold corners in winter, and quieter operation throughout.
Step 11: Final verification
Quality control includes visual inspection of all treated joints, repeat readings at key registers, and confirmation that access panels are sealed cleanly. The technician may document the work with notes and photos so you can see what changed and where.
Materials and tools professionals rely on
- Water-based mastic for durable, flexible sealing of metal joints.
- Fiberglass mesh to bridge larger gaps when embedded in mastic.
- UL-listed foil tapes where appropriate, especially for serviceable panels.
- Sheet metal screws, clamps, and collars for mechanical integrity.
- Appropriate adhesives and fasteners for duct board systems.
- Supports and hangers to maintain smooth flex runs without sag.
- Diagnostics tools: manometer, anemometer, smoke pencil, and lighting.
Preparing your home for a smooth visit
- Clear access to the air handler, returns, and visible duct runs in basements, attics, or crawlspaces.
- Note problem rooms and any recent changes, such as renovations or furniture rearrangements that may affect registers.
- Secure pets and communicate household schedules that matter—work calls, nap times, or school pickups.
- Ensure safe ladder access to attic hatches or high registers if the team needs to inspect those areas.
- Have filters and system documentation handy if available.
New Jersey climate-specific insights
Because of the region’s humidity, sealing return leaks is especially valuable; these leaks can pull moist, dusty air into the system, coating coils and dulling performance. In winter, infiltration into returns or leaks in unconditioned areas can drive up run times and create cold spots. Ensuring that both supply and return sides are tight is central to reliable comfort.
Common mistakes to avoid
- Relying on cloth-backed tapes that dry out and peel. Durable sealing requires mastic or listed tapes designed for HVAC applications.
- Skipping mechanical attachment. Sealing over a loose joint is a short-term fix; reattach first, then seal.
- Over-bending or stretching flex duct. Gentle curves and proper supports preserve airflow and reduce noise.
- Ignoring returns. A system with well-sealed supplies but leaky returns still underperforms and can affect indoor air quality.
- Blocking access with storage or finishes, which makes future maintenance difficult and costly.
Coordinating with other projects
If you are renovating, talk with your contractor about duct access and clearances. Schedule sealing and repairs before insulation or drywall work to avoid closing off problem areas. Likewise, after kitchen or bath remodels, recheck nearby runs to ensure nothing was pinched or disconnected during construction.
Mid-project review and homeowner walkthrough
Halfway through the visit, ask the technician to show you progress: which joints have been reattached, which leaks were the largest, and what remains. This check-in is an excellent time to request attention to any newly discovered trouble spots. It also helps ensure that time is spent on the highest-impact improvements. If you want a single team to handle both immediate fixes and complete system optimization, look for a provider known for thorough air duct repair across different duct types and home layouts.
FAQs
Q: How long does a typical sealing and repair job take? A: Timing varies with accessibility and the number of joints and transitions. Clear access and good lighting help the crew work efficiently without compromising quality.
Q: Will sealing make my home quieter? A: Yes, in many cases. Closing leaks and securing joints can reduce whistling and vibration, and proper supports minimize rattling.
Q: Do I need to leave the house during the work? A: Usually not. The system may be off during portions of the visit, but you can typically remain at home. Technicians will communicate any temporary changes that affect comfort.
Q: Can this work improve indoor air quality? A: Yes. Tightening returns and sealing supplies helps prevent unfiltered air from entering the system and reduces dust movement through the home.
Q: What maintenance should I do afterward? A: Change filters on schedule, keep registers unblocked, and visually inspect accessible sections annually for signs of wear or shifting.
From plan to performance
Sealing and repairing ducts is an investment in consistent comfort and system reliability. By following a clear sequence—assess, repair, seal, balance, and verify—you ensure the results you can feel in every room. New Jersey’s climate rewards a tight, well-tuned system that delivers steady airflow regardless of the season.
Ready to take the next step
If you want steady temperatures, quieter operation, and cleaner air, schedule a visit with a trusted local specialist who documents the process and explains findings clearly. For a streamlined experience from inspection to verification, book professional air duct repair services and enjoy the comfort and confidence that come with a well-sealed system.
