If you are new to home maintenance in Elizabeth, New Jersey, learning the basics of air duct repair can dramatically improve comfort and air quality. While professionals are essential for complex work, many introductory steps are safe and approachable. This beginner-friendly guide explains the tools you need, the order of operations, and how to decide when to stop and call for expert air duct repair. Follow along at your own pace, and always prioritize safety.
Elizabeth’s housing stock ranges from historic homes to newer townhouses, each with different duct materials and access points. Humid summers and chilly winters can stress seals, loosen connections, and damage insulation. By mastering the fundamentals below, you will be equipped to handle small leaks, improve airflow, and communicate clearly with technicians if advanced service is needed.
Step 1: Learn the system layout
Start by identifying major components. The air handler sits at the core, feeding air into a supply plenum that branches to rooms and pulling air back through returns. Look for:
- Supply trunk: Main pathway delivering conditioned air to branches.
- Return plenum: Central box drawing indoor air back to the system.
- Branches and take-offs: Smaller lines feeding individual rooms.
- Registers and grilles: The visible openings where air enters and exits rooms.
Sketch a simple map. Label rooms with weak or strong airflow so you can track progress.
Step 2: Gather basic tools and supplies
Beginners need a short, reliable list of tools, easily found at hardware stores.
- Flashlight and headlamp for hands-free work.
- Gloves and safety glasses.
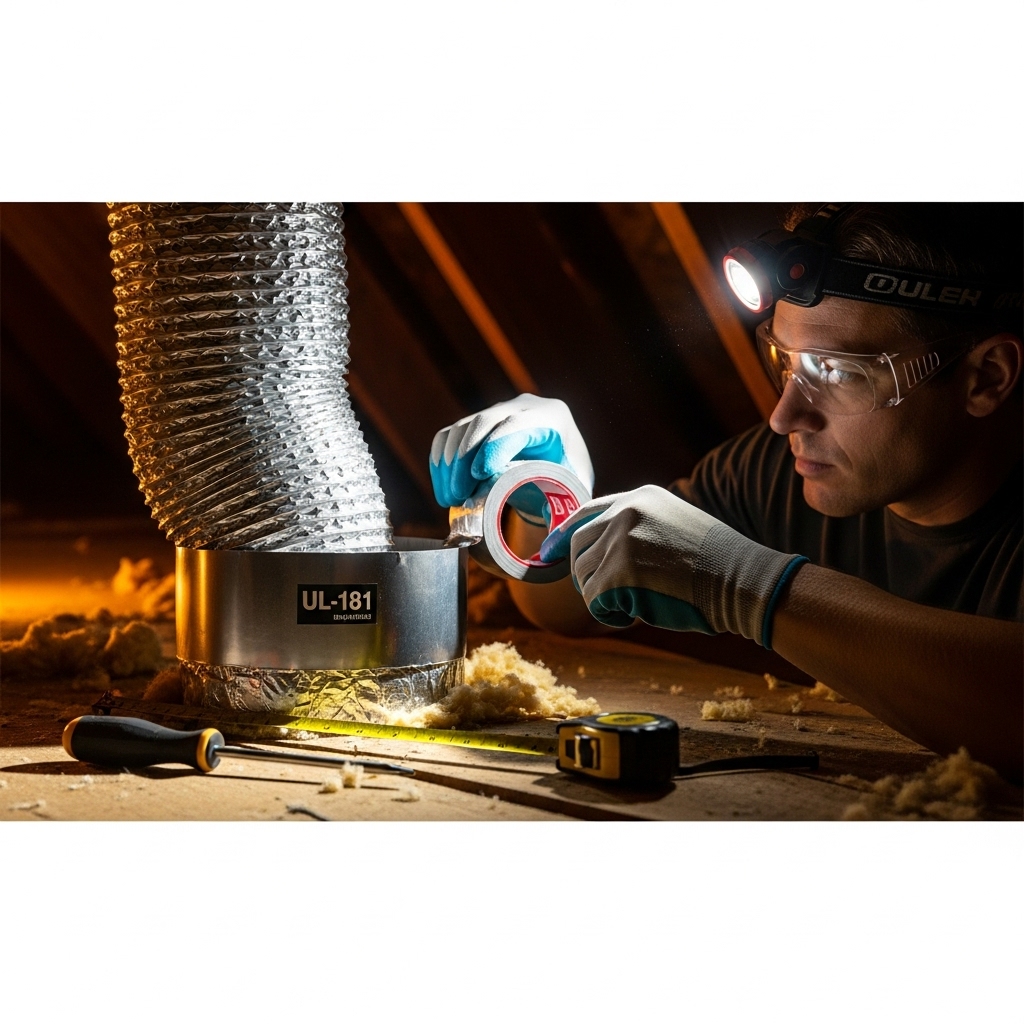
- UL-181 foil tape and fiber-reinforced HVAC mastic.
- Zip ties or clamps for flex ducts.
- Screwdriver set and measuring tape.
- Rags for cleaning dust before sealing.
Avoid ordinary cloth “duct tape.” It fails in HVAC environments and should not be used for sealing ducts.
Step 3: Safety first
Switch off power at the thermostat and, if possible, at the breaker. Confirm the fan will not start while you work. Set up sturdy lighting in basements or attics and ensure you have safe footing. Never step on flexible duct or unsupported drywall ceilings.
Step 4: Start with the return side
Return leaks pull dust and unconditioned air into your system, affecting both cleanliness and comfort. Begin at the air handler:
- Check cabinet panels for missing screws or gaps in gaskets.
- Inspect the return plenum seams for dried or cracked mastic.
- Look at flex-to-collar connections for looseness or torn insulation.
- Confirm return grilles are clean and unobstructed by furniture or drapes.
Mark problem spots with painter’s tape and write short notes on your phone for each location.
Step 5: Inspect supply branches and registers
Follow the supply plenum to the main trunk and out to branches. Look for obvious issues:
- Peeling tape or gaps at take-offs.
- Crushed or kinked flex ducts that restrict airflow.
- Torn insulation reducing temperature control and causing condensation.
- Rattling or whistling registers indicating leaks or a poor fit.
Take photos for a before-and-after comparison. The visual record helps you confirm success later.
Step 6: Prepare and seal
Clean and dry surfaces before sealing. Cut away peeling tape, brush on mastic at seams, and use UL-181 foil tape to finish edges or secure insulation. Tighten flex connections with clamps or zip ties before sealing the exterior joint with mastic. Replace severely damaged sections instead of patching.
Step 7: Re-insulate where needed
If you find damaged insulation, re-wrap with HVAC-rated material. Seal seams with foil tape and ensure the vapor barrier is intact, especially in attics where heat can drive moisture into gaps.
Step 8: Power on and test
After sealants cure, restore power and run the system for 15–20 minutes. Hold a tissue at each supply register to compare airflow. Listen for whistling. Walk between rooms to check temperature balance. If problems persist or worsen, it is time to consult local duct repair services for pressure testing and balancing.
Step 9: Document results and create a maintenance routine
Note what you sealed, the materials used, and the date. Create reminders to re-check high-traffic areas seasonally and after major weather events. Consistent attention prevents small leaks from returning.
Elizabeth-specific tips for beginners
Local homes often have duct runs through unfinished basements or tight attics. Keep these regional details in mind:
- Basements: Watch for damp insulation near foundation walls; seal ducts and address moisture.
- Attics: Use products rated for high heat and ensure insulation seams are sealed to prevent condensation.
- Row houses and townhomes: Space constraints demand careful support of flex ducts to avoid kinks.
- Older homes: Expect a mix of metal and flex duct with legacy repairs. Take your time undoing old, failing tape.
Beginner mistakes to avoid
- Using the wrong tape or applying mastic to dusty, damp surfaces.
- Over-bending flex ducts, which chokes airflow.
- Skipping return-side sealing and focusing only on supplies.
- Ignoring insulation damage that undermines temperature control.
- Leaving registers partially blocked by rugs or furniture.
Simple troubleshooting before calling a pro
If you finish the steps above and still have comfort issues, run through this quick list:
- Confirm the filter is clean and properly seated; gaps at the filter slot can bypass filtration.
- Check that all supply registers are fully open and not blocked by drapes.
- Look again at flex runs for hidden kinks behind storage boxes or beams.
- Verify that return grilles pull air strongly; weak returns point to leaks or blockages.
When these checks do not solve the problem, advanced diagnostics like static pressure readings or smoke testing can pinpoint stubborn leaks or design constraints. That level of testing is best left to a trained technician.
Frequently Asked Questions
Is it safe for beginners to seal ducts? Yes, if you follow safety steps, power down the system, and use HVAC-approved materials. Avoid opening electrical compartments or gas appliance areas.
How long does mastic take to cure? Many products set within hours but may require a full day to cure completely, especially in cooler basements. Follow the manufacturer’s instructions and avoid running the system until curing is adequate.
Can sealing ducts improve indoor air quality? Absolutely. Return leaks can pull dust and attic or basement air into your living space. Sealing helps keep air cleaner and more comfortable.
What if a duct run is inaccessible? Do what you can around the air handler, plenums, and registers. For concealed sections, a professional can access and seal with specialized tools or discuss redesign options.
Will this work help in winter and summer? Yes. Sealing and insulating ducts improves temperature control year-round, reducing drafts in winter and keeping supply air cooler in summer.
Ready to make your first repair count?
With a clear plan and the right materials, beginners can make meaningful improvements to comfort and air quality. When you reach the limits of DIY or want verification testing, connect with trusted local pros and book expert air duct repair so your Elizabeth home stays comfortable through every season.
