Understanding the air duct repair process helps New Jersey homeowners set clear expectations, minimize disruption, and recognize quality work when they see it. From the first phone call to the final verification, a well-run project follows a logical sequence with predictable checkpoints. This article outlines that sequence in detail, highlighting how technicians communicate, how long each phase may take, and how to prepare your space so work proceeds safely and efficiently. If you are ready to bring consistency back to your home’s airflow, many residents turn to experienced providers that offer full-service air duct repair services with diagnostics, durable sealing, and clear documentation.
Because New Jersey experiences hot summers, cold winters, and a good deal of humidity, ducts endure plenty of expansion, contraction, and environmental stress. Over time, joints can loosen, tapes dry out, and flex sections sag or kink. The repair process is designed to identify where air is escaping or being drawn from the wrong places, restore mechanical integrity, and create airtight seals that stand up to seasonal changes.
Phase 1: Initial contact and scheduling
The process begins when you reach out to a provider and share your top concerns: rooms that are consistently uncomfortable, vents with weak airflow, or noises you have noticed during system operation. The scheduler will typically ask about equipment location, home layout, and accessibility to attics, basements, or crawlspaces. You will be offered appointment windows that align with crew availability and your household schedule.
Phase 2: Pre-visit preparation
Before the appointment, you can help ensure a smooth visit by clearing access to mechanical rooms, returns, and visible duct runs. Move stored items away from ducts in basements and ensure safe ladder placement for attic entries. Note any remodeling or maintenance that occurred recently, as it may have affected duct paths. If possible, replace or check the air filter so technicians can gather accurate airflow readings.
Phase 3: Arrival and walkthrough
When the crew arrives, they will introduce themselves, confirm your priorities, and walk through key areas. This is the time to point out rooms with persistent comfort issues, vents that seem noisy, or areas where you suspect leaks. The team will also discuss any household considerations such as pets, work calls, or nap times so they can plan their movements respectfully.
Phase 4: Initial diagnostics
Technicians start with a visual inspection of accessible ducts, looking for gaps at seams, loose collars, deteriorated tape, or crushed flex sections. They may take initial airflow or pressure readings and use a smoke pencil to highlight leaks. These quick diagnostics inform a plan of action so the repair time focuses on the most impactful areas first.
Phase 5: Mechanical repairs
Mechanical integrity comes before sealing. The team reattaches sheet metal joints with appropriate screws, reinstalls or replaces collars at plenums and takeoffs, and corrects or replaces damaged flex sections. Supports are adjusted so runs remain straight and smooth without sharp bends that restrict airflow.
Phase 6: Sealing and reinforcement
With connections secured, seams are sealed using water-based mastic applied generously and, when needed, reinforced with fiberglass mesh. Duct board is treated with compatible adhesives and reinforcements. UL-listed foil tapes may be used for access panels that are designed to be reopened during maintenance. Boots and registers are reseated and sealed to surrounding surfaces so air does not bypass grilles.
Phase 7: Airflow balancing
After repairs and sealing, technicians recheck airflow at key registers and adjust dampers where present to promote even distribution. They look for improved stability across rooms and reduced noise from whistling or rattling.
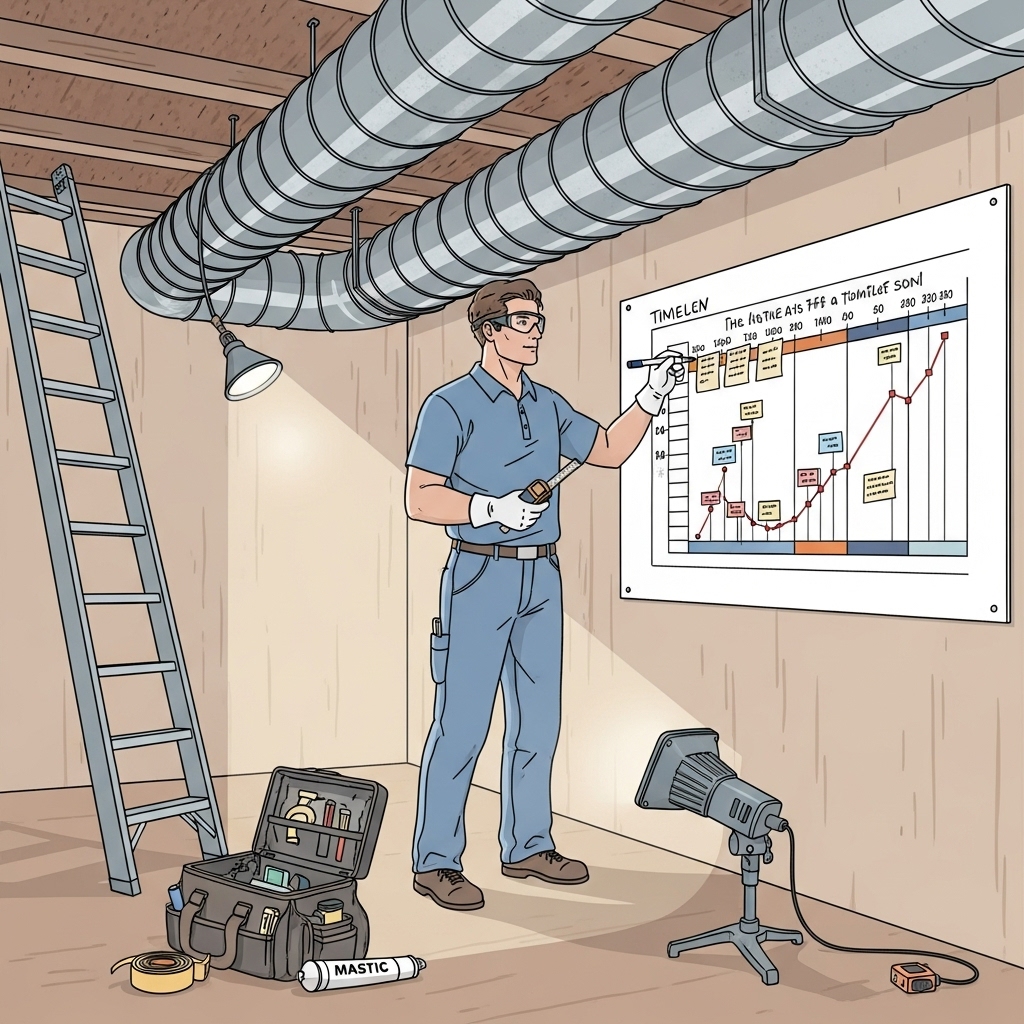
Phase 8: Verification and documentation
Quality control includes a final visual review of treated joints, repeat readings to measure improvement, and confirmation that all panels and access points are secure. Some teams provide a simple summary with notes or photos that show areas addressed and recommendations for maintenance.
How long each phase may take
Time on site depends on accessibility and the number of repairs. A clear workspace and a concise list of priorities help the team move efficiently. Technicians typically stage materials near the air handler, work in zones, and provide updates so you know what is happening and when the system will be temporarily offline. Good communication minimizes surprises and keeps the project aligned with your household routine.
What you may notice after repairs
Many homeowners report more even temperatures, stronger airflow at distant registers, and quieter operation. If returns were leaky, air may feel fresher because the system is no longer pulling from basements, attics, or crawlspaces. Better sealing also supports filtration, which can reduce dust on surfaces.
Preparing for work in tight spaces
Attics, crawlspaces, and kneewalls often hold crucial connections, yet they can be challenging to access. If your home has these areas, plan ahead: clear attic flooring near hatches, move stored items, and ensure ladders can be positioned safely. In crawlspaces, verify that entrances are free of obstructions and that lighting is available if possible. The easier it is to reach these spaces, the faster and safer the work will go.
Seasonal considerations in New Jersey
In summer, sealing return leaks is especially helpful because warm, humid air drawn into returns puts stress on cooling equipment. In winter, unsealed supplies in cold spaces can lose heat before air reaches your rooms, creating cold spots and long run times. Addressing both sides—supply and return—produces the most reliable gains.
Tips for a low-disruption visit
- Schedule when household activity is light to reduce interruptions.
- Identify a staging area for tools and materials near the air handler.
- Keep children and pets out of work zones for safety.
- Share any sensitive surfaces or finishes so the crew can protect them.
- Ask for updates at checkpoints so you can plan around temporary system downtime.
How to evaluate the quality of the work
Look for mechanical attachments at joints, neat mastic application with full coverage, and corrected supports on flex runs. Boots should be securely seated and sealed to the surrounding surface. Registers that once whistled should sound quieter. If the technician took readings before and after, ask for a summary so you can see the improvement quantified.
Mid-project check-in
Halfway through the visit, ask the team to review progress and remaining priorities. This is a good time to redirect attention to a room that still feels off or to approve an additional fix that promises noticeable gains. Clear, mid-course communication ensures the final phase delivers the comfort improvements you want. If you decide to expand the scope to include broader sealing and system optimization, look for a provider known for thorough air duct repair and reliable verification.
Frequently asked questions
Q: Do I need to leave the house during the repair? A: Usually not. Portions of the system may be off temporarily, but you can remain at home. The crew will coordinate timing and let you know when airflow will be paused.
Q: Will this work reduce dust in my home? A: Sealing return leaks and securing supply joints can reduce the movement of unfiltered air, which often translates to less dust on surfaces over time.
Q: How long will the improvements last? A: Properly executed repairs using quality materials are designed for durability. Periodic visual checks and routine filter changes help maintain performance.
Q: What if my ducts are behind finishes? A: Experienced technicians plan strategic access and explain how they will protect and restore finishes. They prioritize high-impact areas to limit disruption.
Q: Will the repairs make my system quieter? A: Often, yes. Eliminating leaks and securing connections can reduce whistling and rattling.
What to do after the visit
Keep registers and returns unblocked, change filters on schedule, and perform a quick visual check of accessible areas a few times a year. If you notice new noises or shifting airflow, reach out for a follow-up evaluation. Document any changes you make in the home—new insulation, finished spaces, or remodeling—so future technicians have context.
Putting the timeline to work for you
Knowing the sequence—scheduling, preparation, diagnostics, mechanical repairs, sealing, balancing, and verification—allows you to plan around the project rather than be surprised by it. With a little preparation and good communication, most visits proceed smoothly and deliver results you can feel within hours.
Start your path to steadier comfort
If you want clear communication, organized workmanship, and durable results, connect with a New Jersey specialist who follows a proven process from first call to final verification. Schedule dependable air duct repair services and enjoy more even temperatures, quieter operation, and a home that feels consistently comfortable in every season.
