Introduction: What to Expect from a Duct Repair Inspection in New Jersey
Whether you are experiencing uneven room temperatures, rising dust, or odd HVAC noises, a structured inspection is the best path to accurate diagnosis and durable repairs. This guide explains how a thorough inspection unfolds in New Jersey homes, from initial interviews to post-repair verification. By understanding each step, you can communicate effectively with technicians, prepare your home for access, and evaluate the quality of recommended solutions. If you prefer to leave the process to specialists, scheduling professional air duct repair ensures that findings are translated into reliable fixes matched to your system and local conditions.
Inspections are more than a quick glance at visible ducts. Done right, they combine homeowner observations, visual checks, simple measurements, and clear documentation. The result is a prioritized plan that addresses leaks, restrictions, insulation gaps, and balancing needs without guesswork.
Step 1: Homeowner Interview and Symptom Review
A precise inspection begins with your perspective. Technicians or informed homeowners should capture a symptom map: where comfort issues occur, when they are most noticeable, and how long they have persisted. This context narrows the focus and prevents chasing minor issues while overlooking primary faults.
- Identify rooms with weak airflow, noise, or temperature swings.
- Note odors and where they are strongest—near returns, in basements, or in specific rooms.
- Record seasonal patterns, such as summer humidity or winter drafts.
Step 2: Safety and Access Preparation
Before entering attics, crawlspaces, or mechanical rooms, prepare safe access. Turn off power to the air handler. Use adequate lighting and protective equipment. Clear storage around returns, registers, and mechanical closets to enable thorough inspection and subsequent repair.
- Shut off power at the breaker and thermostat.
- Lay boards over attic joists to prevent stepping through drywall.
- Wear gloves, a mask, and eye protection.
Step 3: Visual Survey of Supply and Return Paths
Starting at the air handler, follow the supply trunk outward and the return path back. Photograph seams, transitions, takeoffs, and boots. Look for dried or peeling tape, cracked mastic, and gaps large enough to feel air with the system running. Mark problems to build a prioritized repair list.
- Supply side: Focus on trunk corners, takeoffs, and long branch runs.
- Return side: Inspect for gaps near basements and garages where dust and odors can enter.
- Boots and registers: Confirm flush fits and tight screws.
Step 4: Leak Identification with Simple Tools
With the blower running, use a smoke pencil or incense to reveal leaks. Hold smoke along seams and watch for movement that indicates air being pulled in or pushed out. Use temporary markers to tag defects so you can return with sealing materials. Feel for drafts with the back of your hand and listen for whistling or rattling that signals loose connections.
Step 5: Airflow Restrictions and Routing Assessment
Low airflow is often caused by crushed or kinked flex duct, sharp bends, or long unsupported runs. Adjust routing to smooth curves, restore round cross-sections, and add supports every few feet. Verify that balancing dampers are present and operable, especially on long branches that serve distant rooms.
- Straighten or replace compressed sections to restore diameter.
- Reduce excessive bend angles that spike static pressure.
- Add wide saddles or straps to prevent sagging.
Step 6: Insulation and Condensation Risks
In humid New Jersey summers, cold supply ducts sweat when vapor barriers are torn or seams are open. Inspect insulation coverage and jacket integrity. Seal air leaks first, then close jacket seams with UL-rated tape. Replace water-damaged insulation to prevent odors and protect surrounding materials.
Step 7: Sealing Methods and Materials Plan
Effective repairs rely on UL 181-rated foil tape and water-based mastic. Clean each surface, secure mechanical connections with screws or clamps, then apply sealants. For wide gaps, embed fiberglass mesh in mastic. On flex collars, tighten the inner core with a clamp before sealing and then secure the outer jacket to maintain the vapor barrier.
- Use mastic for irregular seams and corners.
- Use foil tape for straight seams and to cover screw heads.
- Allow mastic to cure before high-speed operation.
Step 8: Boot, Register, and Room Interface Corrections
Boot-to-drywall gaps are common leak points that also draw dust. Remove registers, seal gaps, and reinstall securely. Confirm that rooms with closed doors have adequate return pathways. Where doors seal tightly, undercutting or adding transfer grilles can restore airflow balance.
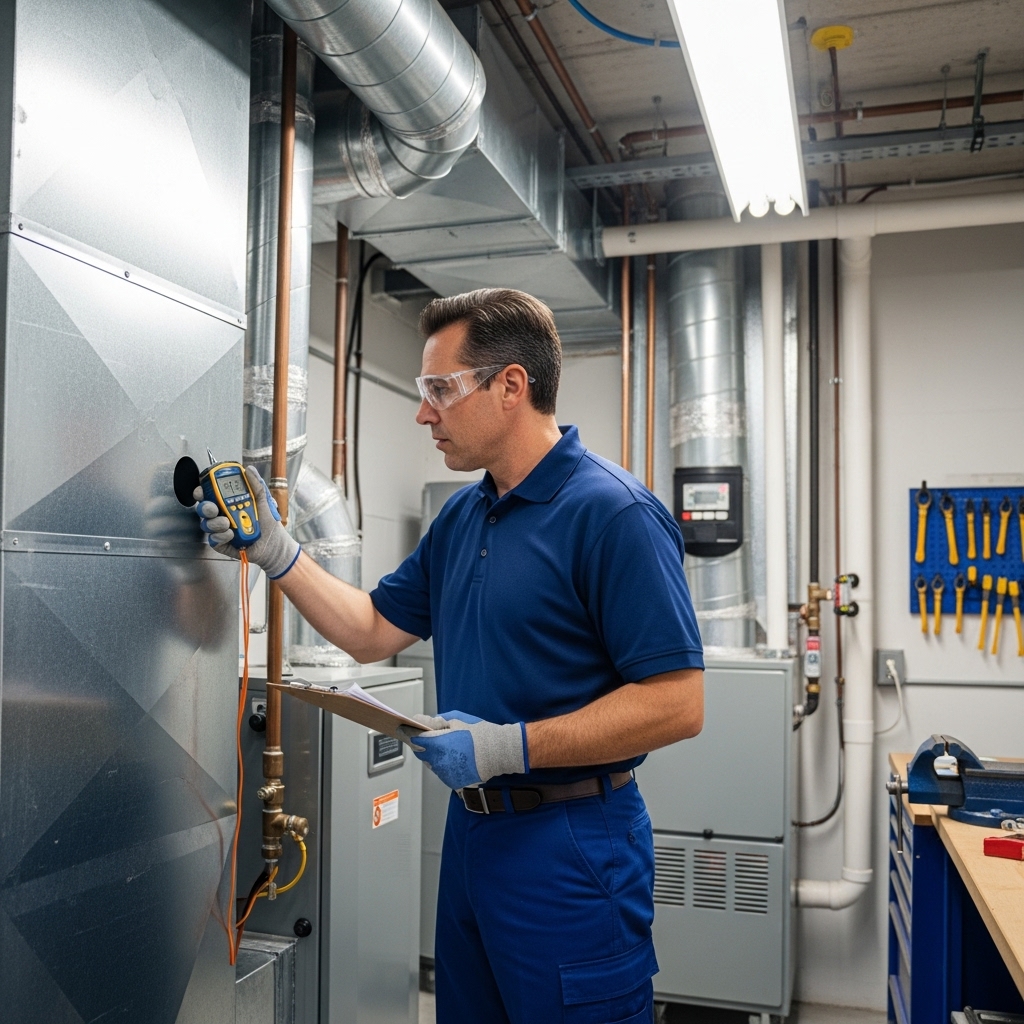
Step 9: Measurement and Verification
Inspections are strongest when they include simple measurements. Checking static pressure across the system, comparing room-to-room temperatures, and feeling for consistent register velocity provide data-driven confidence that repairs will matter. After sealing, repeat the checks to confirm improvement.
- Measure supply and return temperatures after stabilization.
- Use a basic manometer for static pressure if available.
- Document before-and-after readings and photo evidence of sealed joints.
Step 10: Prioritized Repair Plan
With findings documented, organize work into a clear plan. Start with high-impact items—return leaks, plenum seams, and crushed branches—then address secondary issues like minor tape lift or cosmetic insulation repairs. If design limitations are discovered, such as undersized returns or long, convoluted runs, outline options for upgrades.
Special Considerations for New Jersey Homes
Local climate and construction styles influence duct issues. Cape Cods and split-level homes may have tight attic spaces that tempt installers to force sharp bends. Basements and crawlspaces introduce dust and humidity risks. Shore-area winds and storms can disturb insulation and supports. A thorough inspection accounts for these factors and schedules follow-up checks after extreme weather.
- Revisit attic ducts after heat waves for tape lift and strap loosening.
- Survey basement returns for gaps that invite dust and odors.
- Verify insulation near rooflines where temperatures peak.
Red Flags That Warrant Professional Attention
Some findings suggest problems beyond DIY scope: persistent mold-like odors, visible microbial growth, severe static pressure readings, or noises linked to oil-canning metal and rapid pressure swings. These conditions call for trained evaluation, potential redesign, and advanced tools to validate solutions.
Frequently Asked Questions
Q: How long should a thorough inspection take? A: Time varies by home size and access. Expect enough time to trace major trunks and branches, photograph issues, and take basic measurements for a clear plan.
Q: Which is more important to seal first, supply or return? A: Returns often deliver bigger air quality and performance gains when sealed early, but both sides are essential for comfort and efficiency.
Q: Is insulation necessary if I seal well? A: Yes. After sealing, insulation reduces thermal losses and condensation risk, especially in attics and crawlspaces.
Q: Can I skip measurements and rely on feel? A: Feel tests help, but simple temperature and pressure readings provide objective confirmation that repairs improved performance.
Q: What if I find damaged boots or rusted metal? A: Replacement is often better than patching. New components seal more reliably and eliminate weak points.
Q: How often should I re-inspect? A: Annually, and after major storms or renovations that may disturb ductwork.
From Insight to Action
A disciplined inspection process turns vague symptoms into a targeted plan. By documenting defects, applying proper sealing methods, correcting routing, and verifying improvements with simple measurements, you protect comfort and indoor air quality through New Jersey’s seasonal extremes. When you want comprehensive diagnostics and durable results, schedule professional air duct repair and move forward with clear expectations and measurable outcomes.
