Introduction
Clean indoor air matters year-round in Elizabeth, New Jersey, where seasonal pollen, coastal humidity, and busy urban life all influence what circulates through your HVAC system. If your vents are dusty, your returns are gray, or your home feels stale, learning how to perform careful, homeowner-level air duct cleaning can restore healthier airflow and help your equipment run more efficiently. While a full professional cleaning uses specialized negative-pressure machines and high-powered agitation tools, there are effective, safe steps you can take to reduce debris and improve air quality between professional visits. Throughout this guide, you will find a detailed process, safety considerations, and local tips that fit Elizabeth’s weather patterns and typical home construction. If you prefer expert help at any stage, consider scheduling air duct cleaning to ensure a thorough, system-wide result.
Before you begin, remember that ducts are part of a larger system: supply runs, return trunks, the air handler or furnace, evaporator coil, blower, and filtration. A good DIY routine focuses on what you can safely access—vents, returns, filter slots, and cabinet interiors—without damaging delicate components or forcing dislodged dust deeper into the system.
Safety, Tools, and Preparation
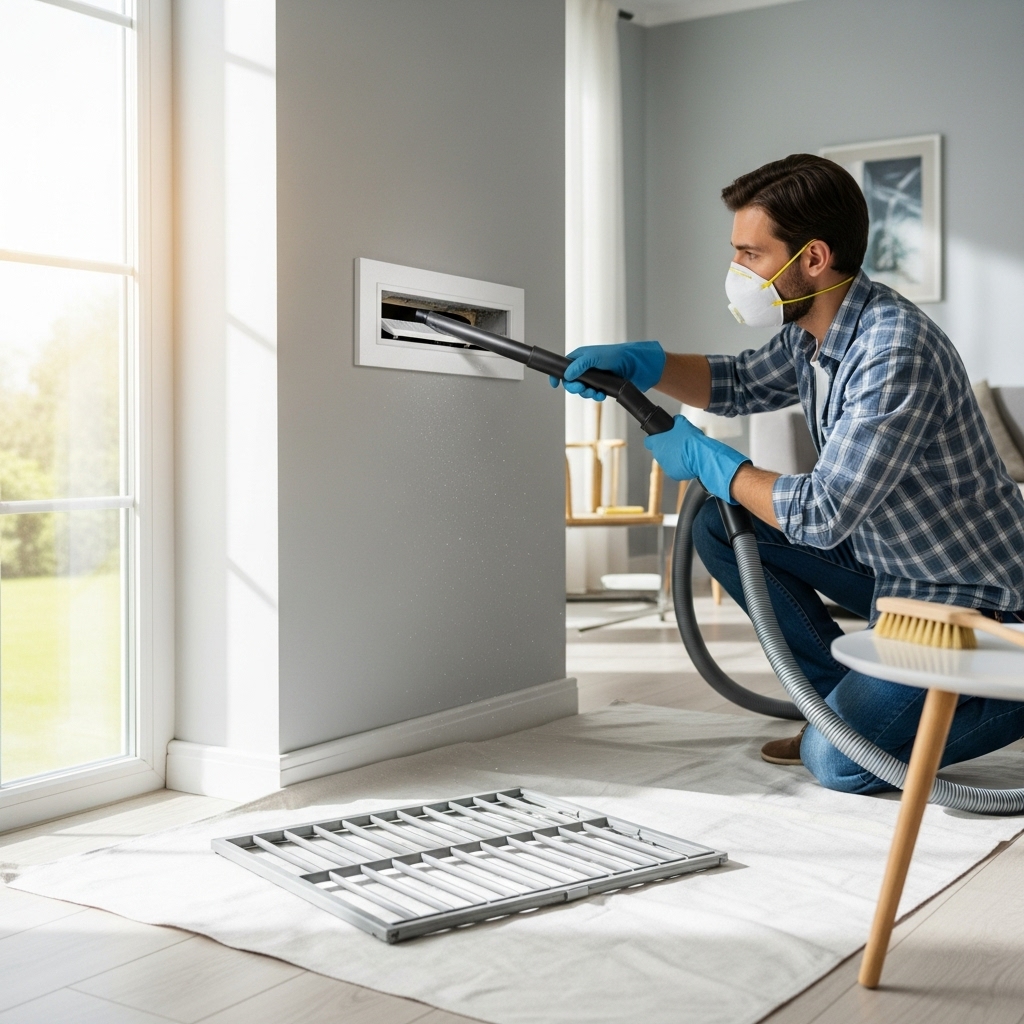
Safety comes first. Turn off power to the HVAC system at the thermostat and, if possible, at the breaker. You do not want the blower activating while you are removing registers or vacuuming. Wear a respirator or quality dust mask, eye protection, and gloves. Keep a step stool handy for high returns and ceilings common in many older Elizabeth homes.
Assemble tools before starting: a household vacuum with a long hose and crevice tool, a brush with soft nylon bristles, microfiber cloths, extra HVAC filters, painter’s tape or magnetic vent covers, a flashlight, disposable towels, and a mild, non-corrosive cleaning solution for metal grilles. If you have pets or live near busy roads like Route 1 or the Turnpike, consider adding a small, portable HEPA vacuum to capture finer dust near registers.
Protect your home by laying drop cloths under areas you will work. Take photos of vent locations and orientation of grille screws to simplify reassembly. Label vent covers room-by-room with painter’s tape so you can return them to their original positions.
Step-by-Step DIY Duct Cleaning Basics
- Shut down the HVAC. Confirm the blower is off and the system has stopped cycling. Give it a few minutes so air stops moving.
- Check your filter. Remove the existing filter and assess its condition. If it is gray or clogged, replace it at the end of the cleaning. For now, leave the filter slot temporarily sealed with painter’s tape to prevent stray dust from falling into the blower cabinet.
- Remove supply vent covers. Unscrew or unclip registers carefully. Soak metal covers in warm water with mild detergent. Scrub with a nylon brush, rinse, and dry fully to prevent rust.
- Clean return grilles. Returns often collect the most dust. Vacuum the front and back of the grille, then wipe with a damp cloth. For stubborn debris, use a soft brush and avoid bending the fins.
- Vacuum accessible duct openings. Insert a crevice tool a short distance into each duct opening. Work slowly to avoid pushing debris deeper. Focus on the first couple of feet where lint and large dust tend to accumulate.
- Brush and wipe. Use a soft brush to loosen dust from the metal or fiberglass lining near the opening. Immediately vacuum the loosened material. Follow with a slightly damp microfiber cloth to pick up fine residue.
- Address high returns. For ceiling returns, use a step stool and keep both hands steady. Work methodically to avoid dropping screws. If the duct is lined with insulation, be gentle—do not saturate or scrape the lining.
- Seal unused vents during cleaning. Temporarily cover nearby registers with magnetic covers or painter’s tape to reduce circulation of dust while you work on another vent across the house.
- Wipe the surrounding surfaces. Dust baseboards, window sills, and floors near each register so stirred-up particles do not immediately re-enter the duct system.
- Check the blower cabinet access. If allowed by the manufacturer, open the blower door. Carefully vacuum loose dust on flat surfaces around the blower housing without disturbing wiring. Do not spin the fan manually, and do not spray cleaning solutions inside the cabinet.
- Inspect the evaporator coil area. Do not touch the coil fins; they are delicate. If you see heavy dust or suspected biological growth around the coil housing, note it for a professional to address.
- Reinstall dry, clean registers. Confirm each screw is snug but not overtightened. Damaged or bent grilles should be replaced to maintain proper airflow.
- Insert a new filter. Choose a filter with an appropriate MERV rating for your system and sensitivity. Higher is not always better; overly restrictive filters strain the blower in older systems.
- Restore power and test. Turn on the system and listen for abnormal vibrations. Check for even airflow and ensure each register is unobstructed by furniture or rugs.
Deep-Cleaning Focus Areas
Supply vents deliver conditioned air to rooms. They often carry fine dust, pet hair, and occasional construction debris. The first few feet of these ducts are the most accessible and can be improved considerably with careful brushing and vacuuming. Returns pull room air back to the system and accumulate dust faster, especially in homes with open floor plans common to newer developments around Elizabeth. If you have a central return, give it extra attention and vacuum both the grille and the plenum opening.
Flexible ducts require a delicate touch. Avoid aggressive tools that could puncture or tear them. Focus on the accessible ends and the cleanliness of registers; if you suspect deeper buildup, that is a sign to schedule a professional who can apply negative pressure and line-safe agitation without damage.
Sanitizing and Odor Control
After dust removal, some homeowners want to reduce odors from smoke, pets, or moisture. For DIY, limit yourself to wiping registers and the immediate duct entry with a lightly damp cloth and mild cleaner approved for metals; avoid soaking. Avoid foggers or harsh chemicals; improper use can spread residues. Persistent odors often indicate moisture problems, clogged filters, or dirty coils that warrant a technician’s inspection.
When DIY Is Enough—and When to Call Pros
DIY is ideal for visible dust, vent hygiene, and routine maintenance between periodic comprehensive cleanings. However, call professionals if you see signs of mold, pest activity, heavy renovation dust, or if family members have respiratory concerns. Pros use powerful negative-pressure vacuums, rotary brushes, and HEPA containment to clean the entire system from the main trunk to the smallest branch. If you want that level of deep, system-wide result, schedule a local, reputable team for thorough professional air duct cleaning that reaches far beyond what standard household tools can achieve.
Common Mistakes to Avoid
- Running the blower without a filter during cleaning, which draws dust straight into the motor and coil.
- Using overly stiff brushes that scratch metal or tear flex duct lining.
- Spraying coil cleaners or disinfectants into ducts without containment or rinsing.
- Skipping return grilles, which often hold the most dust.
- Overtightening screws on thin metal registers, causing distortion and whistles.
- Choosing the wrong filter size or rating and restricting airflow.
- Ignoring air leaks at duct joints that pull in attic or crawlspace dust.
Post-Cleaning Maintenance Plan
Good results come from consistent habits. Replace filters on a regular schedule—every one to three months during heavy use. Mark calendar reminders or set smartphone alerts. Keep floors vacuumed and entryways clean; every ounce of dust you capture before it drifts becomes air your HVAC does not need to filter. In Elizabeth’s humid summers, monitor indoor humidity, aiming for the 40–50 percent range to discourage microbial growth. In winter, when doors and windows stay closed, increase vacuuming around returns and ensure furniture does not block airflow.
Seal simple duct leaks you can access at boot connections with mastic or UL-181 foil tape. Avoid cloth “duct tape.” Small sealing projects near registers can reduce dust infiltration from wall cavities and basements. If you renovate, isolate work zones, use plastic barriers, and close or cover nearby registers to prevent construction dust from entering the system.
Local Considerations for Elizabeth, NJ Homes
Elizabeth homes range from historic row houses to newer townhomes and multifamily buildings. Older homes may have mixed duct materials and limited access, making gentle methods crucial. Newer homes often have large central returns and complex zoning; ensure each zone’s return is kept clean. Proximity to traffic corridors increases soot and fine particulates; consider slightly more frequent filter changes if you notice darkening around registers.
Basements and crawlspaces can influence duct cleanliness. If returns or trunks run through these areas, look for gaps or missing insulation that can draw in dust. Check dryer venting to ensure it is sealed and exhausting outdoors; dryer lint near returns easily becomes airborne and recirculates.
Frequently Asked Questions
Q: How often should I clean ducts in Elizabeth? A: Light DIY cleaning at vents every few months and a full professional cleaning every few years, or after major renovations, is a practical cadence for many households.
Q: Will cleaning ducts reduce allergies? A: Reducing dust and improving filtration can help, especially during spring pollen spikes. Combine duct hygiene with regular filter changes and vacuuming for best results.
Q: Is sanitizing necessary? A: Not always. Odors and recurring dust might point to moisture or filtration issues rather than a need for chemicals. If biological growth is suspected, consult a professional.
Q: Can I clean deep inside the ducts myself? A: Only to a limited extent. The most thorough results require negative pressure and specialized tools to capture dislodged debris throughout the system.
Q: What if I have flexible ducts? A: Use gentle brushing at the openings and avoid aggressive tools. If buildup seems significant, call a professional to protect the liner and joints.
Q: How do I know it worked? A: Airflow should feel more even, registers should be visibly clean, and filters should stay cleaner longer. A quick flashlight check at each opening can confirm improved cleanliness.
If you are ready to breathe easier, improve airflow, and support the longevity of your HVAC equipment, schedule trusted local air duct cleaning service to complement your careful DIY work and deliver a complete, system-wide result.
