Introduction
From historic neighborhoods to newer developments, Elizabeth, New Jersey homes rely on ductwork to deliver clean, conditioned air. Yet the steps that make a thorough cleaning effective are often misunderstood. This guide breaks down each stage—from inspection to final verification—so you know what quality looks like, whether you are hiring a pro or evaluating your own maintenance. You will learn why negative pressure matters, how agitation tools work, what to expect during coil and blower inspections, and how to maintain results afterward. If you prefer a trained team to handle the entire sequence, you can schedule comprehensive air duct cleaning and use this process map to track the work.
Understanding the process helps you separate marketing talk from proven methods. It also equips you to protect your home—covering furnishings, isolating work zones, and confirming that dust is captured rather than redistributed.
Step 1: Pre-Inspection and Planning
A quality job begins with a walkthrough. Technicians locate every supply register and return, identify the air handler and coil location, and look for visible issues: damaged flex duct, disconnected joints, or moisture stains. They note the filter size and type, assess access points for the main trunks, and plan containment to protect floors and furnishings. In older Elizabeth homes, techs also consider tight basements and unique return setups common to row houses.
Documentation matters. Before photos capture conditions at key points: large returns, main trunks, and problem areas. You should expect a clear explanation of the scope, including whether coil cleaning, blower cleaning, or duct sealing will be recommended separately.
Step 2: System Shutdown and Protection
The HVAC system is turned off at the thermostat and breaker. Registers may be temporarily covered to control airflow during setup. Drop cloths or plastic sheeting protect high-traffic areas. The filter is removed, and the slot may be sealed to prevent dust from reaching the blower during agitation.
Step 3: Establishing Negative Pressure
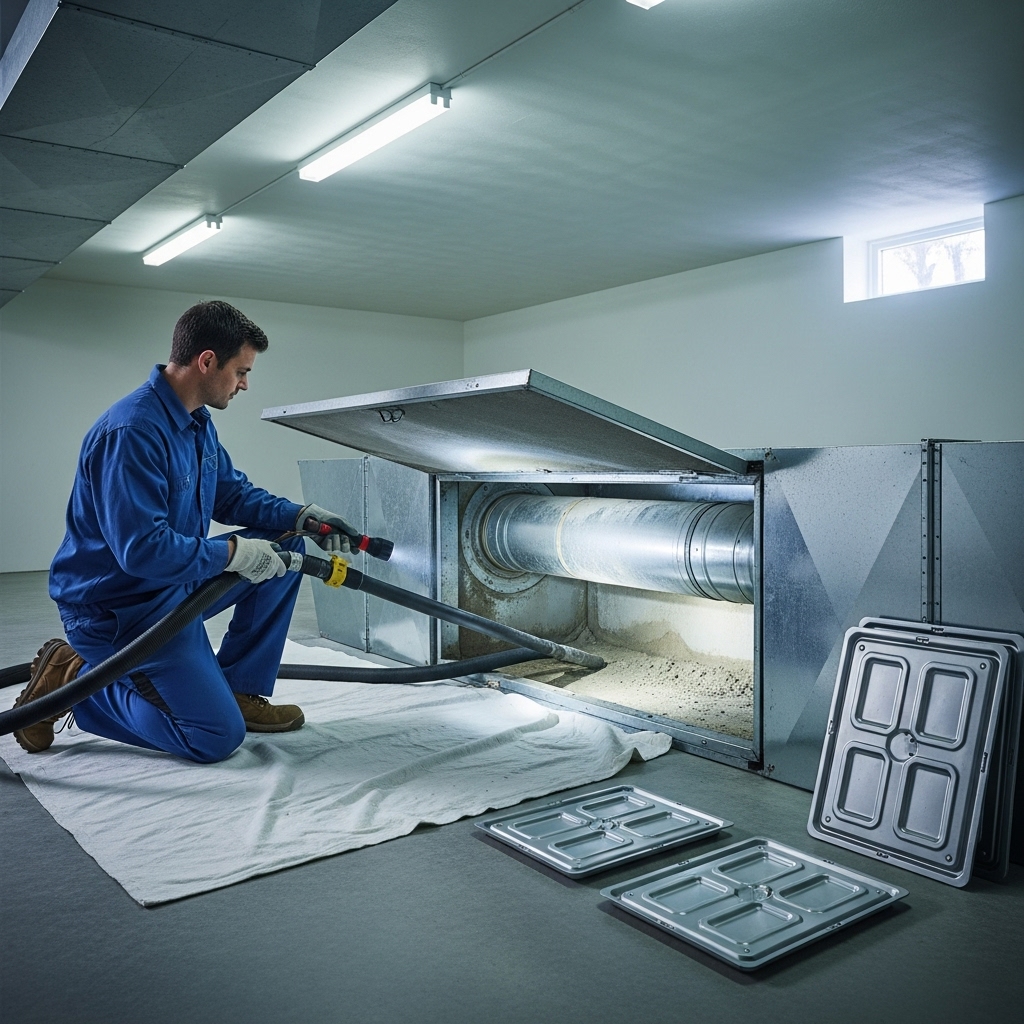
Negative pressure is the backbone of effective duct cleaning. A high-powered vacuum is connected to the main trunk or plenum, drawing air and debris toward the collection unit. This prevents loosened dust from migrating into living spaces. Properly sized hoses and sealed connections maintain strong suction. HEPA filtration on the collection unit captures fine particles and protects indoor air during the process.
Step 4: Mechanical Agitation
With negative pressure established, agitation tools dislodge dust from duct walls. These may include rotary brushes sized for metal or flex ducts, whips that pulse compressed air to loosen debris, and air skippers that drive material toward the vacuum source. The technician moves from branch runs toward the main trunks, ensuring each section is addressed. Flex ducts require gentle tools to protect the liner and joints, while metal ducts tolerate more robust brushing.
Step 5: Source Removal at Registers and Returns
Registers and returns are removed, cleaned, and sometimes disinfected at the grille level. The first several feet of each branch are thoroughly vacuumed using crevice tools under negative pressure. Returns often need extra care because they accumulate more lint and fine dust. If wall cavities act as returns—a feature found in some older constructions—special containment prevents pulling debris from unintended spaces.
Step 6: Air Handler, Blower, and Coil Considerations
Even the cleanest ducts cannot compensate for a dirty blower or coil. After duct cleaning, a technician may open the blower cabinet to vacuum settled dust on accessible surfaces and evaluate the blower wheel for buildup. The evaporator coil is inspected but handled carefully; coil cleaning, if needed, is typically a separate service with its own procedures and rinsing requirements. Condensate pans and drains are checked for clogs and algae, common in humid New Jersey summers.
Step 7: Sealing, Access, and Minor Repairs
If the team cuts new access panels to connect vacuum hoses, those openings are sealed with code-compliant caps and gaskets once the job is complete. Minor leaks at joints may be flagged for sealing with mastic or foil tape. Flexible duct kinks or crushed sections are noted, as they can reduce airflow and collect dust prematurely.
Step 8: Final Verification
Before-and-after photos of key ducts, returns, and the blower area help confirm results. Registers are reinstalled, the filter is replaced, and the system is restarted. The technician listens for unusual sounds and checks airflow balance. A short test run ensures no dust is blowing from registers and that pressures are normal.
Homeowner Checklist for the Day of Service
- Clear access to the air handler, returns, and major registers.
- Confirm how technicians will protect flooring and furnishings.
- Ask what tools will be used for flex versus metal ducts.
- Request HEPA-filtered collection and negative-pressure containment.
- Discuss coil and blower inspection, and ask for photos.
- Note any rooms with odors or dust accumulation for targeted attention.
How Long the Process Takes
Time varies with home size, number of registers, and system complexity. Larger homes or those with multiple systems take longer due to additional trunk lines and returns. Preparation, methodical agitation, and careful cleanup are what make the difference between a quick pass and a thorough job.
Why Negative Pressure Matters in Elizabeth Homes
Elizabeth’s humid summers and traffic corridors can increase fine particulate accumulation. Negative pressure paired with HEPA filtration ensures released dust is captured, preventing re-deposition on furnishings and floors. Without negative pressure, agitation can scatter particles, leaving you with the illusion of cleaning but little improvement in actual air quality.
Maintaining Results After Cleaning
Once the system is clean, keep it that way with proper filtration and routine housekeeping. Replace filters on schedule, vacuum near returns, and keep registers unobstructed. If you plan renovations, isolate work zones and cover nearby registers to prevent construction dust from entering ducts. In basements, ensure dryer vents are sealed and exhausting to the exterior so lint does not recirculate.
DIY Versus Professional
Homeowners can maintain clean registers, returns, and the immediate duct openings with basic tools. However, the full process—negative pressure plus mechanical agitation through trunks and branches—requires specialized machines and containment. If your household experiences allergies, if odors persist, or if you have never had the ducts fully cleaned, scheduling professional air duct cleaning aligns effort with outcome.
Frequently Asked Questions
Q: How often should ducts be cleaned? A: It depends on lifestyle, pets, renovations, and filter practices. Many homes benefit from a professional cleaning every few years, with more frequent service after construction or water events.
Q: Will duct cleaning fix odors? A: It helps, but persistent odors can also come from moisture, dirty coils, or drain issues. A thorough inspection alongside cleaning yields the best results.
Q: Is it safe for flexible ducts? A: Yes, when technicians use tools designed for flex duct and avoid excessive force that could damage liners.
Q: Do I need sanitizers? A: Not necessarily. Source removal and proper filtration address most concerns. If biological growth is suspected, a targeted approach is better than blanket chemicals.
Q: Can I stay home during the service? A: Absolutely. Technicians work around your schedule and isolate work areas to minimize disruption.
Q: How will I know the job was thorough? A: Request before-and-after photos, ask about the path of agitation tools, and verify the use of negative pressure and HEPA filtration.
If you want confidence that the entire system—from registers to trunks to blower—has been handled correctly, schedule trusted local air duct cleaning service and use this process guide to confirm each step was completed to a high standard.
