Introduction
Homeowners in Elizabeth, New Jersey, face a full spectrum of indoor air challenges, from spring pollen to winter dust and the occasional damp basement. A structured checklist turns duct cleaning from an abstract idea into an organized plan you can actually follow. Whether you are preparing for a professional visit or handling basic upkeep yourself, the right sequence will help you avoid missed steps and protect your HVAC equipment. If you prefer to leave the heavy lifting to trained technicians, consider scheduling expert air duct cleaning and use the checklist here to prepare and verify results.
The goal is to combine safety, thoroughness, and documentation. By tracking each stage—before, during, and after—you will know what was done, what remains, and how to maintain clean ducts throughout the year in Elizabeth’s changing seasons.
Before You Start: Safety and Planning
- Shut off HVAC power at the thermostat and, if possible, at the breaker.
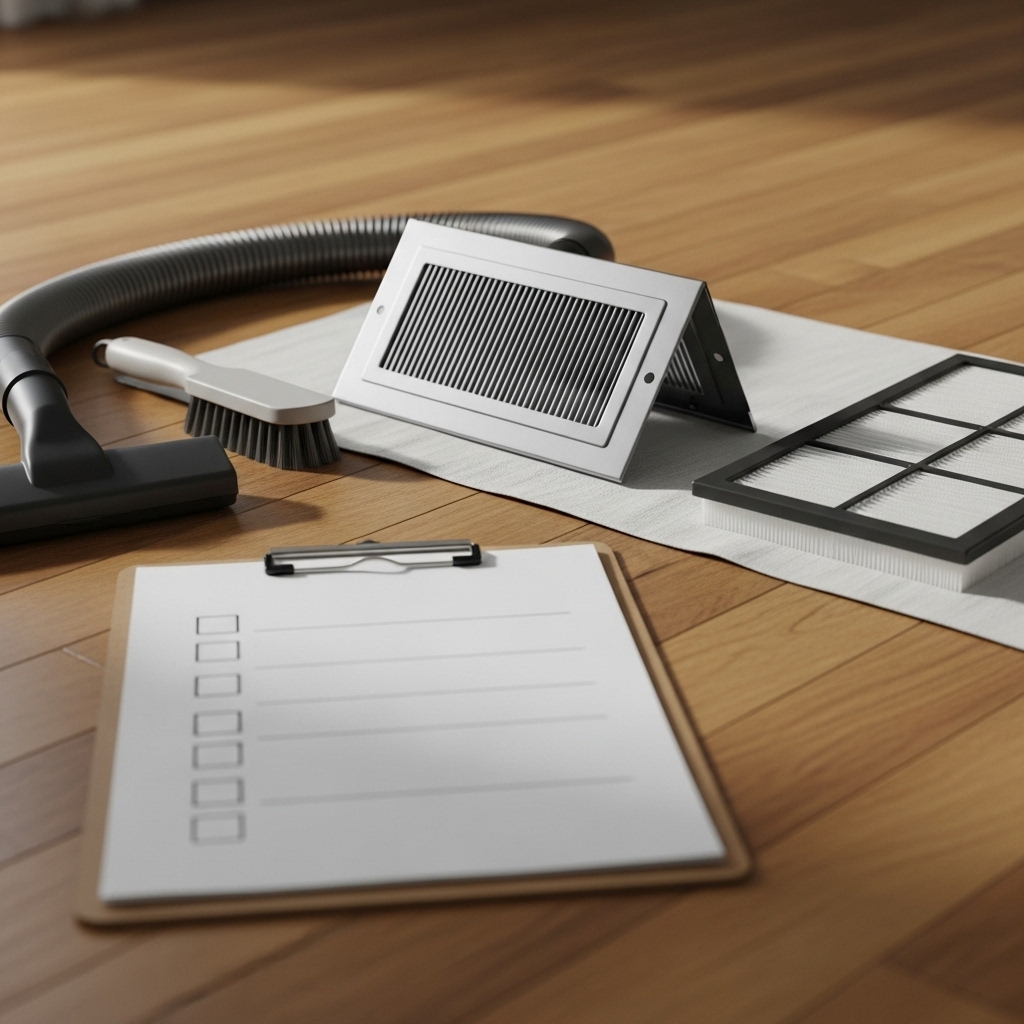
- Gather a respirator or quality mask, gloves, eye protection, a vacuum with hose and crevice tool, soft brushes, microfiber cloths, and new filters.
- Lay drop cloths under registers and returns to catch debris.
- Photograph each vent and return so you can match covers to rooms during reassembly.
- Check warranty or manufacturer guidelines if you plan to open blower cabinets.
- Create a room-by-room list of all supply registers and returns, including ceiling returns found in many Elizabeth homes.
Supply Register Checklist
- Remove covers carefully. Place screws in labeled bags.
- Soak metal covers in warm, mild detergent. Rinse and dry completely.
- Vacuum the first one to two feet of ducting using a crevice tool.
- Brush lightly to dislodge stuck dust. Immediately vacuum the loosened debris.
- Wipe the duct edge and register frame with a damp microfiber cloth.
- Inspect for signs of rust, moisture, or unusual odors that may indicate leaks or humidity issues.
- Reinstall covers once fully dry, ensuring screws are snug but not overtightened.
Return Grille Checklist
- Turn off the system and confirm the blower is not running.
- Vacuum both sides of return grilles thoroughly; returns collect the most dust.
- Clean the immediate plenum opening with a crevice tool and soft brush.
- Check for gaps around the return boot where wall cavities can pull in dust. Seal minor leaks with UL-181 foil tape or mastic.
- Verify that furniture or drapes are not blocking major returns.
Filter and Blower Area Checklist
- Remove the old filter, note its condition, and confirm the correct size and MERV rating.
- Inspect the filter rack or slot; vacuum dust and wipe the frame.
- Open the blower cabinet if permitted by the manufacturer. Vacuum loose dust on accessible flat surfaces, avoiding wires.
- Do not touch the evaporator coil fins. If you see heavy buildup or suspected biological growth, plan for professional service.
- Install a new filter after cleaning is complete and label the date.
Room-by-Room Dust Control Checklist
- Vacuum floors, rugs, and baseboards near vents right after cleaning each register.
- Dust return walls and surrounding surfaces to prevent immediate recontamination.
- Check that vents are not blocked by rugs or furniture and that louvers are open.
- In kids’ rooms and play areas, look for small toys or objects that could fall into vents.
Moisture, Odor, and Seasonal Concerns
- Monitor humidity, aiming for 40–50 percent indoors to limit odors and microbial growth.
- Inspect for signs of roof or plumbing leaks that could affect ducts in walls or ceilings.
- After heavy summer use in Elizabeth, check filters more frequently due to pollen and construction dust.
- During winter, when homes stay closed, vacuum returns more often to reduce stale odors.
Professional Preparation Checklist
- Clear access to the air handler, furnace room, and major returns.
- Ask the technician to explain their negative-pressure setup and containment steps.
- Confirm the use of HEPA filtration and proper agitation tools for metal and flex ducts.
- Request before-and-after photos for main trunks, returns, and key branches.
- Discuss coil, blower, and plenum inspection. Cleaning these areas may be recommended separately.
Quality Verification Checklist (After Professional Service)
- Registers and returns are visibly clean; no loose debris or dust streaks.
- Airflow feels even and unobstructed compared to pre-service conditions.
- Filter is new, properly sized, and seated; no gaps around the frame.
- Technician provided photos or a written summary of findings and any repairs recommended.
- There are no new rattles, whistles, or odors during the first operation cycle.
Maintenance Schedule for Elizabeth, NJ
Build a routine that matches local conditions. Replace filters every one to three months, with more frequent changes during peak pollen and summer cooling. Dust and vacuum near returns weekly. Before holiday gatherings or after renovations, do a quick register and return refresh. If you live near busy corridors or industrial zones, consider stepping up your filter schedule and room-by-room dust control.
When to Call Professionals
DIY checklists are excellent for surface cleanliness and prevention. However, if you see signs of pests, water damage, persistent odors, or heavy post-construction dust, a comprehensive negative-pressure cleaning is wise. In those cases, use this list to prepare and to hold the provider accountable for thoroughness. The most reliable outcome comes from combining homeowner diligence with skilled professional air duct cleaning that reaches the entire duct network, including main trunks and inaccessible branches.
Frequently Asked Questions
Q: How often should I complete this checklist? A: Do a mini-version every season and a full run-through annually or before and after major projects.
Q: What MERV filter should I choose? A: Select a rating your system can handle without restricting airflow. Many homes use mid-range MERV filters; consult your HVAC manual or a technician for guidance.
Q: Can I sanitize registers? A: Yes, with mild cleaners on metal surfaces. Avoid spraying chemicals deep into ducts.
Q: Are flexible ducts safe to clean? A: Yes, but gently. Use soft brushes at openings and avoid tools that could puncture liners.
Q: Will cleaning fix odors? A: It helps, but also address humidity, leaks, and coil cleanliness for a lasting improvement.
Q: What proof should I request from a pro? A: Before-and-after photos, a written scope, and clear notes on any repairs or sealing needs.
Ready to breathe easier and check every box with confidence? Pair this checklist with a trusted local air duct cleaning service so your system runs cleaner, quieter, and more reliably through every Elizabeth season.
