Introduction: Inspect Before You Clean
Effective dryer vent maintenance starts with a thorough inspection. Before you clean, repair, or replace, you need a clear picture of the system’s condition from the dryer to the exterior termination. In Elizabeth, New Jersey, homes range from historic properties to modern townhouses, each with unique duct paths and access challenges. This inspection checklist helps you identify safety risks, airflow bottlenecks, and compliance issues so your cleaning efforts deliver real, measurable results. If you want to compare your inspection plan with a pro-level approach, review best practices for dryer vent cleaning and use them as a standard for thoroughness.
This checklist is organized into stages—from preparation to documentation—so homeowners, landlords, and property managers can audit systems consistently across the seasons.
Stage 1: Preparation and Safety
- Unplug the dryer; for gas units, avoid stressing the gas line if you need to move the appliance.
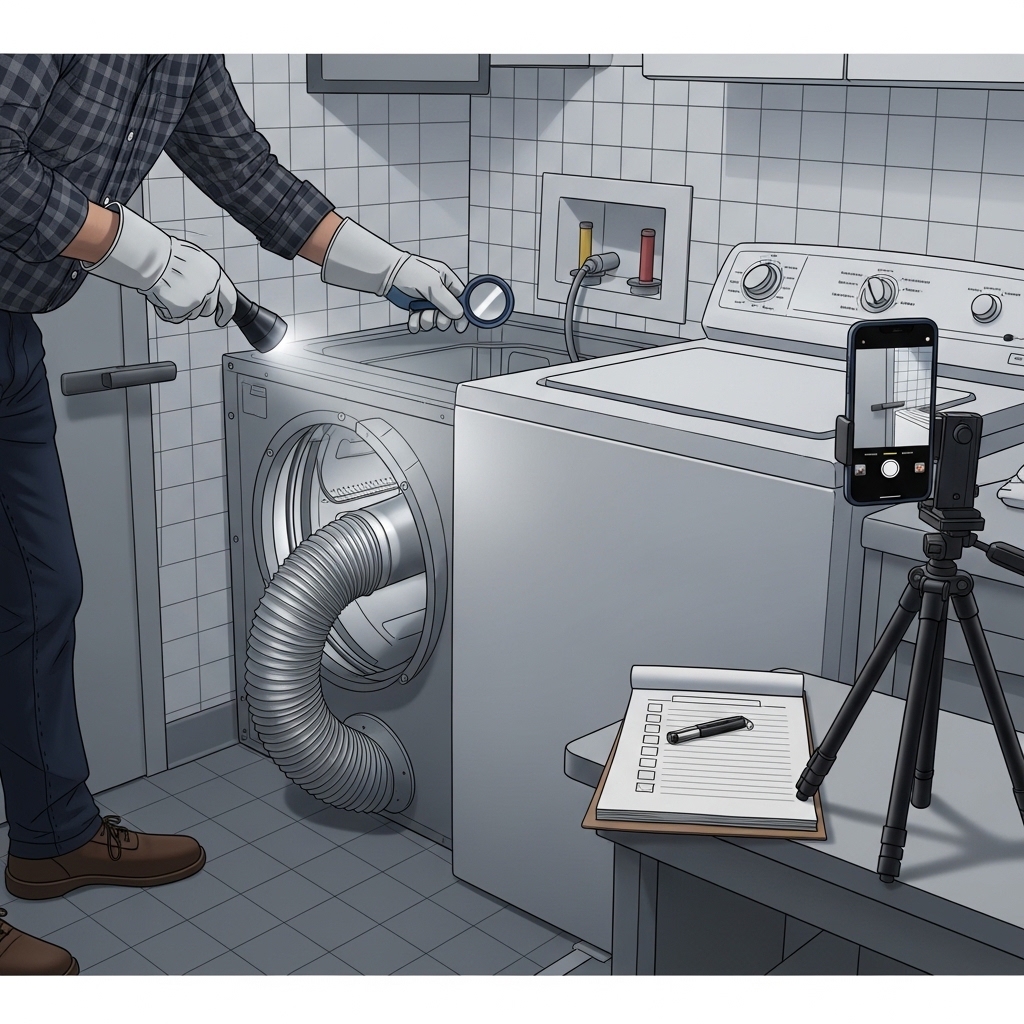
- Gather tools: flashlight, tape measure, notepad, camera or phone, gloves, eye protection, and a small mirror.
- Clear the laundry area so you can access the rear of the dryer and move it if necessary.
- Place sliders or cardboard under appliance feet to protect flooring during movement.
Stage 2: Identify System Components
- Locate the lint screen, lint housing, dryer exhaust port, transition hose, main duct, elbows, and exterior termination.
- Note materials: rigid metal, semi-rigid, foil, or vinyl. Flag non-compliant materials for replacement.
- Sketch the route if possible, marking approximate lengths and each elbow.
Stage 3: Visual Inspection at the Dryer
- Check lint screen condition; wash with mild soap if residue from fabric softeners is present.
- Look inside the lint housing using a flashlight; note visible lint accumulation.
- Inspect the exhaust port for obstructions or damage.
- Examine the transition hose for kinks, crushing, tears, or excessive length. Replace as needed with semi-rigid or rigid metal.
- Verify clamps are secure and that no screws protrude into the airstream.
Stage 4: Duct Path and Building Integration
- From the wall connection, trace the duct path through accessible areas (basement ceilings, utility chases, or closets).
- Check for unsupported spans or sagging that may collect lint.
- Identify any sharp elbows or unnecessary turns that increase equivalent length.
- Look for signs of moisture or staining on nearby building materials, which can indicate condensation issues.
Stage 5: Exterior Termination Evaluation
- Confirm the vent terminates outdoors, not into an attic, crawlspace, or garage.
- Inspect the hood: flapper should move freely, close when off, and open fully during operation.
- Look for screens or mesh that may trap lint; flag for removal and replacement with a proper damper-style hood.
- Check for nesting, debris, or vegetation restricting airflow.
- Assess weather exposure. Wind-driven rain and winter ice can degrade certain plastic hoods; consider durable upgrades.
Stage 6: Airflow and Functional Checks
- Run the dryer on a warm cycle and observe the damper. Does it open fully and steadily?
- Feel for strong, continuous airflow at the termination.
- If airflow is weak, disconnect the transition hose at the dryer and test at the exhaust port. Compare results to locate restrictions.
- Listen for rattling or whistling that might indicate loose joints or partial obstructions.
Stage 7: Measurements and Compliance
- Measure approximate duct length and count elbows. Calculate equivalent length based on typical elbow penalties.
- Compare with the dryer manufacturer’s maximum length recommendations.
- Note any screws, crimps, or damaged joints that could catch lint. Plan for foil tape and proper connectors during repairs.
- Confirm materials meet safety expectations: rigid metal for main runs; semi-rigid for short transitions.
Stage 8: Risk and Priority Assessment
- High Risk: Non-compliant materials, severe obstructions, rooftop terminations without safe access, or signs of overheating.
- Medium Risk: Long duct runs near maximum equivalent length, minor damper sticking, or moderate lint accumulation.
- Low Risk: Clean, short runs with smooth elbows, strong airflow, and compliant materials.
Assign each finding a priority: immediate correction, scheduled maintenance, or monitor over time. This structure ensures you address the most important safety issues first.
Stage 9: Cleaning Readiness
With the inspection complete, decide whether DIY cleaning is appropriate or if professional service is warranted. Complex runs through walls or attics, visible nests, or persistent weak airflow usually merit specialized tools and expertise. Before cleaning, assemble equipment: a vacuum with brush attachments, lint brushes or rotary rods, and replacement parts like clamps and an upgraded exterior hood if needed.
Elizabeth, NJ Considerations
Elizabeth’s mixed building stock means you may encounter everything from short sidewall vents to multi-story runs. Wind, salt exposure near bay areas, and freeze-thaw cycles can all affect exterior hoods. Schedule exterior checks seasonally and after major storms. For multifamily buildings, coordinate with residents to ensure dryers are off during inspections, and document unit-by-unit condition to plan maintenance efficiently.
Post-Clean Inspection Points
- Re-test airflow at the exterior; the damper should open readily with a strong stream of air.
- Verify no joints loosened during cleaning, and re-tape with foil tape where appropriate.
- Confirm the transition hose is not crushed when pushing the dryer back into place.
- Run a timed cycle and record drying duration for a standard load as a new benchmark.
Documentation: Your Best Long-Term Tool
Create a simple report after each inspection and cleaning session. Include dates, photos, measurements, materials, and any corrections made. Attach receipts for component upgrades and note the model numbers of hoods or hoses installed. This recordkeeping improves resale value, simplifies landlord-tenant communication, and streamlines future troubleshooting.
Common Issues Found During Inspections
- Vinyl or foil ducts used in main runs, which trap lint and crush easily.
- Terminations with screens, which clog quickly and invite blockages.
- Screws protruding into the duct interior, catching lint and creating compaction points.
- Excessive length or too many elbows, causing weak airflow despite cleaning.
- Damaged or missing dampers, allowing cold air, pests, and debris to enter the duct.
Maintenance Scheduling and Communication
Set calendar reminders for seasonal exterior checks and annual deep cleanings. For property managers, share the inspection checklist with residents so they understand what you are evaluating and why access matters. Encourage residents to report changes: longer cycles, hotter clothes, or unusual smells. Early feedback makes maintenance more effective and reduces emergency calls.
Frequently Asked Questions
Q: How long should a typical vent be?
Short and straight is best. Recommended maximums vary by dryer model, but minimizing elbows and distance improves performance significantly.
Q: Can I keep a screen on the exterior hood to stop pests?
Screens trap lint quickly and are generally discouraged. Choose a quality damper-style hood designed to deter pests while maintaining airflow.
Q: What’s the easiest upgrade with the biggest payoff?
Replacing a crushed or non-compliant transition hose with a semi-rigid metal hose often delivers immediate airflow gains.
Q: My laundry room is hot. Is that normal?
Slight warmth is expected, but excessive heat suggests restricted venting or a stuck damper. Inspect and correct promptly.
Q: Are rooftop terminations a problem?
Not inherently, but they require safe access and more frequent checks due to weather exposure. Professional service is recommended for rooftop work.
Turn Your Inspection into Action
Use this checklist to evaluate your system thoroughly, prioritize corrections, and document results. If you identify long duct runs, inaccessible elbows, or persistent weak airflow, elevate your approach with expert help. Schedule comprehensive dryer vent cleaning for your Elizabeth, New Jersey home or property to ensure safety, efficiency, and peace of mind all year long.
