Introduction: Troubleshooting Beyond the Basics
When drying times creep upward or your laundry room feels abnormally warm, most homeowners think “clean the lint screen” or “vacuum behind the dryer.” Those are important first steps, but advanced troubleshooting digs deeper, evaluating airflow, duct geometry, damper performance, and even appliance diagnostics. In Elizabeth, New Jersey, older homes, multifamily buildings, and long duct routes present unique challenges that standard DIY steps do not always solve. This guide focuses on systematic methods to pinpoint root causes and correct them safely. If you’re seeking a benchmark for what thorough maintenance looks like, consult professional frameworks for dryer vent cleaning so you can align your troubleshooting process with proven best practices.
The goal is to help you separate symptoms from causes. A hot laundry room might result from a stuck exterior damper, a crushed transition hose, a clogged duct elbow, or even a failing heating element cycling excessively due to poor exhaust. The steps below move from simple checks to technical assessments you can perform or request from a qualified technician.
Symptom Mapping: What the Signs Suggest
- Long Drying Times: Often airflow restriction, but also consider oversized loads or a failing moisture sensor.
- Very Hot Clothes: Indicates high operating temperature, commonly due to restricted venting or obstructed lint housing.
- Burning or Scorched Odors: Potential lint accumulation near the heater or in the duct; stop and investigate immediately.
- Musty Smells: Lingering moisture suggests poor airflow or a damper that doesn’t open fully.
- Dryer Shutting Off or Error Codes: Overheat protection may be activating; check for blockages and verify duct length compliance.
Airflow Verification at the Exterior Termination
Start outside. With the dryer running on a warm cycle, observe the damper. It should open fully and remain steady, not flutter weakly. Feel for a strong, continuous stream of air. If airflow is weak or intermittent, suspect internal obstructions, crushed ducts, or an excessively long run compounded by multiple elbows. If the damper barely moves, disconnect the transition hose at the dryer and test again; if airflow improves dramatically at the dryer’s exhaust port but remains weak outside, the problem lies within the duct run or termination.
Transition Hose Inspection Under Load
While the dryer runs, look and listen behind the machine (maintain safe distance). A rattling or whistling sound can indicate a partial blockage or a poorly seated clamp. Warm surfaces and noticeable hot spots can signal a crushed hose. Replace foil or vinyl with semi-rigid or rigid metal. Keep the path short and straight; each unnecessary bend amplifies friction losses and reduces effective airflow.
Duct Geometry and Equivalent Length
Manufacturers specify maximum duct lengths that include penalties for elbows (e.g., a 90-degree elbow might count as five feet). In many Elizabeth homes, retrofitted laundry areas force ducts to snake through joist bays or around structural elements, quickly exceeding recommended lengths. If your equivalent length is too high, even a perfectly clean duct may underperform. Solutions include rerouting for fewer turns, converting to rigid metal, or, where allowed and needed, considering a properly rated booster fan installed according to code and manufacturer instructions. Always address cleanliness and geometry before relying on a booster.
Obstruction Types and Their Clues
- Lint Compaction: Typical in long runs or where screws protrude into the duct. Symptoms include gradually lengthening dry times.
- Birds’ Nests: Common near unprotected terminations; seasonal in nature. Symptoms include sudden severe restriction and debris at the hood.
- Crushed Duct Sections: Often behind the dryer or inside wall cavities; symptoms include hot clothes and weak exterior airflow.
- Stuck or Broken Dampers: The damper may fail to open fully, causing backpressure. A visual check often confirms this.
Appliance-Side Troubleshooting
If airflow appears adequate but performance is still poor, investigate the dryer. A clogged lint screen housing, worn drum seals, a failing moisture sensor, or a malfunctioning thermostat can masquerade as vent problems. Clean the housing thoroughly, inspect seals for wear, and run the dryer’s onboard diagnostics if available. Check that the lint screen is not coated with fabric softener residue; wash it with mild soap and water, dry completely, and retest.
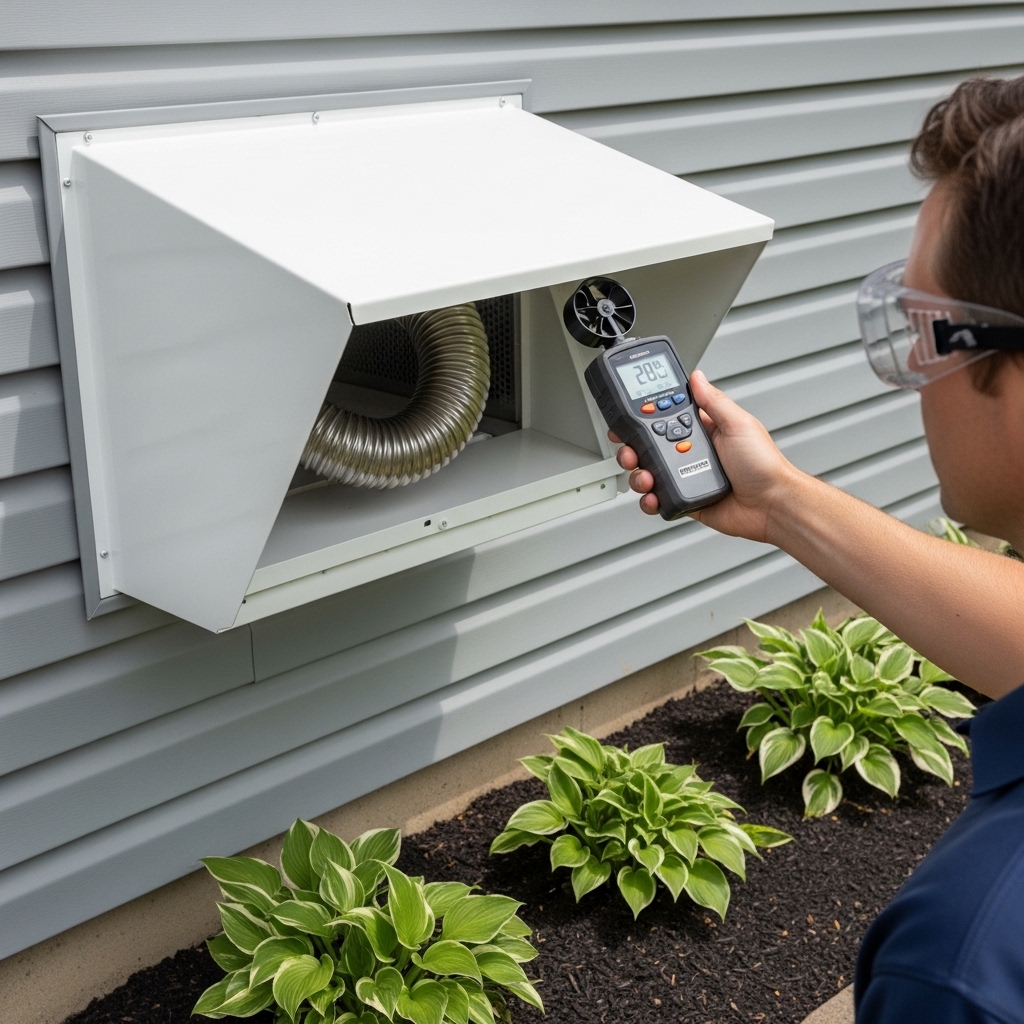
Advanced Assessment Tools
- Anemometer: Measures air velocity at the exterior hood, providing a relative benchmark before and after cleaning.
- Manometer: Assesses static pressure within the duct. Elevated pressure signals restriction.
- Inspection Camera: Visual confirmation of elbows, joints, and debris without disassembling walls.
- Rotary Brush System: For corrective action; use with caution to avoid duct damage, especially at elbows and joints.
Document readings before and after changes. Even if you do not own these tools, a professional can provide measurements that guide decision-making.
Elizabeth, NJ Specific Considerations
Older multifamily buildings in Elizabeth sometimes share utility chases where ducts run longer distances with multiple elbows. Renovations may also leave legacy screws inside joints, which catch lint. Seasonal humidity can increase lint adhesion, and winter winds may cause exterior flappers to chatter or fail if the hinge is worn. Incorporate exterior checks into your routine and consider upgraded hoods designed for stable operation in variable weather.
Decision Tree: Is It the Vent, the Dryer, or Both?
- Measure or estimate airflow at the exterior hood. Weak airflow indicates vent restriction.
- Disconnect the transition hose and test airflow at the dryer’s exhaust port. If strong here but weak outside, the duct is suspect.
- If airflow is strong at both points but cycles remain long, inspect lint housing, sensors, and heater cycling. Consider an appliance service check.
- If airflow improves only modestly after cleaning, analyze duct length and geometry; consider rerouting recommendations.
Corrective Actions by Scenario
- Short, Simple Runs: A thorough system cleaning plus transition hose upgrade often resolves problems.
- Long, Complex Runs: Professional cleaning, verification of joints, and geometry improvements are key. Reassess equivalent length and reduce elbows.
- Damaged or Aged Components: Replace deteriorated hoods, crushed sections, and non-compliant materials.
- Recurring Nesting Issues: Install a code-compliant termination that deters pests without a lint-trapping screen.
Confirming Results
After corrective steps, validate performance: drying times should return to normal, airflow should be strong, and laundry room temperatures should remain moderate during operation. Recheck the exterior hood after a week of typical use to ensure no new obstructions form. Keep notes of dates, actions, and outcomes for future comparison and to streamline conversations with technicians if further service is needed.
Documentation and Communication
For landlords, property managers, or co-op boards in Elizabeth, thorough documentation is invaluable. Record duct routes, materials, elbow counts, and maintenance dates. Photograph the exterior termination and any interior access points. Clear records simplify troubleshooting and demonstrate proactive safety management.
Mid-Process Benchmarking
Midway through a troubleshooting effort—especially if you’ve performed some DIY steps—compare your results to pro-level scope. If airflow remains weak or readings are inconclusive, enlist a technician who can provide static pressure and velocity data and perform a full-bore cleaning. Consider how professional dryer vent cleaning differs from household tools: longer brush runs, high-suction vacuums, and the ability to handle rooftop or high exterior terminations safely.
Preventive Strategies After Fixes
- Set a reminder to clean the lint screen every load and the housing monthly.
- Inspect the transition hose quarterly and maintain a small clearance between the dryer and wall.
- Check the exterior hood each season, especially after storms or heavy winds.
- Schedule annual or semiannual deep cleanings depending on laundry volume.
Frequently Asked Questions
Q: How do I know if a booster fan is appropriate?
Only after verifying the duct is clean, the geometry is optimized, and equivalent length still exceeds recommendations. Follow manufacturer and code requirements, and consider professional installation.
Q: Can rotary brushes damage ducts?
Improper use can dislodge joints or gouge thin-walled elbows. Use gentle technique, rotate carefully, and avoid excessive force at turns.
Q: Why does my lint screen appear clean but airflow is still weak?
Linthousing or duct obstructions can persist even with a clean screen. Inspect deeper and verify the exterior damper’s operation.
Q: Are roof terminations harder to troubleshoot?
Yes. Access and safety considerations make rooftop vents best suited for professional service with proper fall protection and tools.
Q: What measurements should I record?
Drying time before/after, damper opening behavior, anemometer readings if available, and any static pressure measurements from a technician.
Q: Could the dryer itself be the main issue?
Yes. Faulty thermostats, moisture sensors, or heating elements can mimic vent problems. Evaluate both the appliance and the vent to isolate the cause.
Put Advanced Troubleshooting to Work
Use this guide to methodically assess symptoms, test airflow, and correct root causes. When complex duct geometry, rooftop terminations, or persistent restrictions outpace DIY capabilities, prioritize a comprehensive service visit. Restore performance, protect your home, and extend the life of your appliance by booking professional dryer vent cleaning for your Elizabeth, New Jersey property and keep laundry day efficient all year long.
