Introduction
Dryer vent cleaning is both a safety essential and a performance upgrade for homes throughout Elizabeth, New Jersey. While emptying the lint screen is a daily habit, the real airflow bottleneck usually hides in the vent and ductwork behind your dryer and within walls. This comprehensive, step-by-step walkthrough explains how professionals clean vents, how homeowners can prepare, and what post-cleaning checks ensure success. Performed on a sensible schedule, dryer vent cleaning can shorten cycles, reduce heat buildup, and protect your appliance investment.
Elizabeth’s mix of historic residences and newer townhomes presents unique vent paths. Some routes are short and straight, while others include multiple elbows, long horizontal runs, or exterior terminations at roofs and high side walls. Understanding these conditions helps set realistic expectations for the cleaning process and informs how frequently your system should be serviced.
Step 1: Initial Assessment and Safety Setup
Professionals start by surveying the laundry area, identifying the vent connection, and locating the exterior termination. They verify the dryer’s power source, clear a safe work area, and protect floors as needed. A quick airflow test may be performed before cleaning to establish a baseline and to document restrictions.
In Elizabeth’s compact laundry closets and basement setups, creating a clear path is especially important. Homeowners can help by moving nearby items and ensuring the technician can reach both the back of the dryer and the exterior termination.
Step 2: Disconnect and Inspect the Transition
The transition hose connects the dryer to the wall or floor duct. Technicians carefully pull the dryer forward, disconnect the hose, and check for kinks, crush points, or damage. If the connector is made of thin plastic or foil, it may be replaced with a safer, code-compliant option. This step often reveals the first pocket of lint accumulation and provides immediate insight into the condition of the system.
Step 3: Source Removal from the Interior Connection
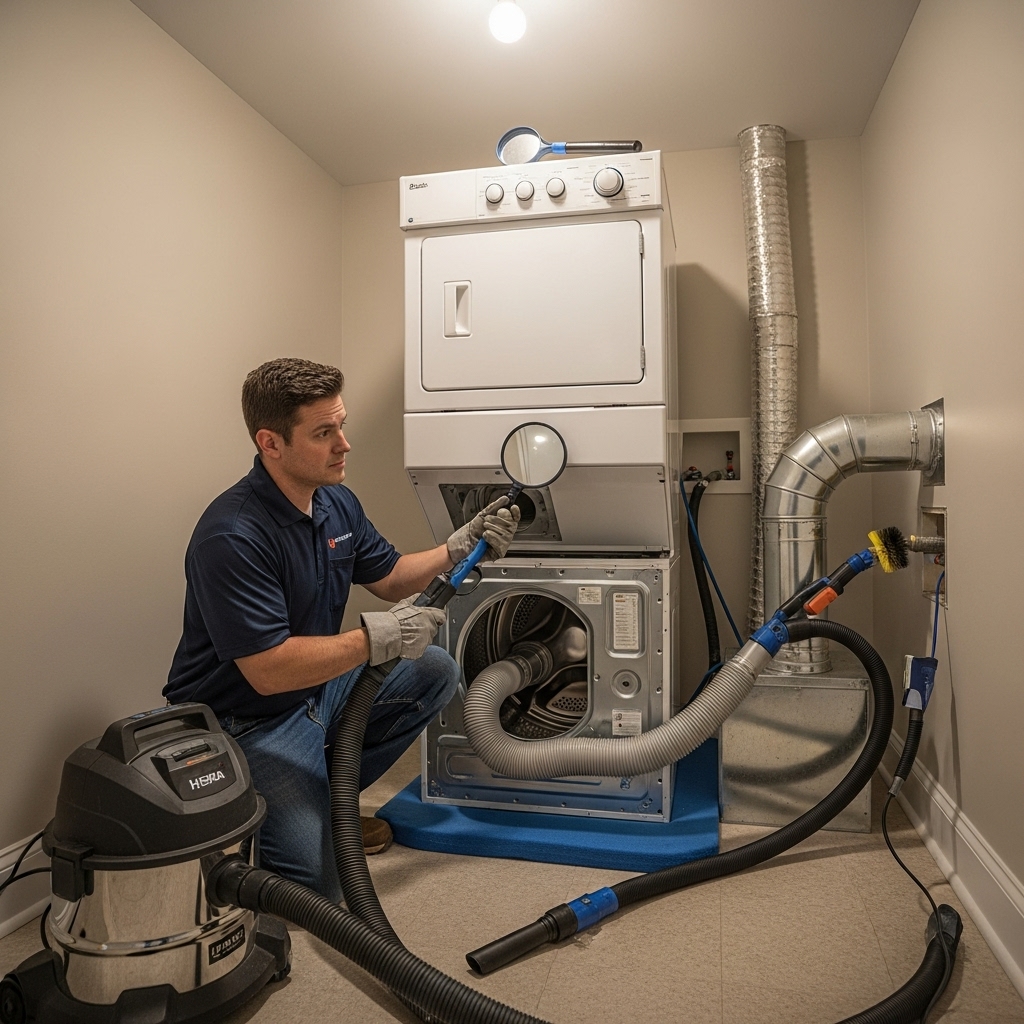
With the transition removed, the interior duct opening is cleaned using rotary brushes and vacuum extraction. This prevents pushing debris deeper into the vent and ensures that the section nearest the dryer—the most common choke point—is fully cleared. The dryer’s internal outlet and blower area may also be lightly brushed to remove loose lint without disassembling the appliance.
Step 4: Brushing and Agitation Through the Entire Vent
Technicians feed flexible, rotating brushes or air whips through the vent to dislodge compacted debris. Tool size is matched to duct diameter to avoid damage while maximizing contact with the walls. In older Elizabeth homes with multiple elbows, the technician advances brushes methodically, counting elbows and documenting turn resistance to ensure the entire run is reached.
Step 5: Vacuum Extraction and Containment
As lint loosens, a high-powered, HEPA-filtered vacuum captures debris. Containment matters: the goal is to remove lint, not redistribute it. Professionals may use access points at both ends—interior and exterior—to pull and push debris toward the vacuum in a controlled manner. This two-sided approach is particularly effective for long vents and rooftop terminations common in some row-style properties.
Step 6: Exterior Termination Cleaning
The exterior hood or roof cap is cleared of lint and checked for free movement. Birds or small rodents occasionally nest in vents; in those cases, removal and disinfecting protocols are followed. Technicians verify that any screen or flap does not restrict air and that fasteners are secure. If the hood design contributes to recurring restrictions, a replacement may be recommended.
Step 7: Transition Hose Replacement or Reinstallation
After the vent is clean, the transition hose is reinstalled or replaced if needed. A smooth, appropriately sized connector with gentle bends helps maintain airflow. The dryer is carefully repositioned to avoid crushing the hose—a common cause of post-cleaning restrictions.
Step 8: Airflow Verification and Functional Test
Airflow is measured at the termination or through test ports, then compared to pre-cleaning readings. The dryer is run on a normal cycle to confirm smooth operation. Homeowners should notice a firm, warm exhaust stream at the exterior hood and stable temperatures during operation.
Step 9: Cleanup and Homeowner Review
Technicians remove protective coverings, vacuum the work area, and review findings with the homeowner. This is the time to discuss vent routing, material upgrades, and recommended cleaning intervals based on usage and vent complexity.
Homeowner Preparation Checklist
- Clear a path to the laundry area and exterior termination.
- Remove items stored on or around the dryer.
- Secure pets and inform household members about the appointment.
- Share any recent symptoms: long cycles, odors, or overheating.
- Provide access instructions if the exterior hood is behind a gate or on a rooftop deck.
Maintenance Habits Between Cleanings
- Empty the lint screen before every load; scrub it with mild soap occasionally.
- Inspect the exterior flap when the dryer runs to confirm it opens fully.
- Avoid overloading the dryer, which reduces tumbling and raises temperatures.
- Keep the area around and under the dryer free of dust and lint.
- Watch for changes in performance and schedule service promptly if issues arise.
Elizabeth, NJ Considerations
Local housing density often means limited vent access and longer runs. Humid summers can cause lint to clump, while winter winds can hold flaps closed or blow debris back toward the termination. If your home has a rooftop cap or a side-wall hood high above grade, professional tools and safety procedures are essential for proper cleaning.
When to Schedule: Frequency Guidelines
Frequency depends on household size, laundry volume, vent length, and complexity. Many homes do well with annual cleaning, while larger households or multifamily buildings benefit from more frequent service. If you add a new pet, welcome a new family member, or notice cycle times creeping upward, move your next cleaning sooner rather than later.
Quality Indicators of a Thorough Cleaning
- Documented pre- and post-cleaning airflow readings.
- Visual confirmation that the termination is clear and operating.
- Transition hose inspected and corrected if crushed or unsafe.
- No visible lint release into living spaces.
- Clear recommendations for any needed repairs or schedule adjustments.
Mid-Guide Reminder
If you are unsure whether your vent’s length or layout requires enhanced attention, schedule a professional assessment. A trusted provider can combine inspection, cleaning, and verification in a single visit. For reliable, measured results, book a professional dryer vent cleaning and keep your laundry routine efficient and safe.
Frequently Asked Questions
Q: Is it okay to use foil or plastic flexible venting?
A: Smooth metal ducting is preferred. Thin plastic or foil with spiral ridges can trap lint and is not recommended for long-term safety and performance.
Q: How do I know my vent is too long?
A: Excessive elbows and long horizontal sections reduce airflow. Signs include longer drying times, overheating, or a weak exhaust stream at the exterior hood.
Q: Can a clogged vent damage my dryer?
A: Yes. Restricted airflow forces the dryer to run hotter and longer, stressing components and reducing appliance lifespan.
Q: Do scented dryer sheets affect the lint screen?
A: Residue can build up and make the screen less effective. Wash it with mild soap and water periodically.
Q: Should I clean my vent after renovations?
A: Yes. Construction dust and debris can enter vents; scheduling a cleaning after major work helps restore proper airflow.
Q: Are bird or pest guards okay?
A: Properly designed terminations can discourage pests without restricting airflow, but screens that trap lint should be avoided or maintained frequently.
Take the Next Step
If your dryer is struggling or you have not had your vents cleaned in a while, now is the time to act. Restore airflow, improve safety, and protect your appliance by booking trusted dryer vent cleaning for your Elizabeth home.
