Introduction: Why Dryer Vent Cleaning Matters in Elizabeth, New Jersey
Dryers are indispensable in homes and multifamily buildings across Elizabeth, New Jersey, from the historic streets of Elizabethport to the tree-lined blocks of Elmora and the apartments near Midtown and North Elizabeth. Yet this everyday convenience carries risk when lint and moisture accumulate and airflow is restricted. Clogged vents can make laundry take longer, waste energy, strain your appliance, and, most importantly, elevate the risk of a lint-fueled fire. Taking time to learn safe, effective steps for dryer vent cleaning can improve drying performance, extend the life of your equipment, and help protect your home and family. The guide below explains exactly how to do it the right way in Elizabeth’s varied housing stock.
Elizabeth’s location along Newark Bay means seasonal humidity, wind-driven rain, and salt-laden breezes can influence exterior vent hoods and damp lint, while older homes, rowhouses, and multifamily buildings may use long or complex duct runs that require special attention. Whether you own a single-family house in Peterstown, a condo near Kean University, or a two-family on Bayway, the cleaning principles remain the same: prepare safely, work methodically, inspect thoroughly, and verify airflow when you finish.
Safety First: Preparation and Precautions
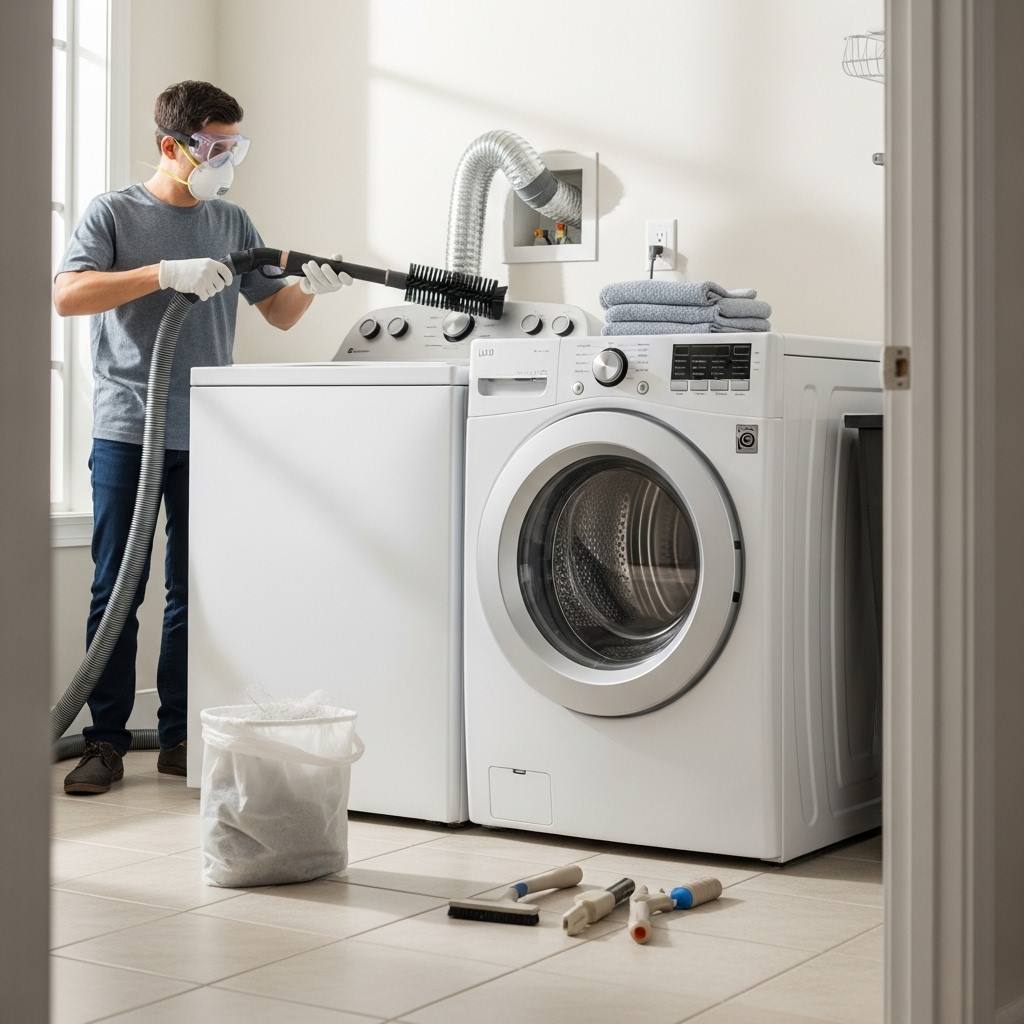
Before you touch the dryer or vent, build a simple safety checklist. Turn off the dryer and unplug it from the receptacle; if you have a gas dryer, close the gas shutoff valve and avoid stressing the gas line while moving the appliance. Clear a large workspace so you can slide the dryer forward without pinching hoses or kinking the transition duct. Put on eye protection and a dust mask because dislodged lint can be irritating, and have a sturdy flashlight available. Keep a small vacuum with a long hose nearby, and plan a path to carry lint debris outside without scattering dust through the home.
Pay attention to electrical and floor safety. The laundry area should be dry, well lit, and free of clutter. If you’re in a multifamily building in Elizabeth where the dryer is in a shared basement or laundry room, coordinate with neighbors or building management to ensure no one runs appliances while you are working. Make sure children and pets are clear of the area. Finally, know your limits: if you find damaged ducts, suspect a bird’s nest in the exterior hood, or the vent path disappears into ceilings with multiple bends, consider the professional route rather than forcing a questionable DIY approach.
Get to Know Your Vent System
Elizabeth homes use a mix of vent configurations: short straight runs through an exterior wall, roof terminations above townhomes, and longer duct runs that travel through basements, crawlspaces, or interior chases before exiting. Materials vary too—common options include rigid metal duct, semi-rigid aluminum transition connectors, and, in older setups, flexible foil. Flexible plastic ducts should be replaced; they are not recommended because they crush easily and can be a fire hazard.
Trace the vent path from the dryer outlet to the exterior hood. Count the bends and estimate total length. Each 90-degree elbow adds significant resistance to airflow, and long runs common in older Elizabethport rowhouses or condo stacks may require special brushes and rods to reach all the way to the outside. Identify the termination: a sidewall hood near a driveway, a soffit vent in an enclosed porch, or a roof cap. If you have a roof exit, consider safety and ladder access. Many homeowners comfortably handle first-floor sidewall vents but choose help for roof-level work.
Tools and Materials You’ll Need
Gather a vent brush kit with flexible rods sized for 4-inch duct, a vacuum with a crevice tool, a screwdriver or nut driver for clamps, high-quality metal foil tape (not cloth “duct” tape), and a replacement semi-rigid transition duct if the existing one is kinked or torn. Add disposable gloves, a sturdy garbage bag for lint, and a small mirror for viewing behind the dryer. If you have a long run found in many multifamily or basement-through-attic routes in Elizabeth, choose a brush kit that can be driven by a cordless drill for additional reach and agitation, but be gentle to avoid damaging elbows or joints.
If your dryer uses natural gas, keep a bubble solution to check for leaks after reconnecting the gas valve. For roof terminations, you may need a ladder, spotter, and non-slip footwear. Always consider fall protection; if you’re unsure about roof safety, stop and re-plan the job as a ground-level and interior-only cleaning and schedule exterior access for a competent technician.
Step-by-Step: Cleaning the Dryer and Vent
1) Disconnect power and move the dryer. Unplug the dryer or switch off the dedicated breaker. Gently pull the dryer forward to access the rear. If you have a gas model, shut off the gas valve and move the machine carefully without straining the connector. Vacuum the floor and the area behind the dryer to remove loose lint that can be drawn back into the appliance later.
2) Remove the transition duct. Loosen the clamps at the dryer outlet and the wall or floor connection. Inspect the transition piece for kinks, holes, or crushed sections. Semi-rigid aluminum is preferred; replace thin foil if damaged. Set the transition duct aside for separate cleaning or replacement.
3) Clean the lint trap and interior passages. Remove the lint screen and wash it with warm water and a drop of dish soap to clear fabric softener residues that can reduce airflow through its mesh. With the screen removed, use a long, narrow brush or vacuum crevice tool to reach into the lint trap cavity. Many Elizabeth homes use scented dryer sheets or liquid softeners, and these can leave films that catch lint more easily, so a quick wash of the screen is a good habit.
4) Brush and vacuum the duct run. Insert the vent brush into the in-wall or underfloor duct from the laundry side. Feed the brush gently through elbows, rotating clockwise to gather lint rather than pushing it forward in clumps. Withdraw the brush periodically and vacuum the debris. If you can access the exterior termination on a first-floor sidewall, repeat the process from the outside, working toward the dryer to break up any lint dams, bird nesting, or stuck flapper.
5) Clean the exterior hood. Open the cap or hood and remove visible lint. Ensure the damper or flapper moves freely and closes fully. Elizabeth’s coastal winds can drive rain into poorly functioning hoods; a clean, freely moving damper reduces moisture intrusion and pest entry. If the hood has a screen, remove it—screens are not recommended on dryer vents because they trap lint and create blockages. Replace any broken cap that allows birds to nest.
6) Reassemble with care. Reattach or replace the transition duct, making sure it runs in a short, smooth path without crushing behind the dryer. Seal rigid or semi-rigid joints with metal foil tape—not screws which can snag lint. Plug the dryer back in, turn on the gas if applicable, and run the dryer on air fluff for several minutes while you check the exterior hood for strong airflow. You should feel a steady, warm exhaust after the appliance heats. Weak flow, rattling noises, or a damper that barely opens indicates more cleaning is needed or that hidden elbows still hold lint.
Special Considerations for Elizabeth Homes and Buildings
In older Elizabethport and Midtown buildings, vents may share chases with other mechanical lines or pass through inaccessible spaces. Long concealed runs benefit from gentle drill-driven brush kits, but be conservative with speed to avoid tearing duct seams. For multi-unit buildings, respect building rules for work hours and access, and document your cleaning with photos to satisfy HOA or property manager expectations. If you suspect a booster fan in the line—a device sometimes used on extended runs—shut power to that fan before brushing, clean both sides of the fan housing, and verify the fan operates smoothly afterward.
Condensation is another local factor. In winter, cold exterior walls can chill the vent, encouraging moisture to condense and trap lint. Insulating exposed ducts in unconditioned basements or attics can help. On humid summer days along Newark Bay, damp lint can mat and form stubborn clogs; slower, repeated passes with the brush are more effective than aggressive forcing that could separate joints.
Signs It’s Time to Call a Professional
DIY cleaning is effective for simple runs, but certain red flags suggest it’s time to involve a pro. If clothes still take more than one cycle to dry after you’ve cleaned the trap, transition duct, and accessible sections, you may have a severe obstruction, a crushed section inside a wall, or an improperly terminated vent. Burning smells, unusually hot laundry room walls, and visible moisture on nearby surfaces point to restricted exhaust. Homes with roof terminations, stacked laundry closets, or complex routes through older structures common in Elizabeth’s dense neighborhoods may be beyond the typical toolkit. In those cases, professional-grade rotary brushes, air sweeps, and vacuums restore airflow while protecting the duct system.
When you need deeper diagnostics, especially in multi-family properties or long concealed runs, consider scheduling professional service. Technicians who specialize in dryer vent cleaning can perform airflow testing, identify construction defects, replace hazardous materials, and ensure the termination meets current best practices for safety and performance.
Post-Cleaning Verification and Maintenance
After reassembly, run a timed dry cycle with a normal load and note the time to dry compared to before cleaning. Step outside to confirm the damper opens wide and that the exhaust smells clean, not musty or burnt. Check the laundry area for warmth and humidity; well-cleaned vents keep the space comfortable. Mark your calendar for the next cleaning—most households benefit from annual service, but heavy usage, large families, or pet hair may warrant cleaning every six months. For Elizabeth homeowners near busy roadways like the Turnpike or the port, airborne dust can mix with lint; an extra mid-year check is prudent.
Common Mistakes to Avoid
Avoid using plastic or thin foil transition connectors that crush and tear easily. Don’t drive screws through joints—those points snag lint and eventually create clogs. Never vent into an attic, crawlspace, or garage; moisture and lint will collect and become a mold and fire hazard. Do not cover the exterior hood with fine wire mesh; it will trap lint quickly. Finally, don’t ignore kinks behind the dryer caused by pushing the appliance too close to the wall—leave enough room for a smooth sweep of the transition duct.
Frequently Asked Questions
How often should I clean my dryer vent in Elizabeth, NJ? Most homes benefit from annual cleaning. Large households, frequent laundry, long vent runs, and pet hair call for semiannual service. If dry times creep up or the laundry room feels hotter than usual, move your cleaning up.
Can I use a leaf blower to clear the vent? It’s not recommended. Blowers can pack lint into elbows, blow connections apart, or push debris into exterior spaces unpredictably. A purpose-built brush and vacuum method is safer and more effective.
Is flexible plastic vent duct allowed? No. Replace any plastic vent duct with metal. Semi-rigid aluminum is commonly used for short transitions; rigid metal is preferred for long runs.
What if my vent terminates on the roof? Roof work introduces fall hazards and weather risks. If you can’t access the roof safely with a spotter and proper gear, schedule a professional. Meanwhile, clean from the interior side and verify airflow.
Why does my lint screen still collect barely any lint? If the lint screen shows little lint yet dry times are long, airflow is restricted downstream in the vent. Clean the entire run and verify the exterior damper opens fully. Also wash the screen to remove softener residue.
Is a burning smell normal the first time I run the dryer after cleaning? No. A faint warm odor may occur as dust burns off heating elements, but a distinct burning smell or visible smoke signals a restriction or trapped lint in the heater housing and requires immediate shutdown and inspection.
Ready for Safer Drying in Elizabeth?
If you have tackled the steps above but still notice sluggish drying, hot laundry room surfaces, or weak airflow at the hood, it’s time for expert help. A trained local team can navigate long, concealed runs common in older Elizabeth buildings, correct risky materials, and document results for your peace of mind. For trusted results and a smoother laundry routine, schedule professional dryer vent cleaning and enjoy safer, faster drying all year long.
