
Air Duct
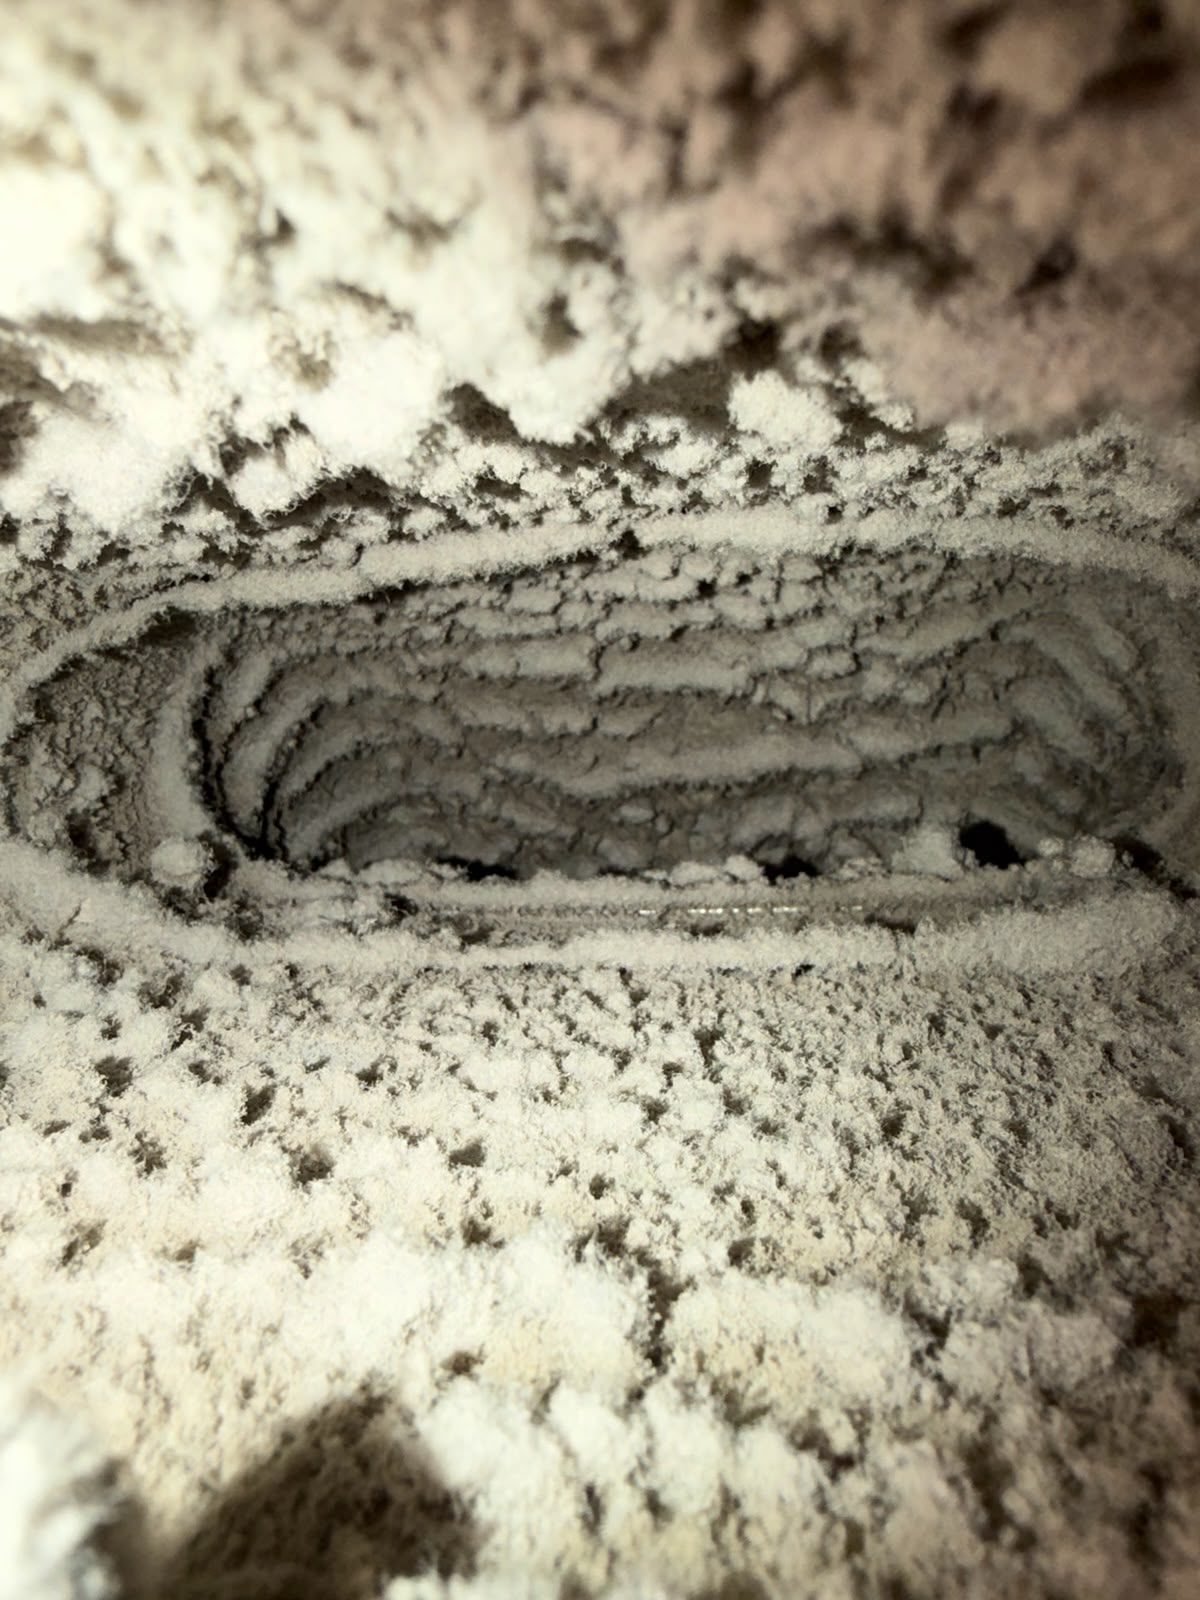
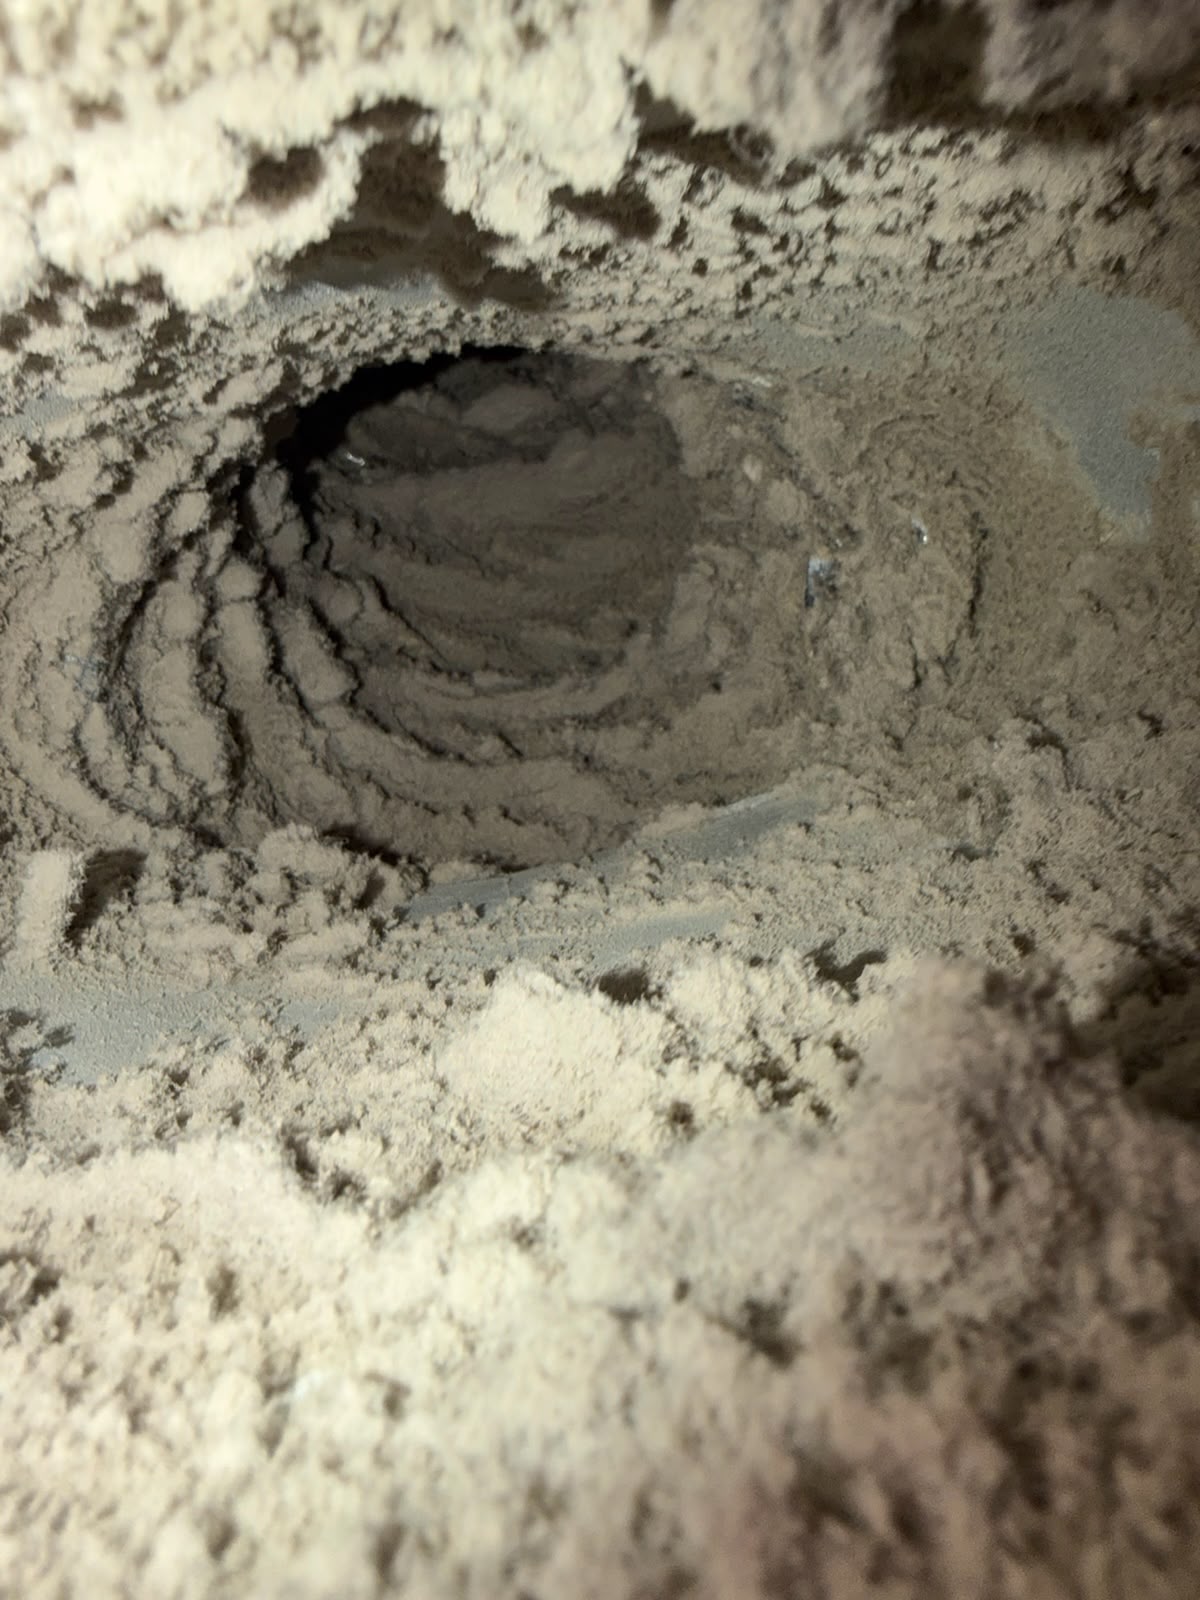
Built-up dust and debris removed from a return duct.

NJ Indoor Air Specialists
Professional air duct cleaning, dryer vent cleaning, chimney sweep, duct repair, and ventilation services for homes and businesses across New Jersey.
Recent job · Duct
What you can't see
Most homeowners don't think about the systems moving air through their home — until comfort, energy bills, or safety start to change.
Particles trapped in ducts travel back into every room each time the system runs.
Restricted vents force your system to work harder, raising energy use and wear.
Lint buildup in dryer vents is one of the most overlooked household fire hazards.
Creosote, debris, and animal nests can lead to smoke backup or unsafe combustion.
Our services
Remove built-up dust, allergens, and debris from your ductwork for fresher indoor air.

Seal leaks, fix damaged sections, and restore airflow across your HVAC system.
See Air Duct Repair details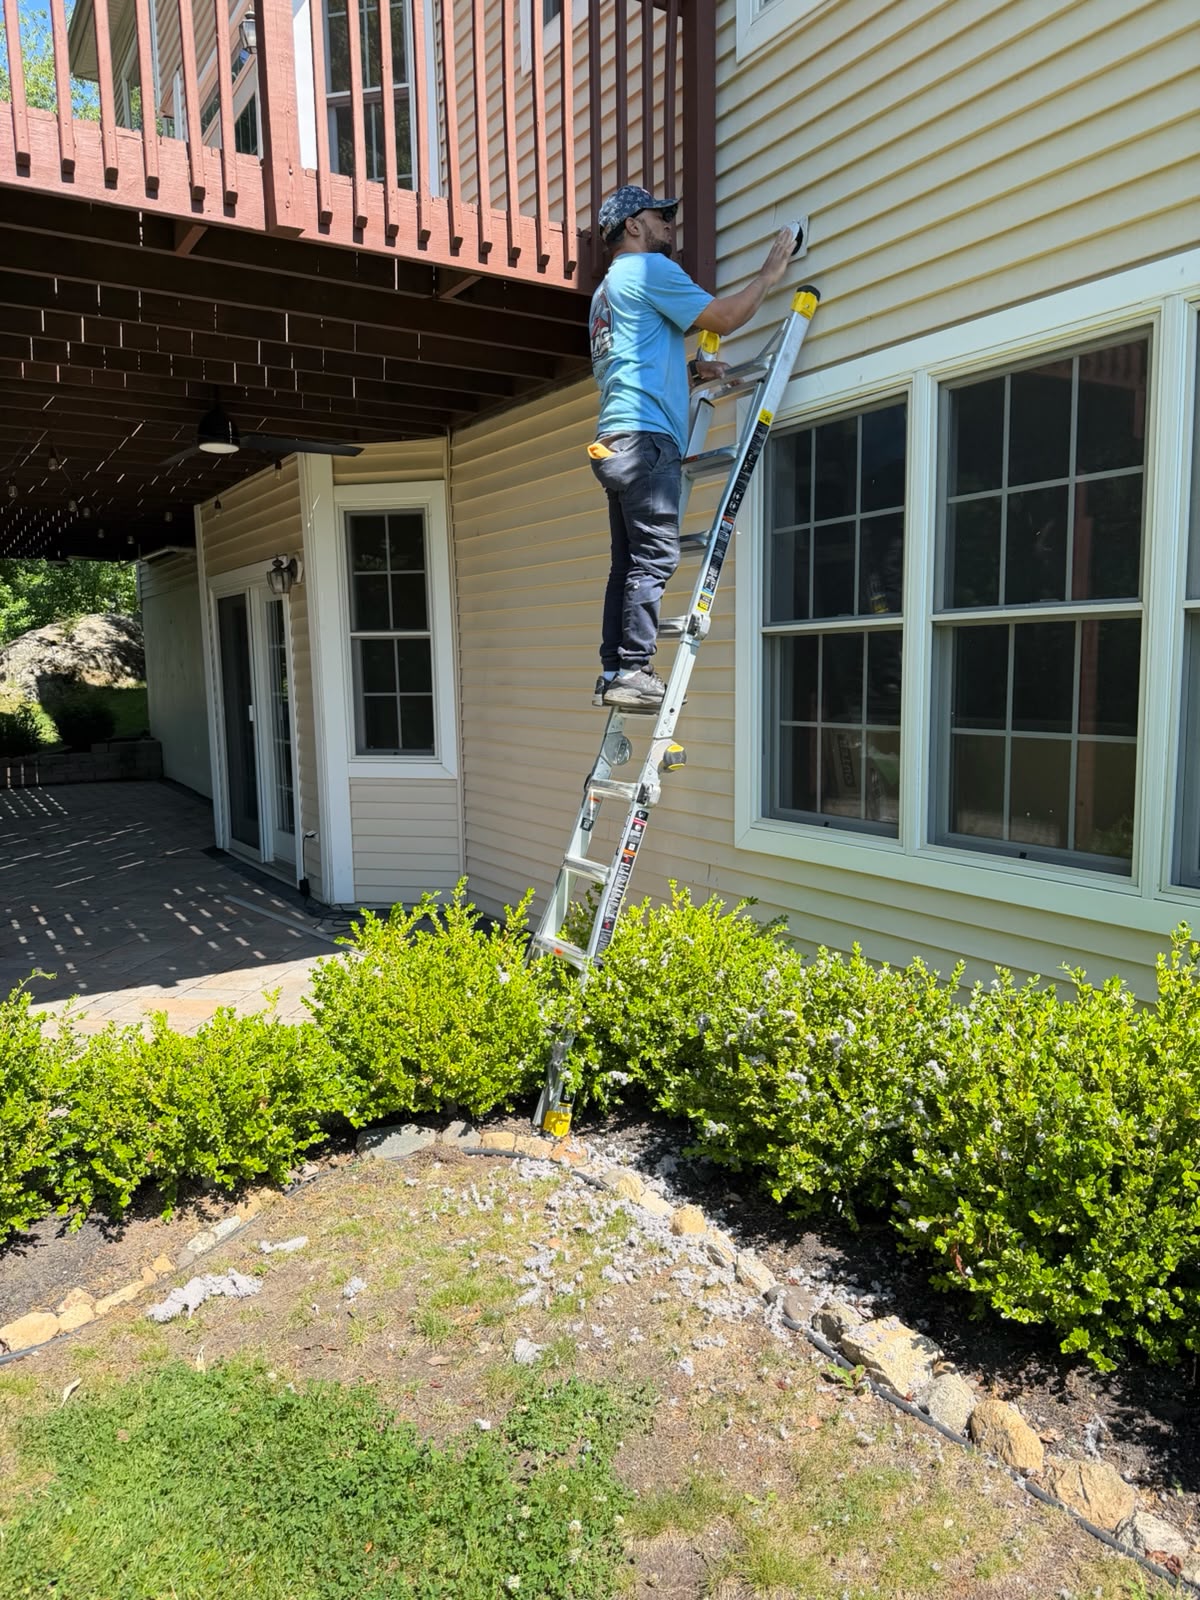
Custom ductwork installed for efficient airflow in new builds and renovations.
See Air Duct Installation details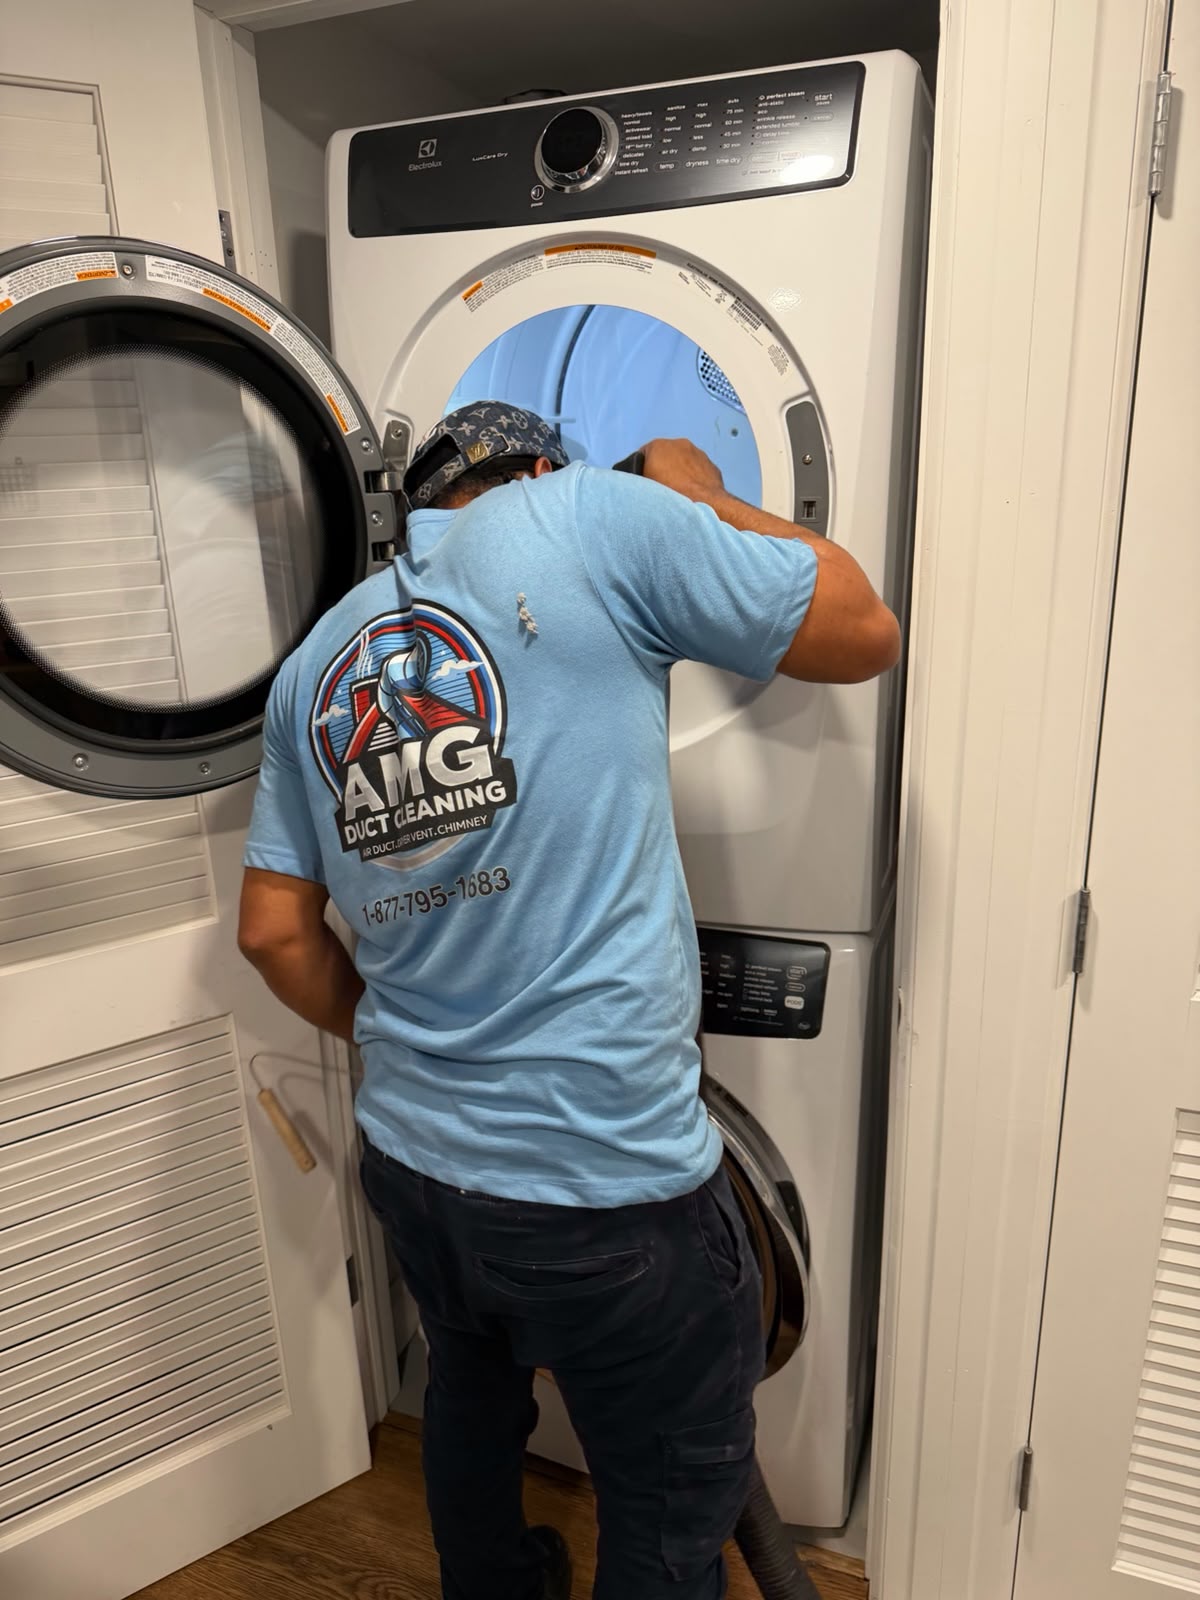
Clear lint buildup to reduce fire risk and help your dryer run efficiently again.
See Dryer Vent Cleaning details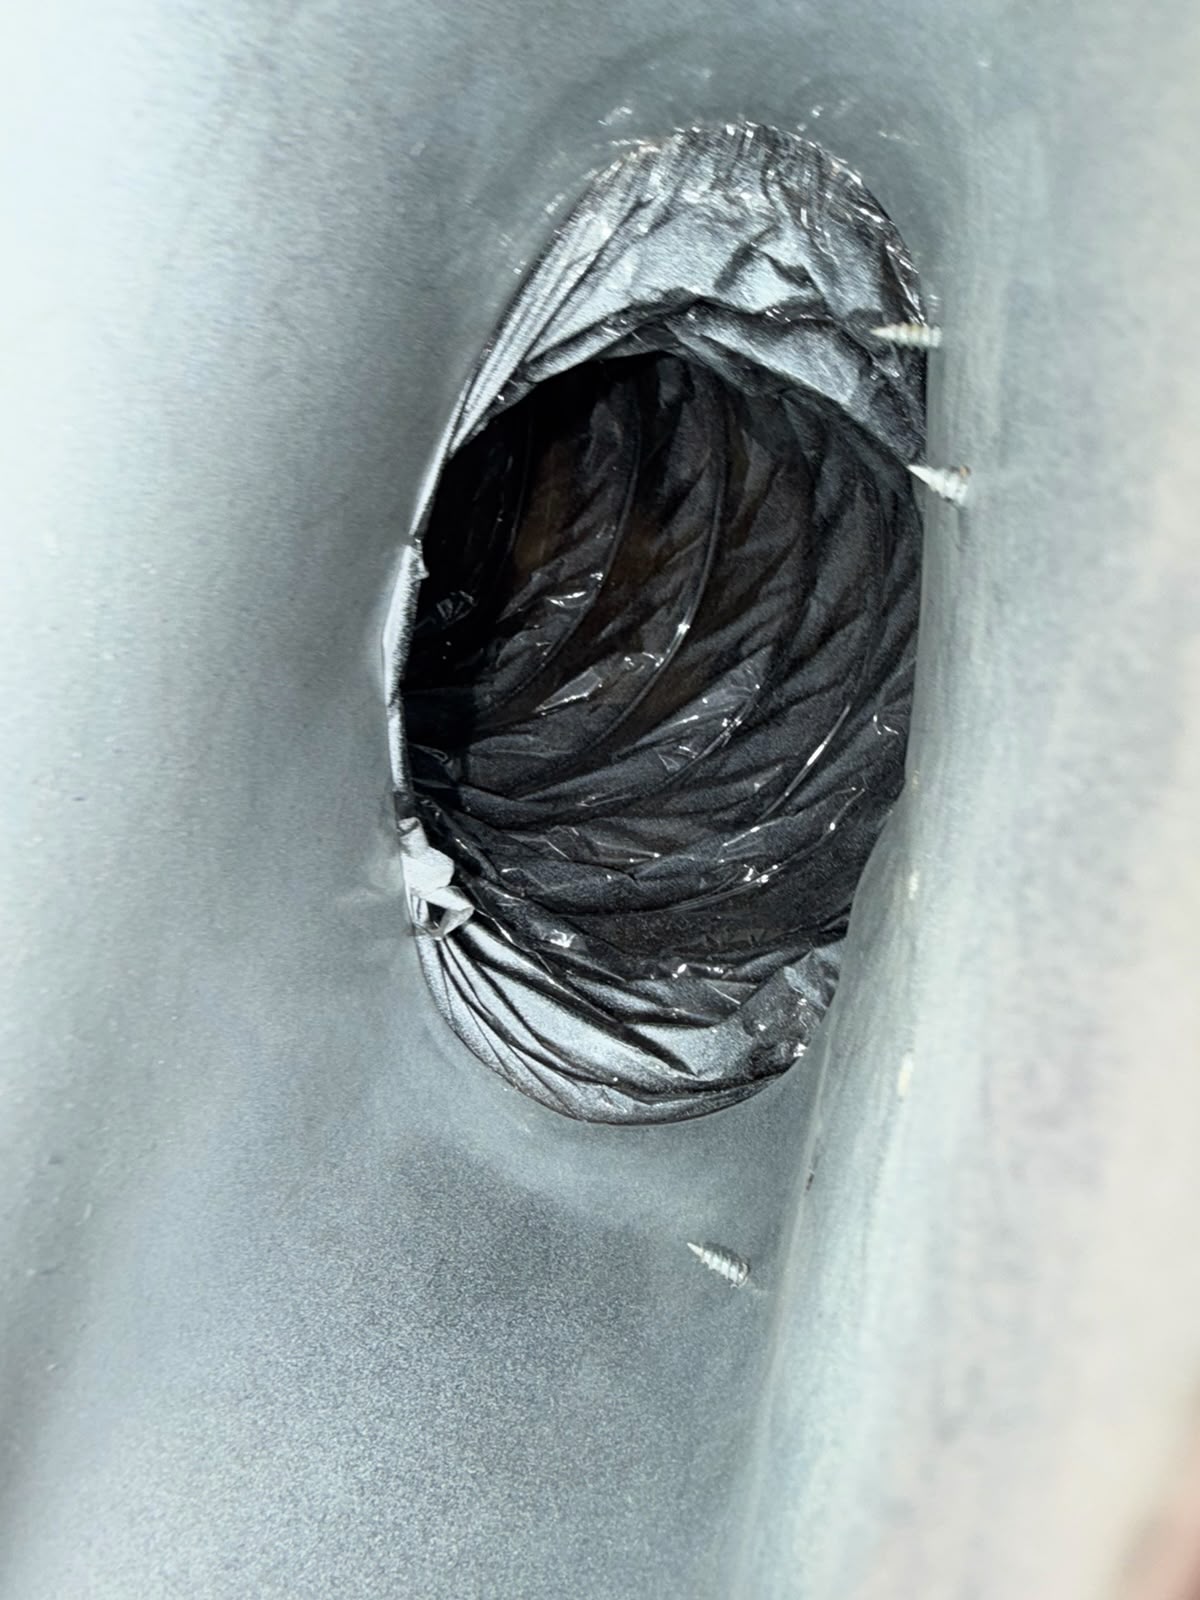
Code-compliant dryer vent runs installed cleanly the first time.
See Dryer Vent Installation details
Remove soot, creosote, and blockages so your fireplace burns safely.
See Chimney Sweep detailsReady for cleaner air?
Free estimates, friendly local service, and clear pricing every time.
What we remove
Featured service
We remove dust, allergens, pet dander, and buildup from your ductwork — helping your HVAC system run cleaner and your indoor air feel noticeably fresher.
Detailed system inspection
Included with every visit — we look before we quote.
Before & after documentation
Photos and a clear summary of what we found and removed.
Clear estimate up front
You'll know the scope and the price before any work begins.
No scare tactics, no add-ons
Honest recommendations — we don't sell what you don't need.
Before & after
Real results from real jobs. No staging, no dramatic claims — just honest comparisons of what we remove.
Built-up dust and debris removed from a return duct.

Lint cleared from a residential dryer vent line.
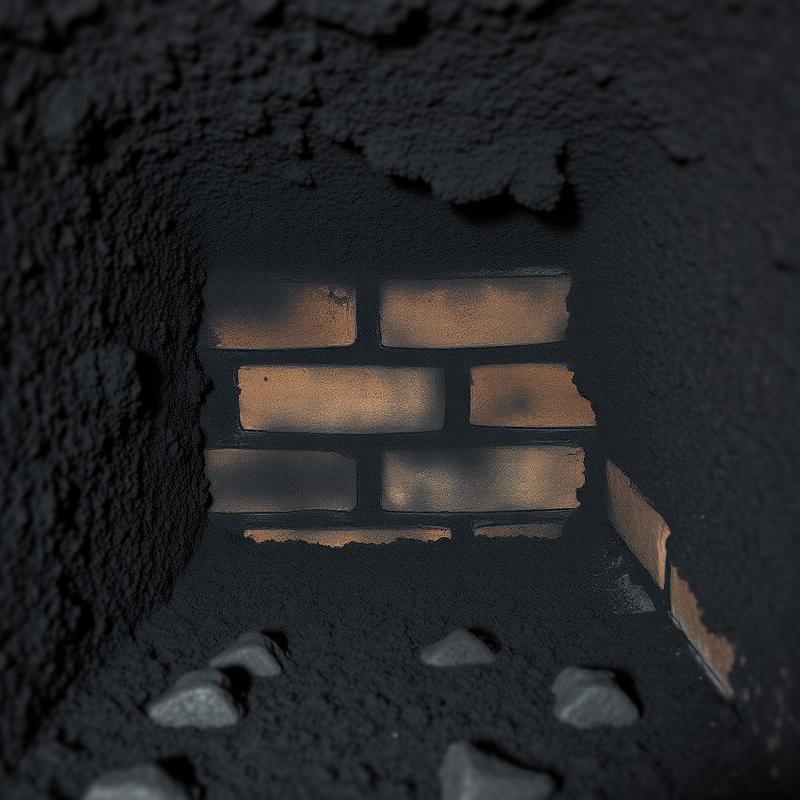
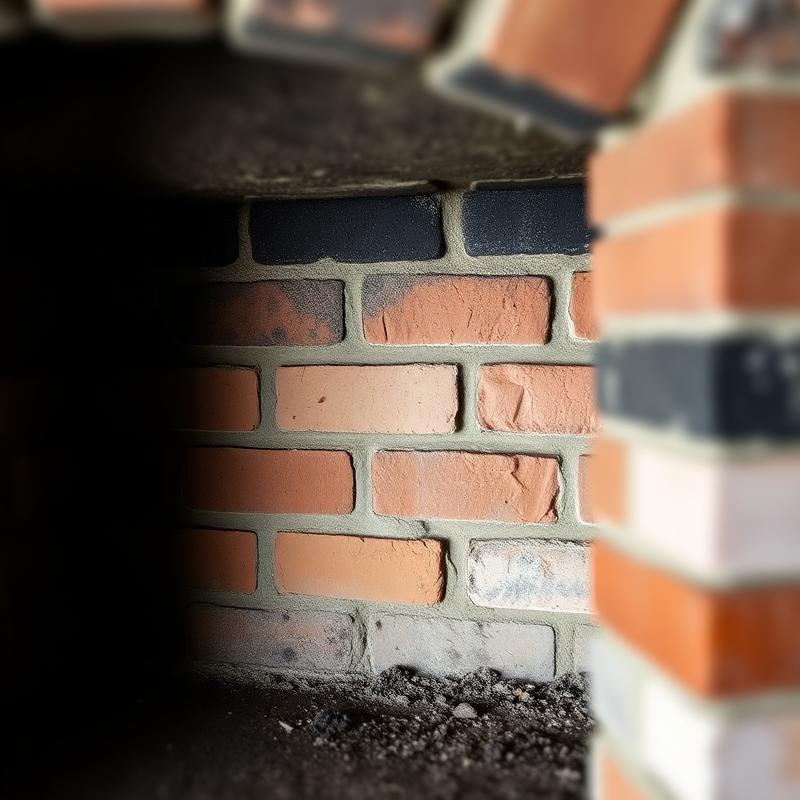
Soot and creosote swept from a working fireplace flue.
The AMG standard
Six things every customer gets — no matter the job size, no matter the home.
You'll know the scope and the price up front. The number we quote is the number you pay.
Drop cloths and floor covers go down before any tools come through the door.
We show you what we found and what we removed — photos available on request.
Honest recommendations only. We don't sell what your home doesn't need.
Trained, locally hired, and used to working cleanly in lived-in homes.
We pack out, wipe down, and walk you through the work before saying goodbye.
We only show reviews we can verify. As real Google reviews come in, we'll feature them here. Want recent references? Call us — we'll happily share.
(877) 824-9359Service area
Elizabeth, NJ — covering homes and businesses throughout the state. Don't see your area? Call us, we likely serve it.
Frequently served
Don't see your area? Call us — we serve homes and businesses throughout New Jersey.
Free estimate
Tell us a little about your home or business and the service you're considering. We'll follow up quickly with clear next steps. No pressure. Clear scheduling. Friendly local service.
Need faster help?
(877) 824-9359Request your free estimate
We typically reply same day, 7 days a week.
From the blog
 Air Quality
What to expect, how often to schedule it, and what a thorough air duct cleaning should actually include in a New Jersey home.
Read GuideAir QualityBeyond ductwork — five everyday sources of indoor air pollution New Jersey homeowners can fix this weekend.
Read Guide Safety
Subtle clues most homeowners miss until laundry takes twice as long — or worse, a fire risk has been building for months.
Read Guide