The Air Duct Cleaning Process in New Jersey: From Start to Finish
Clarity about the process turns a technical service into a smooth, predictable experience. If you live in New Jersey, you might be planning a cleaning before summer cooling or after a winter of heavy furnace use. No matter the season, a well-run visit follows a defined sequence that protects your home and delivers measurable results. The walkthrough below explains the start-to-finish steps so you can anticipate what will happen, why each step matters, and how to prepare. Early in the journey, it helps to understand what professional air duct cleaning entails, from setup to final inspection.
While every property is unique, the core elements are consistent: assessment, protection, negative pressure setup, agitation of supply and return runs, attention to the blower compartment and accessible housings, and a tidy wrap-up with homeowner education. Knowing this structure makes it easy to ask smart questions and evaluate quality as the work proceeds.
Step 1: Pre-Visit Information and Scheduling
The process begins before technicians arrive. A coordinator will confirm the number of systems, home layout details, and any sensitivities in the household. If you recently renovated, share that context so crews can plan for fine dust. Provide photos of the air handler, returns, and unusual registers to help determine staging and access.
Your appointment window will account for parking, equipment staging, and the time needed to protect floors and finishes. Excellent providers communicate expectations clearly and invite questions ahead of time.
Step 2: Arrival, Walkthrough, and Planning
On arrival, the team introduces themselves, reviews the plan, and requests a quick tour of returns, supply vents, the air handler, and any known access points. They identify a safe location for the negative air machine and plan hose routes that avoid tripping hazards and protect walls and corners. This is also when they confirm which rooms are sensitive or off-limits.
They will discuss how they will sequence supply and return runs, where they will create temporary access, and how they will seal those points upon completion. Transparency here is a hallmark of professionalism.
Step 3: Protection and Containment
Before any cleaning begins, crews roll out floor protection, cover furniture near registers, and tape off any delicate surfaces. Registers are removed carefully and set aside for cleaning. Where appropriate, they install temporary coverings to prevent incidental dust escape as tools move in and out of vents.
Containment is about control. The goal is to capture dislodged debris at the collection unit, not redistribute it in living spaces.
Step 4: Establishing Negative Pressure
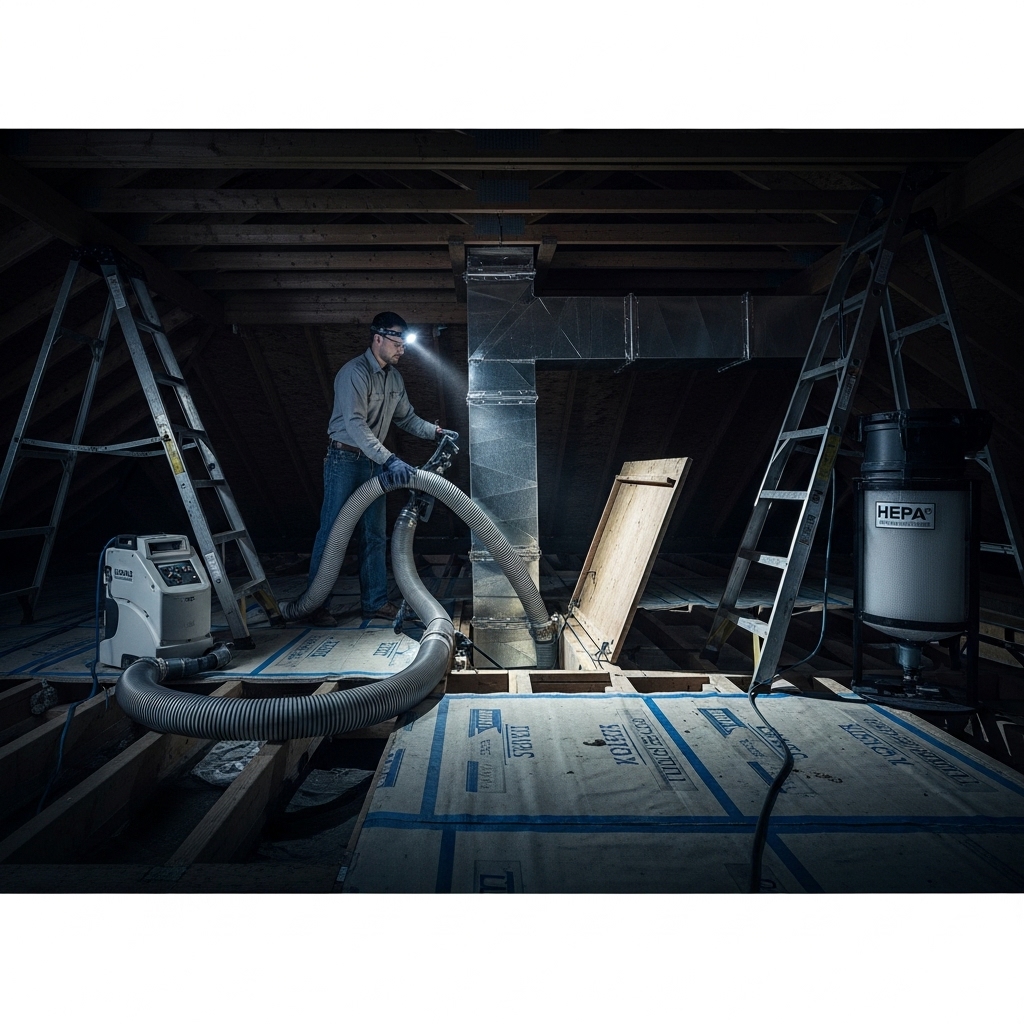
The technician connects the negative air machine to the duct system, typically at a main trunk or plenum access point. This equipment pulls air and loosened debris from branches toward a HEPA-filtered collection unit. With negative pressure established, agitation can safely begin because debris is drawn in the desired direction.
Because homes vary in layout, the team may reposition the connection as zones are completed. They will monitor pressure and filtration throughout the process.
Step 5: Mechanical Agitation of Supply Runs
With the system under negative pressure, technicians work through supply branches using tools designed for the duct material—brushes for metal, gentler whips for flex or lined ducts. Each run is addressed from the register and from strategically placed access points, ensuring debris travels toward the collection unit.
Registers and grilles are cleaned separately so that once reinstalled, they do not reintroduce dust. This attention to detail helps maintain the results.
Step 6: Mechanical Agitation of Return Runs
Returns carry higher volumes of dust and hair over time. The team addresses each return branch, taking care with larger lines that may contain turning vanes or dampers. Return grilles are cleaned, and the pathway back to the blower compartment is cleared to support better airflow and filter performance.
Documenting conditions is useful; some providers take photos to show heavy debris areas and cleaned runs, offering homeowners clear before-and-after context.
Step 7: Air Handler and Accessible Housings
The blower compartment and accessible portions of housings are inspected and cleaned as appropriate. Dust on the blower wheel, in the compartment, or around the filter rack can impede performance. While certain coil components may be enclosed, technicians will note any conditions that require attention and discuss options for specialized coil cleaning if needed.
The goal is to support a clean airflow path from return to supply without disturbing sensitive components.
Step 8: Register and Grille Care
Registers, returns, and diffusers are cleaned and dried before reinstallation. If any show damage or corrosion, technicians will note it and recommend replacement. Clean register surfaces help prevent immediate redeposit of dust into freshly cleaned ducts.
Step 9: Sealing Access Points and Final Cleanup
Once the duct runs are addressed, temporary access points are sealed with appropriate materials, and their locations are documented for any future service. The crew removes floor protection, vacuums work areas, and replaces furniture or items moved for access.
Good teams leave spaces tidy and respect the household’s routine, confirming that all vents are back in place and that the thermostat and system controls are as they found them.
Step 10: Homeowner Review and Education
Before leaving, technicians review what was accomplished, share observations about your system, and answer questions about filters and maintenance. If your household has special considerations—pets, allergies, or ongoing renovations—they will tailor advice accordingly. This conversation ensures you know how to sustain results.
How Long the Process Takes
Time varies based on home size, number of systems, layout complexity, and contamination levels. Single-system homes may be completed within part of a day, while multi-system homes or properties with attic and crawlspace accesses can require additional time. Clear scheduling and mid-visit updates keep everyone aligned.
What You Can Do to Prepare
Prior to the appointment, move items away from vents, clear space around the air handler, and note any rooms where you prefer minimal activity. Secure pets and share any concerns about noise. If you work from home, the team can sequence rooms to reduce disruption.
New Jersey Housing Considerations
Basement air handlers are common in suburban homes, while shore properties often place equipment in attics for space efficiency. Row houses may have returns in central hallways and long branch runs to rear rooms. Experienced crews are familiar with these layouts and plan access to minimize impact on finished spaces.
Quality Checks During the Visit
Quality is visible in methodical progress: registers labeled and cleaned, access points neat and properly sealed, and consistent negative pressure maintained. Midway through, you should be able to ask for an update and receive a clear explanation of which zones are complete and what remains.
Communication Tips for Homeowners
Share your goals early. If odor reduction or seasonal allergy relief is a priority, note it during scheduling and at the walkthrough. If specific rooms show more dust, point them out. The more detail you provide, the more tailored the process becomes.
Common Misconceptions About Duct Cleaning
One misconception is that a quick pass with a vacuum at vents is sufficient. In reality, effective service relies on negative pressure and comprehensive agitation of branches and trunks. Another misconception is that chemicals are always required. Mechanical cleaning is the foundation; additional treatments are considered only when appropriate.
Mid-Process Milestone: Confirming Progress
A helpful checkpoint occurs after technicians complete the first major zone. Ask how debris is being captured, where access points were created, and how they verify that branches are fully agitated. When you select a provider for air duct cleaning, choose one that welcomes this dialogue and shows evidence of steady progress.
Post-Cleaning Maintenance
After service, install a clean, well-fitted filter and set reminders for regular changes. Keep returns unobstructed and monitor dust levels around high-traffic areas. If you take on home improvement projects, plan a follow-up evaluation once major work is complete to address residual construction dust.
Frequently Asked Questions
Q: Will technicians need to cut into ducts? A: Temporary access points are common to reach trunk lines and ensure proper agitation and collection. Professionals seal these points appropriately once the work is done.
Q: Can I run my HVAC system during cleaning? A: The system is typically off during active cleaning stages. Technicians will manage controls and advise when it is safe to resume normal operation.
Q: How will I know the work was thorough? A: Look for clear process explanations, visual evidence if provided, clean registers, sealed access points, and a detailed walkthrough at the end.
Q: Do I need to leave the home? A: Most homeowners remain on-site. If noise is a concern, inform the team, and they can plan the sequence to minimize disruption.
Q: Is duct cleaning messy? A: When containment and negative pressure are properly maintained, dust is captured at the collection unit, and work areas remain orderly.
Take the Next Step Toward Cleaner Air
When you understand the start-to-finish process, scheduling becomes simple. Choose a team that communicates, protects your home, and works methodically through each step. You will come away with confidence in the results and a clearer path to maintain them. If you are ready to move forward, schedule professional air duct cleaning and enjoy the benefits of a cleaner, more comfortable home.
